Backrooms In Blender Step By Step Tutorial 4H,40Min (+ Asteroid Scene Tutorial Gratis)


Welcome to the most detailed Backrooms tutorial ever recorded. In this 4-hour and 40-minutes long tutorial we will try to make a Backrooms video with a lot of details.
Speech-language: English + subtitles
Video resolution of the tutorial: 2k
.blend + all project files included
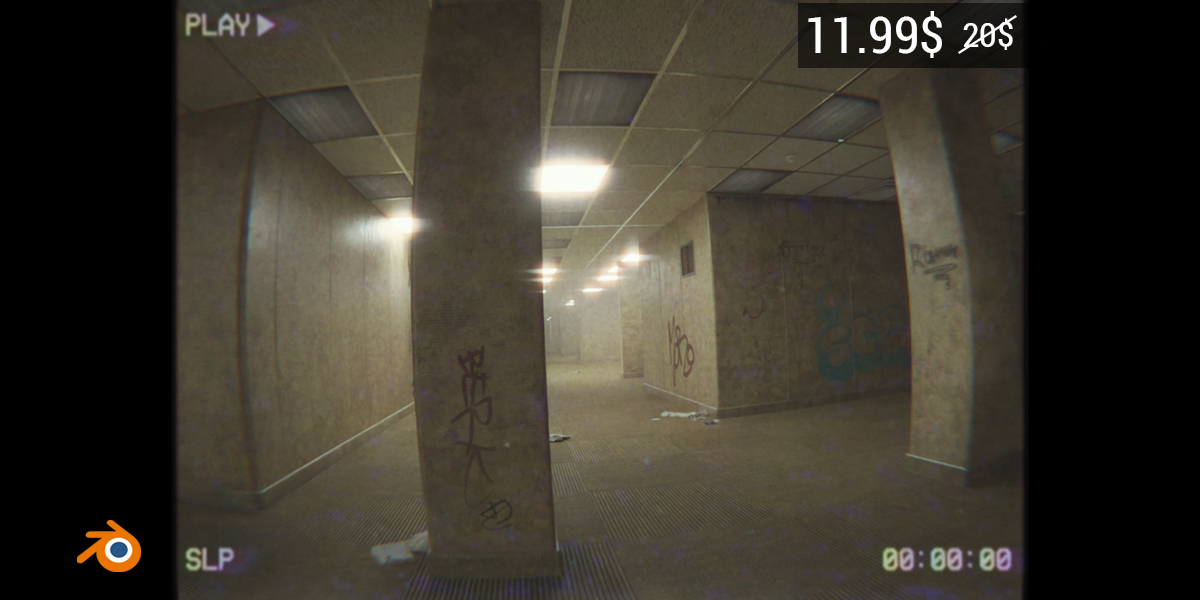
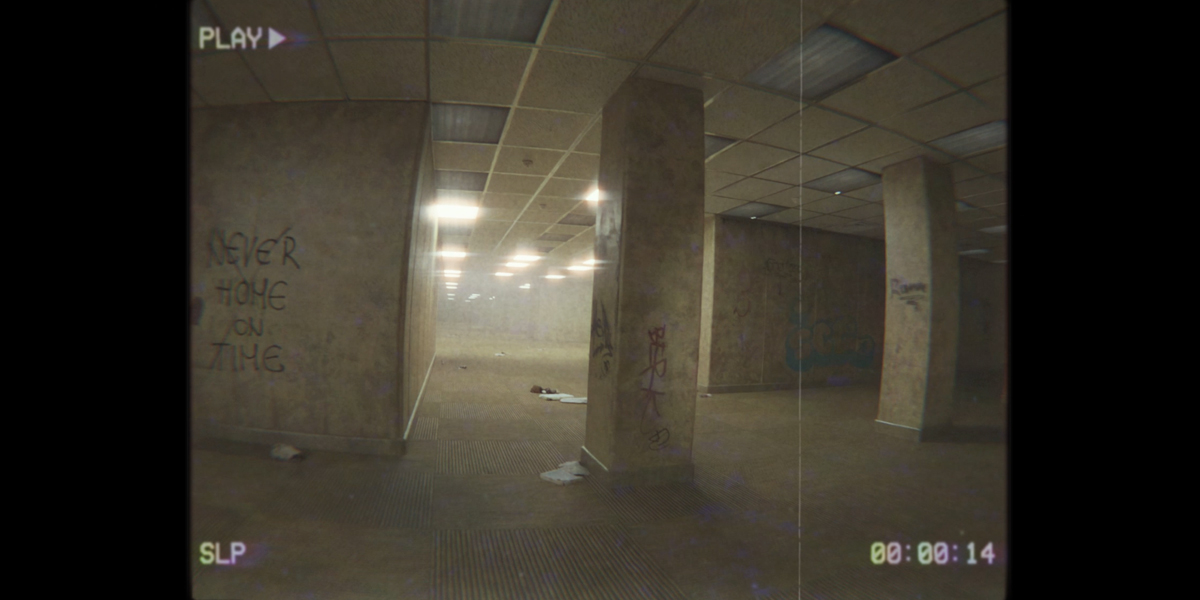
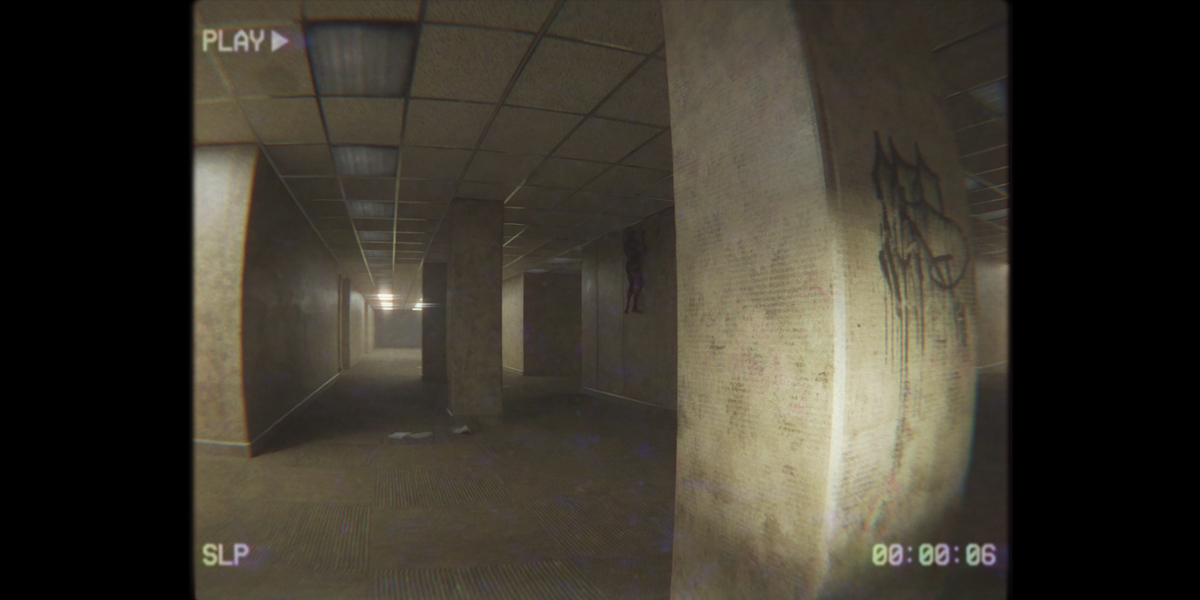
The Backrooms is an urban legend and creepypasta that tells the tale of an endless maze of randomly generated office rooms. It is characterized by the smell of wet carpet, walls with a monochromatic tone of yellow, and buzzing fluorescent lights. Although Internet users have expanded upon this concept by creating different "levels" and "entities" of the Backrooms. The Backrooms soon became popular from writers and Internet users.
Backrooms has become so viral that hundreds of new videos can be found on YouTube every day, some of them with millions of views. The most popular channel on this topic is Kanel Pixels with 1.35 million subscribers, most gathered in just a few months after the release of the first Backroom video.
Maybe it's time for you to get involved in this story. This detailed tutorial is the right place to start.
This tutorial captures every step of creating a Backrooms video that you can see in the video above. Even if you are a beginner in Blender, you can follow this tutorial.
BONUS: Buyers of this tutorial will receive as a gift another closely related tutorial - Creating Asteroid Scene In Blender (Backrooms, Cinematic)
Part 1 - 46 min
- Introduction
- Modeling rooms, walls, ceiling
- Creating materials
- Camera setup
- Creating lighting
Part 2 - 43 min
- Creating walls and mazes
- Ventilation modeling
Part 3 - 40 min
- Smoke detector modeling and texturing
- Pipe modeling and texturing
- Compositing in Blender
- Adding mist and camera imperfections
- Adding graffiti and dirt to the walls
Part 4 - 36 min
- Add details (cables, trash, edges)
Part 5 - 60 min
- Creating details
- Camera animation (2 ways)
- Import and animate reptile (Mixamo)
- Rendering and exporting animation from Blender
Part 6 - 41 min
- Post-processing in After Effects (if you do not use After Effects, this part is optional, it can also be done in a blender)
- Finding and adding VHS Overlays
- Creating sound effects
Take a look at my other tutorials
|
Blender 3 + Reality Capture 5h Tutorial
|
Cinematic Look With Blender 3.0
|
|
Old Apple Macintosh Cinematic Look Tutorial
|
Creating A Movie Scene In Blender
|


