Audvis - Audio Visualization
Full documentation
How to Start
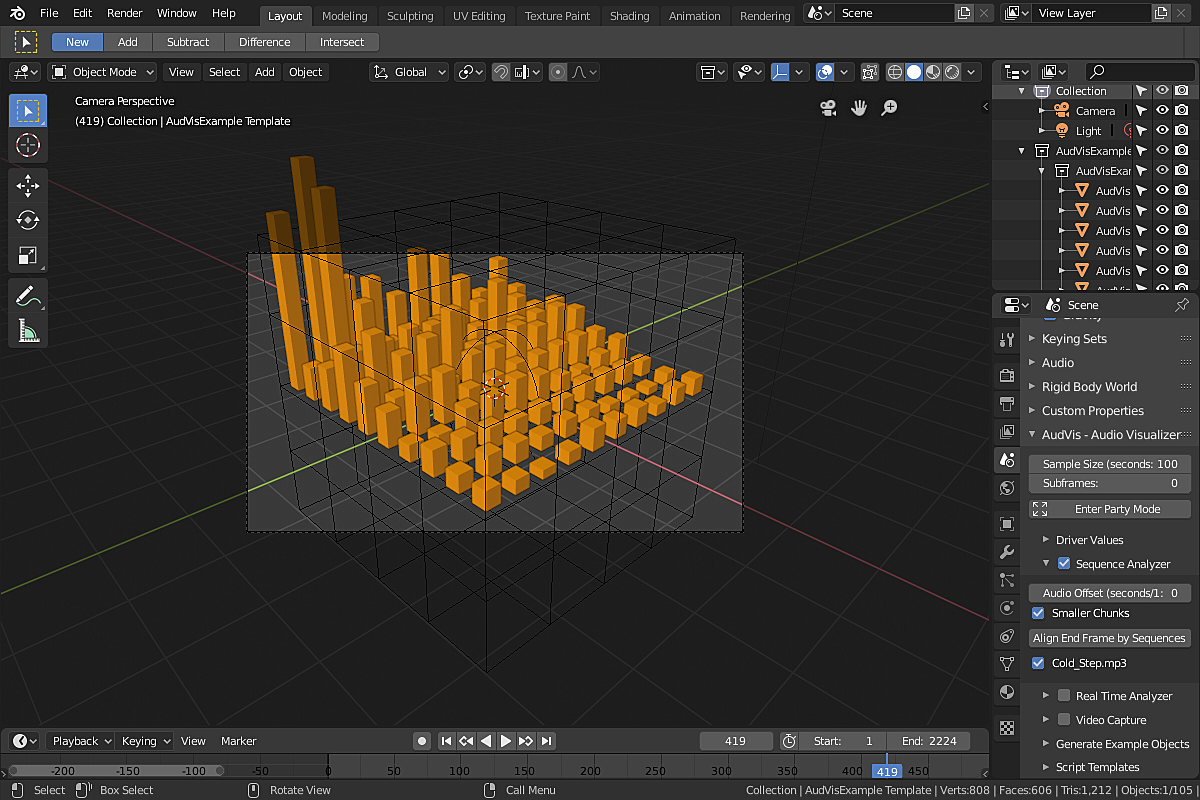
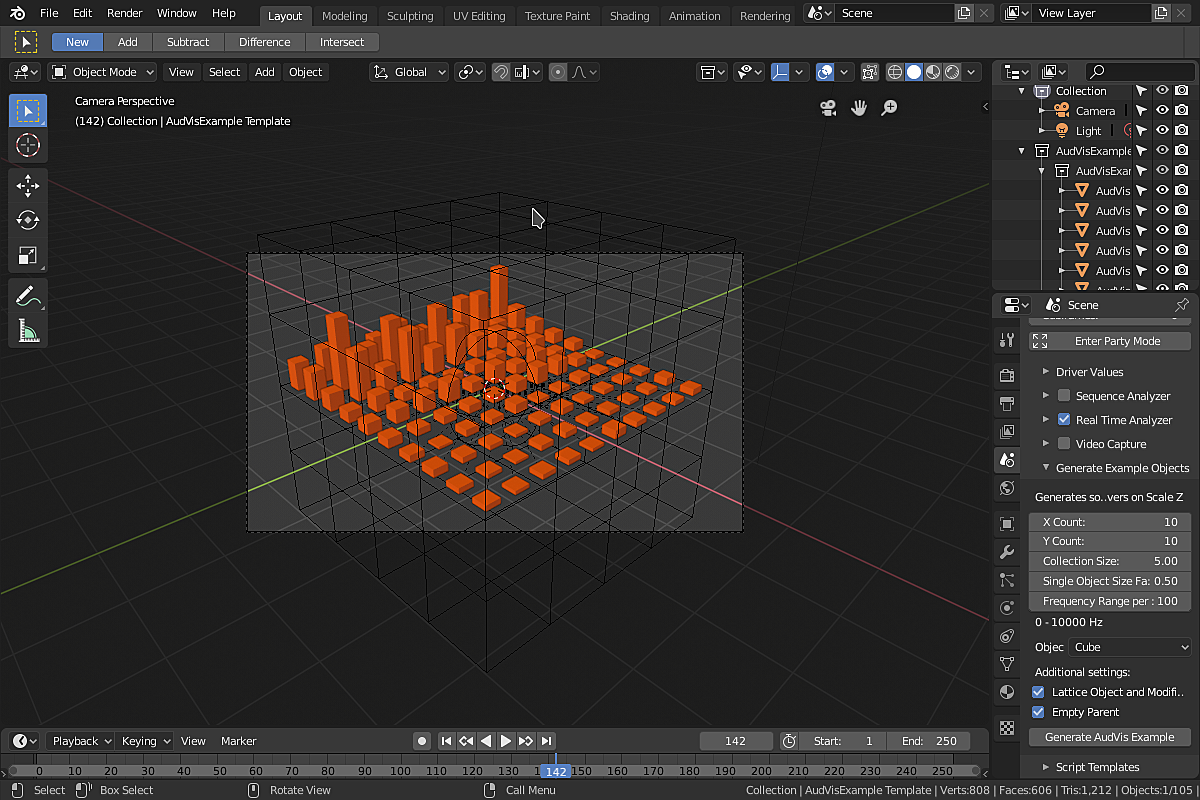
AudVis user interface is in two places: in 3d view, press N to show N-panel, and select AudVis submenu. In the Scene properties, select "AudVis" submenu.
Notice: if you want to see instantly all changes made in this submenu, keep the animation playing (press spacebar to toggle animation play).

How to animate (almost) anything
In the 3d view, select any object. Press key "N" to show right panel with transformation values. Right click on any numeric value and if you see "Add driver", you can animate it with drivers.
Select "Add driver". In the field "Expression" write something like this:
audvis(20, 200) / 3
This expression means "set this value according to occurence of frequencies 20 Hz - 200 Hz in the current chunk of sound, and divide it by 3". You will need to experiment with numbers a bit to get the best results.
Feel free to experiment with the drivers anywhere. With drivers, you can animate almost anything. Try basic transformations (location, rotation, scale), material nodes, compositor nodes, constraints, modifiers, shape keys, some particles or physics...

Generate Example Objects
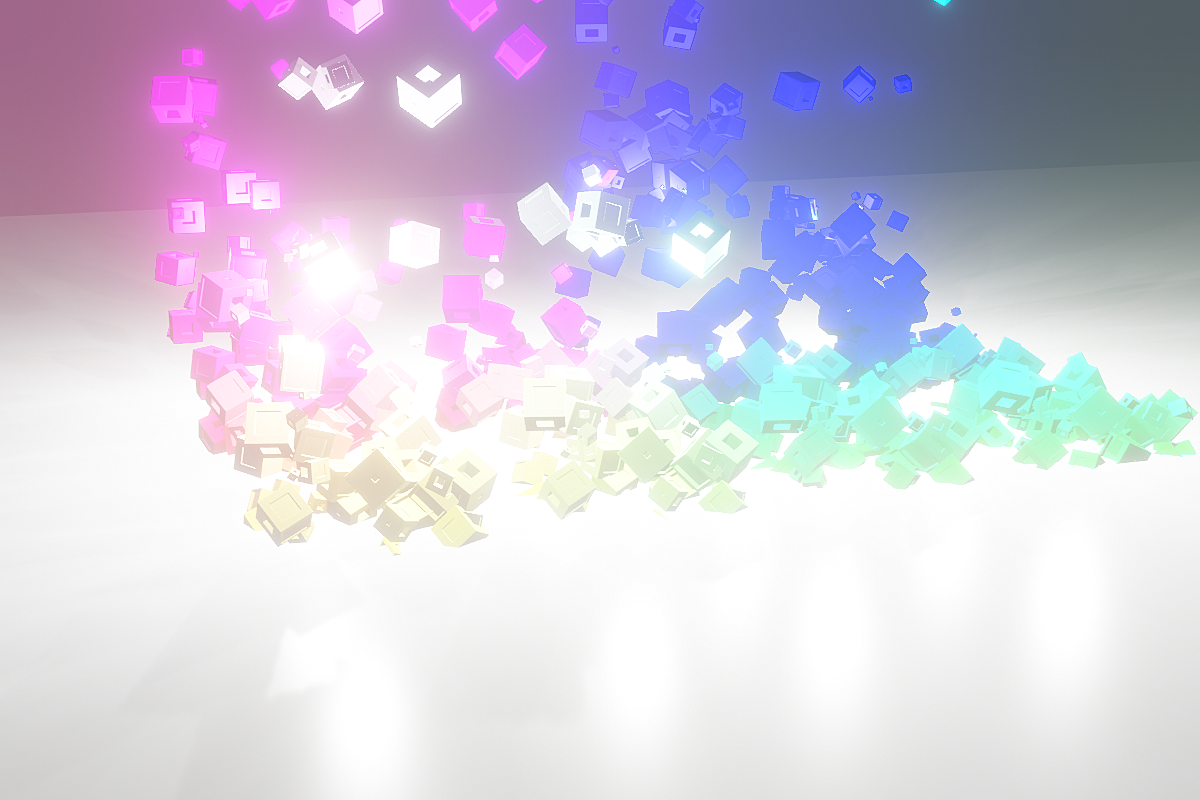
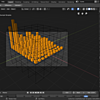
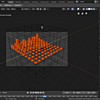
You can generate a bunch of objects with drivers on scale, rotation or location with it's own frequency.
Shape - Gridem> makes you a grid of objects. Circle puts the objects to the circle, and when set to Curve, you have to select the Curve object on which the new object will be placed. In case you have selected a Curve, you can of course animate the path. 
X Count, Y Count and Z Count means you will get X*Y*Z objects (for example 20*15*2). In case you have set Shape to Curve or Circle, Y Count means count of rings and X Count means circle points. So you probably want to have X Count > Y Count. Z Count
Collection Size is used to calculate the bounds where to put all the new objects.
Scale:
- Relative - size of each generated object will be calculated magically. Single Object Size Factor is in the magic process.
- Fixed - you have to set the fixed scale of the objects
- Keep - AudVis will not touch the scale of the generated objects. Useful when copying a selected object.
Frequency Range per Object - if you set this, for example, 50, this means first object in the grid will react to frequencies 0-50Hz in the sound. The second object will react to 50-100Hz, third 100-150Hz...
Frequency Start - start counting on this frequency instead of 0.
Set Custom Step and Frequency Step - if enabled and set to 10, the sequence of frequencies for the objects will be 0-50Hz, 10-60Hz, 20-70Hz...
Objects type
- Cube or Suzanne - creates just a Cubes or many copies of Suzanne, the infamous monkey
- Select Object - you have to select an object to make copies of it
- Random from Collection - choose an collection and AudVis will choose objects from it in the random order
Driver - choose what and how you want to animate. Add field adds this value to the drivers, Factor will multiple the values by this number.
Modify existing drivers - available only if Objects Type is "Select Object". In the original object, create driver (for example Thickness on Wireframe Modifier) and set the expression: audvis() / 3 + .1. Every duplicated object will have it's own expression, in this case audvis(0, 50) / 3 + .1. Works best with Mesh objects.
Randomize Location, Rotation or Scale - if set, the generated objects will be on randomized locations, randomly rotated and/or randomly scaled.
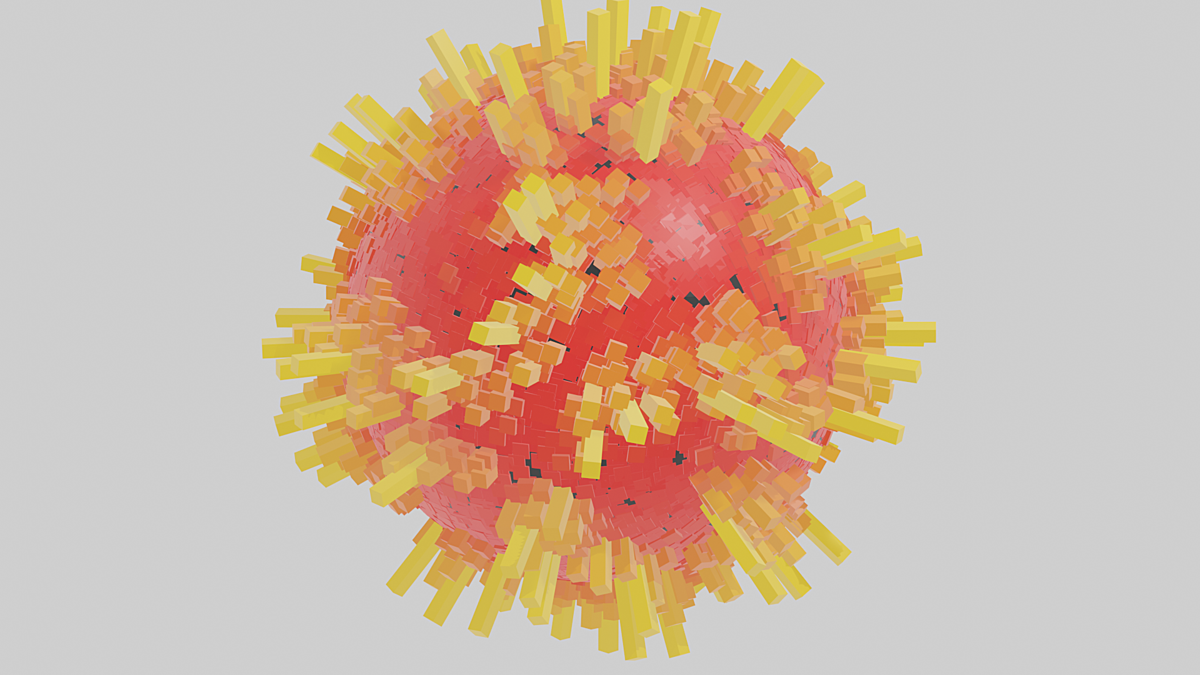
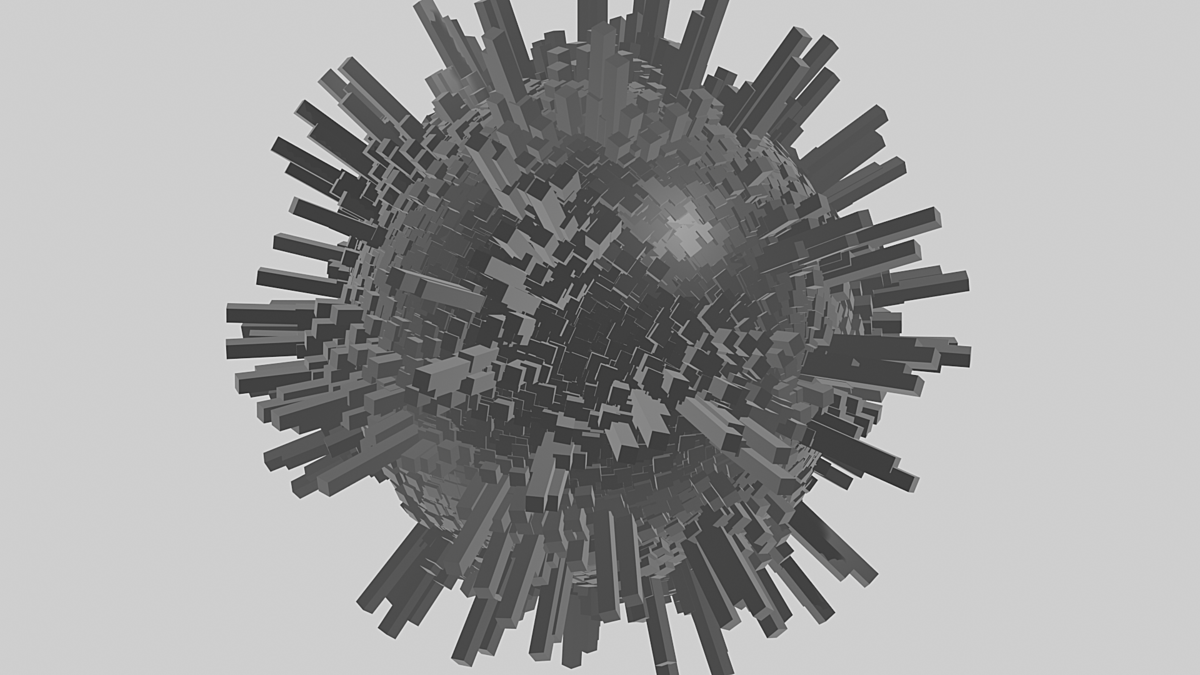
Lattice Object and Modifiers - all objects in the new grid will have lattice modifier and a new lattice object will be created, with one created shape key. So you can just select lattice object, enter edit mode (Tab key), do anything you want (for example Alt+Shift+S is "To Sphere"). From now, the whole new grid of objects will be affected by this lattice. For more informations, search for blender 2.8 lattice
Empty parent - all objects in the new grid will have one parent of type "empty". Resizing, rotating or moving this empty parent will affect all his children.
Material
- Nope - do nothing
- One for All - create one new material and assign it to all the generated objects. The new material is not using nodes.
- Many - Creates a material for each generated object. This can be pretty slow and therefor not recommended. The new materials are not using nodes.
- Copy and Modify - select a material and AudVis will change drivers' expressions the same way as in the case of "Modify Existing Drivers".
Collections - the generated objects are put in the collections named AudVisExample and AudVisExampleRanges. Here you can set what to do with them after generating multiple times.
- Replace by New Ones - the old collections will be deleted
- Keep and Create New ONes - just add new collections, don't delete the old ones
- Reuse - in case you reference somewhere to the collection and you want to regenerate the objects, this setting is what you want.
Finally, press the button Generate AudVis Example.
Notice: this button will also delete previous objects generated this way. To keep multiple groups, rename collection "AudVisExample" to something else, for example, my_visualization.

Sequence Analyzer
If you want to make a music video for a song (or a full album), use Sequence Analyzer. Enable "Sequence Analyzer" and add a sound in Sequencer (create a new workspace "Video Editing" -> "Video Editing"). The button "Add Sount Sequence" is a shortcut to this. Just don't forget to set the Start Frame.
Enable "Smaller Chunks" option if you are working with huge music files to prevent problems with high memory usage.
You can allow or disable any sound sequence by marking and unmarking the checkbox left to the name of the sequence.
By playing around "Audio Offset" setting, you can (un)synchronize sound with picture.
Button "Align End Frame by Sequences" sets the value of end frame (default 250) to last frame of any sequence in sequence editor. This is useful if making a music video with Sequence Analyzer.
Notice: Loading sound data occurs after stepping the current frame (right/left arrow) or by playing animation (spacebar). When this loading occurs by playing animation, sound and picture can be out of sync. When this happens, just pause and play the animation again. This problem does not apply when rendering.

Real Time Analyzer
If you want to use Real Time Analyzer, you will need to install python package "sounddevice". Press Install button and wait if it works. If doesn't:
- It's possible you will need to install Microsoft Visual C++ 2015 Redistributable Update 3 RC.
- Try running Blender as Administrator, and press install button again. (how to run a program as administrator)
If the Install button still doesn't work, run this command in your command line or terminal:
    cd /where/is/your/blender/installed
    ./2.80/python/bin/python3.7m -m ensurepip
    ./2.80/python/bin/python3.7m -m pip install sounddevice
When you have everything installed, you just need to allow Real Time Analyzer by marking a checkbox.
Now play some music in any music player or in web browser. Or plug in a sound input to your computer.
Some sound configuration in your operating system can be needed. On Windows, search for "Stereo Mix". On Linux, install Pavucontrol and enable/disable microphones if needed.
Notice: if you plan using Real Time Analyzer seriously, don't forget to temporarily turn off all automatic updates (system updates, Java updates), automatic sleep, automatic screen lock, turn off your e-mail client notifications to not get disturbed by unnecessary notifications or anything else. And also don't forget to put your laptop on charger.

Midi File and Midi Realtime
You can easily animate also with notes in .mid files, or by notes and CC with Midi Realtime - absolutely insane feature
Shape Modifier
Shape Modifier makes two shape keys - original and target. In every frame it copies data (like location) from original shape key into the target, and modifiers every vertex.


Spectrogram
Generates an spectrogram image. It can be used as a material texture, hair length texture, or anywhere else.
Video Capture
If enabled, a new image with name "audvis.jpg" will be created and periodically updated by a picture taken from your webcam. While playing animation, this projects a live video directly onto your materials.
Notice: the image is first saved to the disk and then loaded. If you have HDD, this can be a little bit slow. If you have SSD, this can cause some wear out. You can change the place where AudVis saves the temporary files in Blender Preferences / File Paths / Data / Temporary Files (restart Blender after changing this setting).

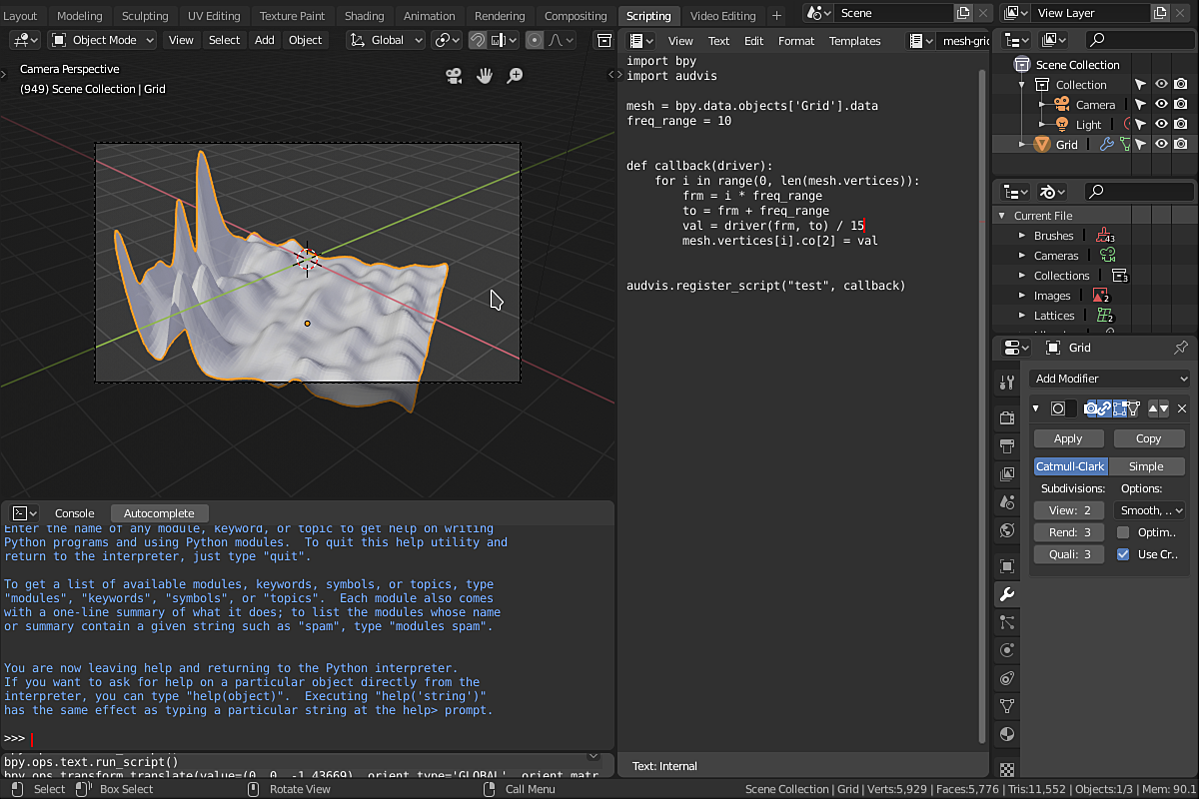
Scripting
If you don't have Scripting workspace (in the top row in Blender), add a new workspace by clicking on "+" on the right of the workspace list, and choose General > Scripting. Select template from Templates -> AudVis Script Templates
Now you can run the script (Alt+P). First parameter "name" in the function register_script is there for rewriting callback by name so you can run the script as many times as you want.
Notice: if you want to play with scripting, you will need to read a lot of reference manual for Blender Python API.
