 blidART
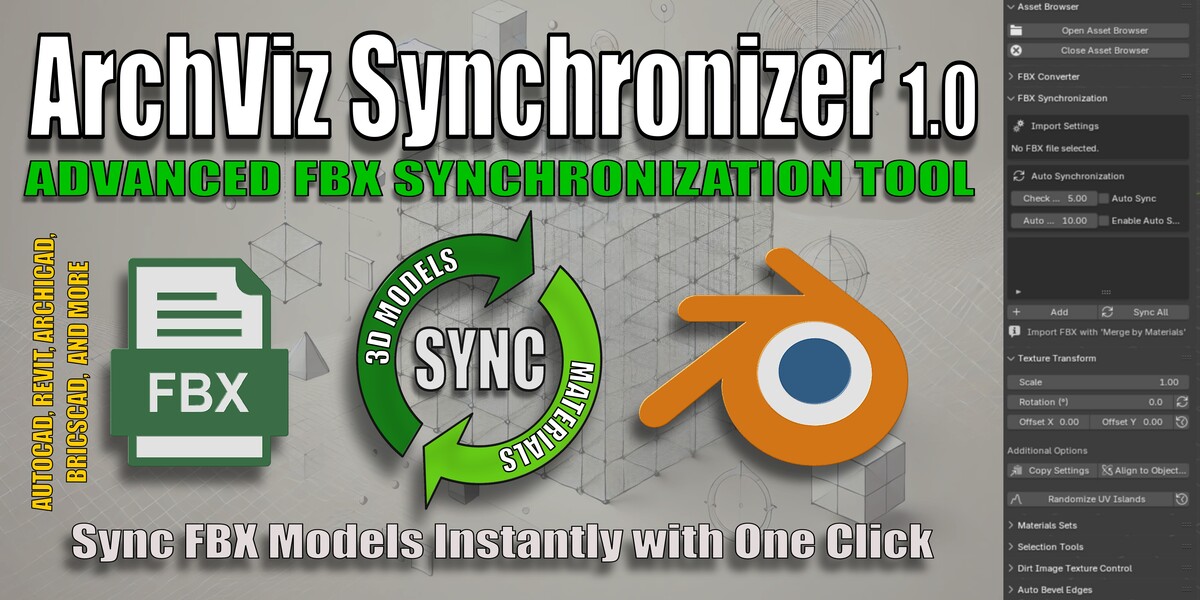

ARCHVIZ SYNCHRONIZER
Version 1.0
Author: Łukasz Izdebski
Introduction
Archviz
Synchronizer is an advanced tool developed by Łukasz Izdebski,
specializing in modern architectural design and 3D visualization.
Tailored for professional architects and 3D artists, this add-on
simplifies complex tasks associated with architectural visualization
projects in Blender. Archviz Synchronizer turns tedious operations
into streamlined workflows, covering processes like FBX
synchronization, UV mapping, and geometry optimization.
Key
strengths of the add-on include:
- One-Click Operations: Execute
complex tasks effortlessly using an intuitive interface.
-
Automation: Manages FBX imports, UV setups, and material assignments
automatically, minimizing errors and saving time.
- Versatility:
Packed with tools to handle geometry, textures, and object selection,
ideal for extensive architectural scenes.
Table of Contents
-
Introduction and Installation
-
Interface and Basic Settings
-
Module 1: Asset Browser
-
Module 2: FBX Converter
-
Module 3: FBX Synchronizer
-
Module 4: Textures Transforms
-
Module 5: Materials Sets
-
Module 6: Selection Tools
-
Module 7: Quick Dirt
-
Module 8: Auto Bevel
-
Examples and Use Cases
-
Troubleshooting and Best Practices
-
Integration, Extensions, and Technical Documentation
-
Summary and Final Tips
Introduction and Installation
Purpose of the Addon:
Archviz
Synchronizer is a comprehensive set of tools designed to streamline
the workflow for architectural visualization projects in Blender. It
synchronizes FBX files, manages UVs, and handles asset organization,
among other functions.
Installation Instructions:
-
Open Blender and navigate to Edit > Preferences > Add-ons.
-
Click the “Install…” button and select the ZIP file containing the addon.
-
After installation, enable the addon by checking its box in the Add-ons list.
-
Ensure that you are using Blender version 4.2 or later, as specified in the addon metadata.
Interface and Basic Settings
User Interface Location:
-
Sidebar Panel: The primary tools of the addon are located in the “ArchViz Synchronizer” tab within the Sidebar (N-panel) of the 3D Viewport.
-
Addon Preferences: Access the addon’s preferences via Preferences > Add-ons > Archviz Synchronizer to open the User Guide and view additional information.
Configuration:
Upon first launch,
review the global settings that affect all modules, such as scale
factors, orientation parameters, and backup file locations. These
settings ensure consistency across all operations.
Module 1: Asset Browser
Module Purpose:
The Asset Browser
module combines custom zoom functions with an asset browsing panel,
allowing quick previews and access to project assets.
Key Features:
-
Custom Zoom: The operator (VIEW3D_OT_CustomZoomToSelected) zooms in on selected objects or mesh elements, adjusting the view to a set distance.
-
Zoom to All: The VIEW3D_OT_ZoomToAll operator adjusts the view to encompass all objects in the scene.
-
Asset Browser Panel: Located in the Sidebar, this panel provides buttons to open and close the asset browser, which is integrated into the File Browser interface.
How to Use:
-
Select the objects or mesh elements you wish to focus on.
-
Activate the custom zoom function via the panel button.
-
To view assets, click “Open Asset Browser” – the addon will create a new File Browser area configured to display your assets.
Module 2: FBX Converter
Module Purpose:
The FBX Converter
module facilitates the import of various formats (FBX, OBJ, DAE, 3DS)
by automatically normalizing names (removing diacritical marks),
saving import parameters to JSON, and re-exporting models with a
standardized naming convention.
Key Features:
-
Name Simplification: The simplify_name function standardizes model names by removing non-ASCII characters and replacing non-alphanumeric characters with underscores.
-
Import Backup: Import parameters are stored in a JSON file to allow for re-import and verification of settings.
-
Scene Organization: After import, models are organized into dedicated collections for easier management.
How to Use:
-
Access the import operator via File > Import or through the Sidebar panel.
-
Select the file you wish to import; the addon will automatically process the filename.
-
The imported models will be organized into a new collection, and their import parameters will be saved for future reference.
Module 3: FBX Synchronizer
Module Purpose:
The FBX Synchronizer
module manages the synchronization of FBX files, including geometry
cleaning, local axis alignment, and automatic backup creation.
Key Features:
-
Geometry Cleanup: Functions like limited_dissolve help clean up the mesh by removing unnecessary vertices and dissolving small edges.
-
Axis Alignment: The module uses functions (for example, align_axes_without_changing_visual) to align object axes accurately without altering their visual orientation.
-
Backup and Logging: Automatic saving of the .blend file state and logging of synchronization operations provide an extra layer of security.
How to Use:
-
Trigger the synchronization from the Sidebar; the addon will automatically detect changes in the geometry.
-
Once synchronization is complete, a backup file and a log of operations will be created automatically.
-
In case of issues, you can restore the backup from the designated folder.
Module 4: Textures Transforms
Module Purpose:
Textures Transforms
enables real-time transformation of textures. It allows you to adjust
UV scales, rotations, and offsets interactively.
Key Features:
-
Dynamic Scaling and Rotation: Users can modify the texture scale and rotation angle through an intuitive interface.
-
UV Offset Adjustment: Precisely control the texture’s X and Y offsets.
-
Settings Persistence: Current texture transformation settings can be saved to a JSON file and reloaded later.
How to Use:
-
Select an object with an active material that includes a Mapping node.
-
Adjust the scale, rotation, and offset values in the UV Tools panel within the Sidebar.
-
Changes are applied immediately in the 3D View, allowing you to fine-tune the texture appearance.
Module 5: Materials Sets
Module Purpose:
The Materials Sets
module lets you save and restore material configurations for FBX
objects. This makes it simple to switch between different material
setups.
Key Features:
-
Material Backup: Automatically save material configurations to JSON files.
-
Material Restore: Restore saved material sets from a list displayed in the panel.
-
Filtering and Browsing: Easily search through available material sets and manage them with options to restore, overwrite, or delete.
How to Use:
-
After importing an FBX file, the module automatically searches for available material sets.
-
Select the active FBX file from the list and browse through the material sets.
-
Use the “Restore”, “Overwrite”, or “Delete” buttons to manage the material sets as needed.
Module 6: Selection Tools
Module Purpose:
The Selection Tools
module provides functions to save and restore object selections,
which is particularly useful when working with complex scenes.
Key Features:
-
Save Selections: An operator allows you to save the current selection by entering a custom name.
-
Restore Selections: A panel displays saved selections; choosing one restores the corresponding object selections automatically.
-
Delete Selections: Remove unwanted saved selections to keep the list current.
How to Use:
-
Select the objects you want to save as a selection group.
-
Execute the “Save Selection” operator and provide a name for the group.
-
To restore a saved selection, simply choose it from the list in the Selection Tools panel.
Module 7: Quick Dirt
Module Purpose:
Quick Dirt adds a dirt
effect to materials on selected objects. It enhances the realism of
your models by simulating natural wear.
Key Features:
-
Dirt Effect Application: Automatically adds a dirt texture node to materials.
-
Parameter Control: Adjust scale, offsets, strength, intensity, and dirt color interactively.
-
Custom Texture Loading: Load custom dirt textures from a specified folder; by default, the addon uses a texture folder within its directory but you can change it.
How to Use:
-
Select the objects to which you want to apply the dirt effect.
-
In the Quick Dirt panel, set the custom texture folder (if desired) and adjust the effect parameters.
-
Click “Apply Dirt” to add the dirt effect to the materials.
-
If needed, the module also offers an option to restore the original material state.
Module 8: Auto Bevel
Module Purpose:
The Auto Bevel module
automatically adds or removes a Bevel node in materials, allowing you
to create rounded edges on selected objects quickly.
Key Features:
-
Add Bevel: The OBJECT_OT_AddBevel operator scans through the materials of mesh objects and adds a Bevel node with specified sample counts and radius settings.
-
Remove Bevel: The OBJECT_OT_RemoveBevel operator removes the Bevel node, restoring the material to its original state.
-
Dynamic Updates: Parameters such as display_radius and bevel_samples are updated dynamically so you can adjust the bevel effect in real time.
How to Use:
-
Select the mesh objects you wish to modify.
-
Run the operator to add the bevel effect. The addon checks for an existing Bevel node to avoid duplication.
-
To remove the bevel, simply execute the removal operator, which will reconnect any affected nodes to restore the material.
Examples and Use Cases
Example 1 – Synchronizing an FBX Model:
-
Import your model using the FBX Converter, run the synchronizer to clean and align the geometry, and then apply Quick Dirt and Auto Bevel for realistic finishing.
Example 2 – Managing Materials:
-
Use the Materials Sets module to save different material configurations. Later, adjust textures with the Textures Transforms module for a perfect look.
Example 3 – Working with Selections:
-
Save an important selection using the Selection Tools module and restore it later to quickly modify specific groups of objects in complex scenes.
Troubleshooting and Best Practices
Common Issues:
-
Zoom Not Working: Make sure you have selected the appropriate elements (in Object or Edit mode) before using the custom zoom function.
-
FBX Import Problems: Check that your file names do not contain unusual characters—simplify_name should fix them, but manual verification might be needed.
-
Synchronization Errors: Always save your .blend file before starting synchronization to enable proper backups.
Best Practices:
-
Regularly check the Blender console for error messages.
-
Test each module on a small scene before applying it to larger projects.
-
Backup your work frequently using the automatic backup functions available in the FBX Synchronizer and Materials Sets modules.
Integration, Extensions, and Technical Documentation
Extending the Addon:
-
Users can integrate additional scripts or plugins with the Archviz Synchronizer framework to further expand its functionality.
-
For instance, you can modify the Auto Bevel module to include additional geometry control parameters.
Technical Documentation:
-
The internal documentation is available within each module’s code files (e.g., init.py, Asset_Browser.py, etc.).
-
Detailed function descriptions, parameters, and usage examples are provided for developers who wish to customize the addon.
Support:
-
For questions or issues, contact the addon author or visit the dedicated Blender community forum.
-
Keep an eye on updates for bug fixes and new features.
Summary and Final Tips
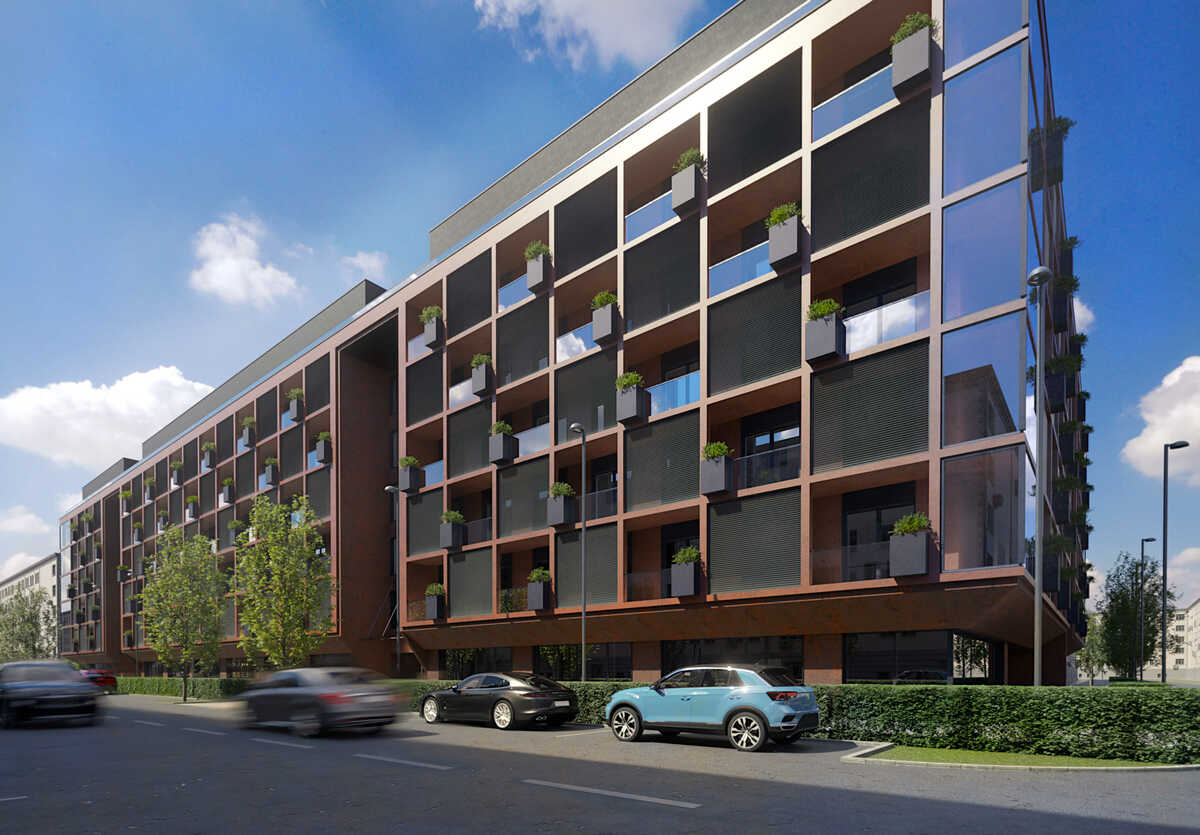
Archviz Synchronizer is an advanced Blender add-on developed by BlidART Architektura that streamlines and automates architectural visualization workflows. This tool provides a wide range of features, from FBX file synchronization and material management to advanced UV mapping and realistic dirt effect application.
With a simple, intuitive interface, Archviz Synchronizer allows users to save time and reduce errors when working on large, complex projects. Each module is designed with efficiency, automation, and ease of use in mind, so architects and 3D artists can focus on the creative aspects of their work rather than technical details.
The add-on offers:
-
Automation: Handles FBX files, materials, and UV mapping without the need for manual intervention.
-
Versatility: Optimized tools for geometry, texture, and scene organization, making them ideal for large architectural projects.
-
Advanced UV Mapping: Quick and precise texture assignment for architectural models, including texture rotation and random tiling.
-
Realistic Dirt Effects: Easy-to-use tools for adding dirt and aging effects to materials, significantly enhancing the quality of visualizations.
-
Automatic Beveling: Automatically smooths object edges using the Bevel node, making models appear more natural and realistic.
Archviz Synchronizer is not just a time-saver but also improves precision and efficiency in the architectural visualization process. With this add-on, working on large scenes becomes simpler and less error-prone, allowing users to focus on design and aesthetics.
Have questions about this product?
Login to message
| Rating | 1 ratings |
| Dev Fund Contributor | |
| Published | 9 days ago |
| Software Version | 4.3, 4.2 |
| Extension Type | N/A |
| License | Royalty Free |