Acoustic Foam Panels
Introduction
Thank you for purchasing this product.
Acoustic foam panels are typical sound-absorbing panels that are used in music rehearsal rooms, recording studios, listening rooms, etc.
They can also be used as an aesthetic element in a room wall.


What do you get
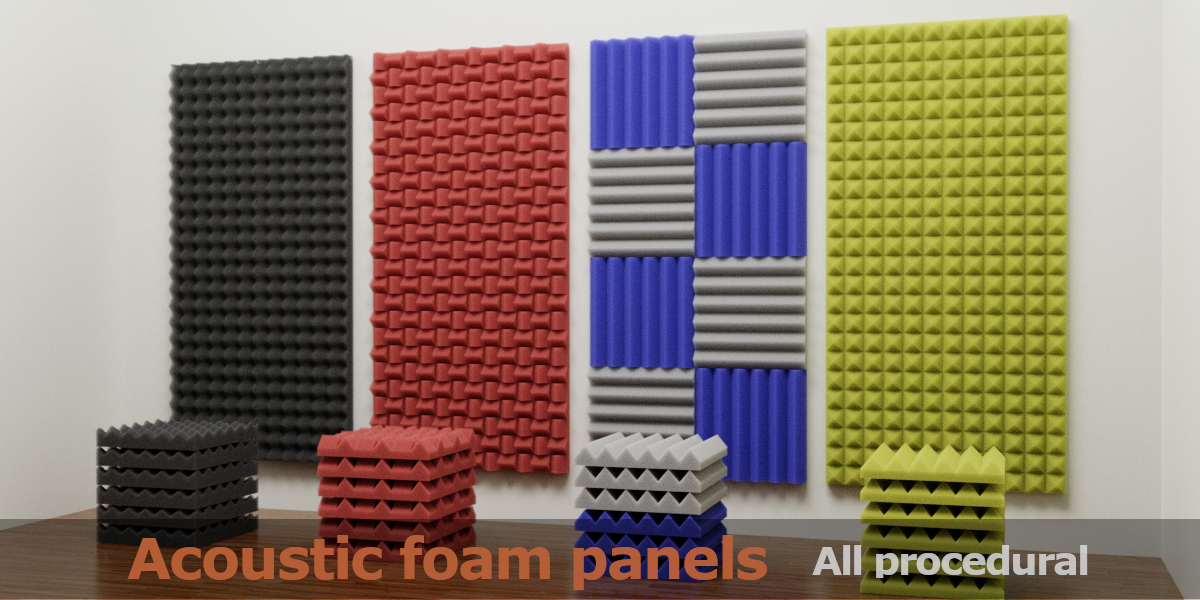
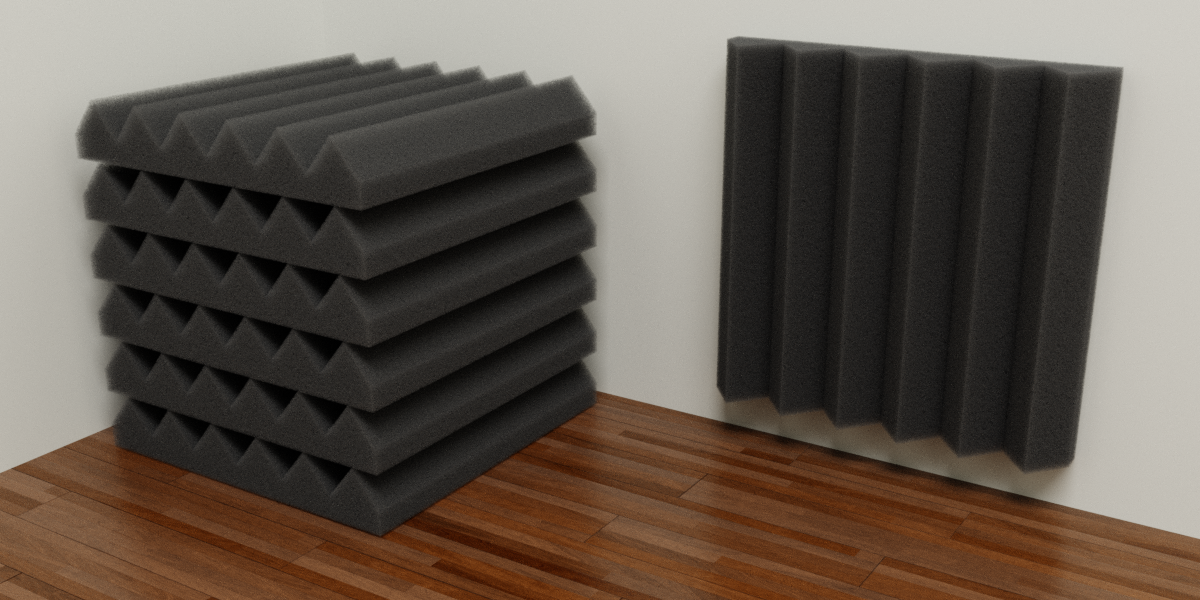
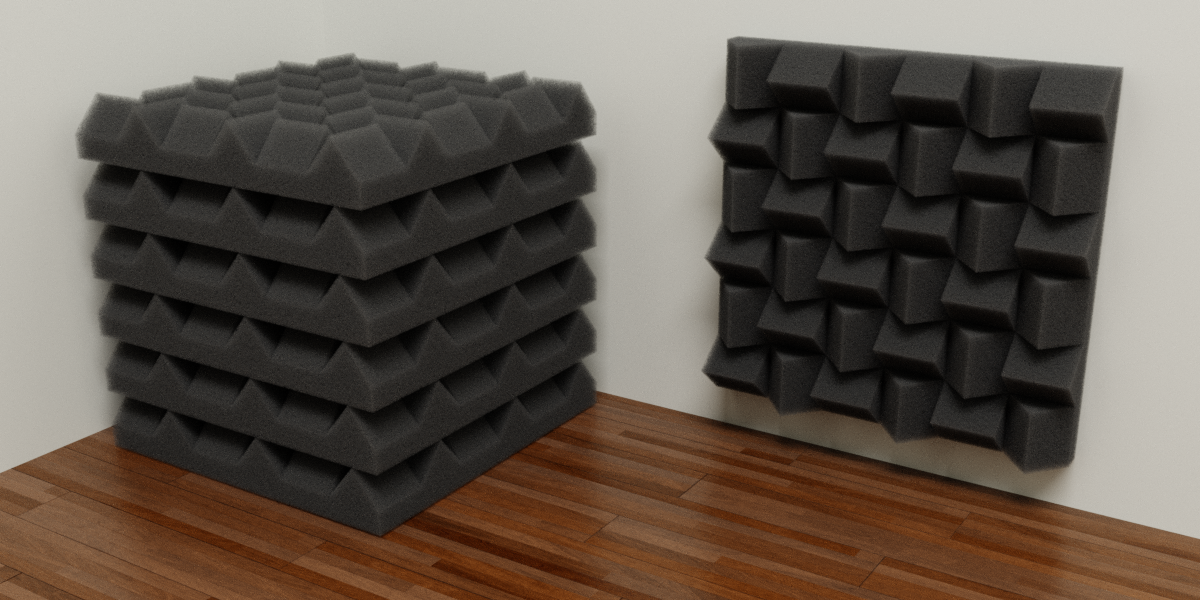
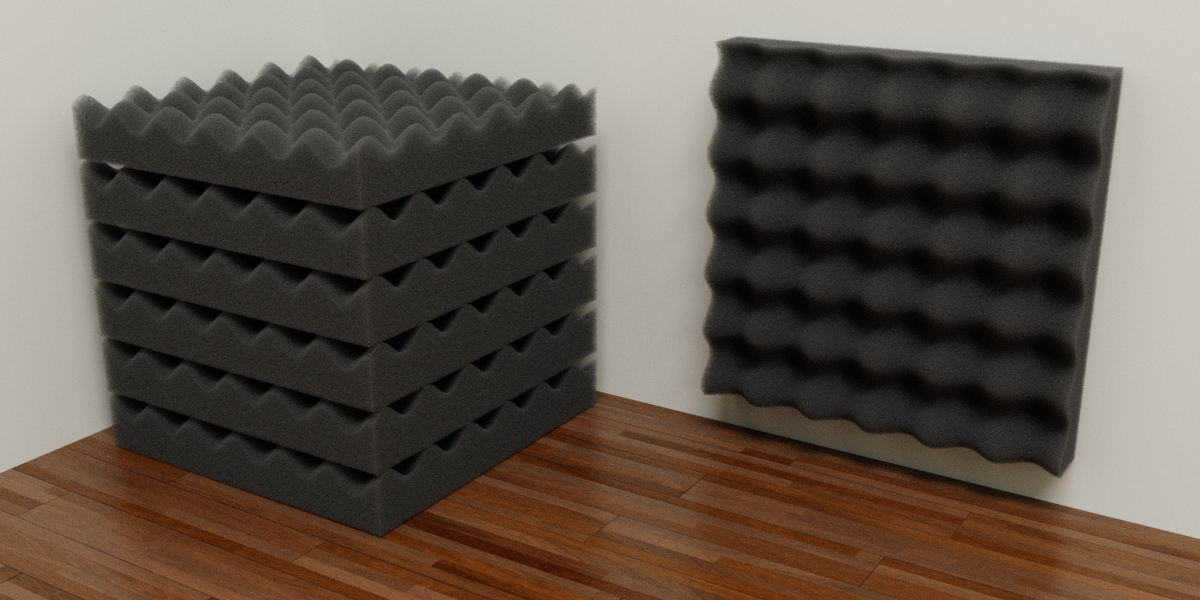
In the .blend file you will find five panel templates with different shape patterns.

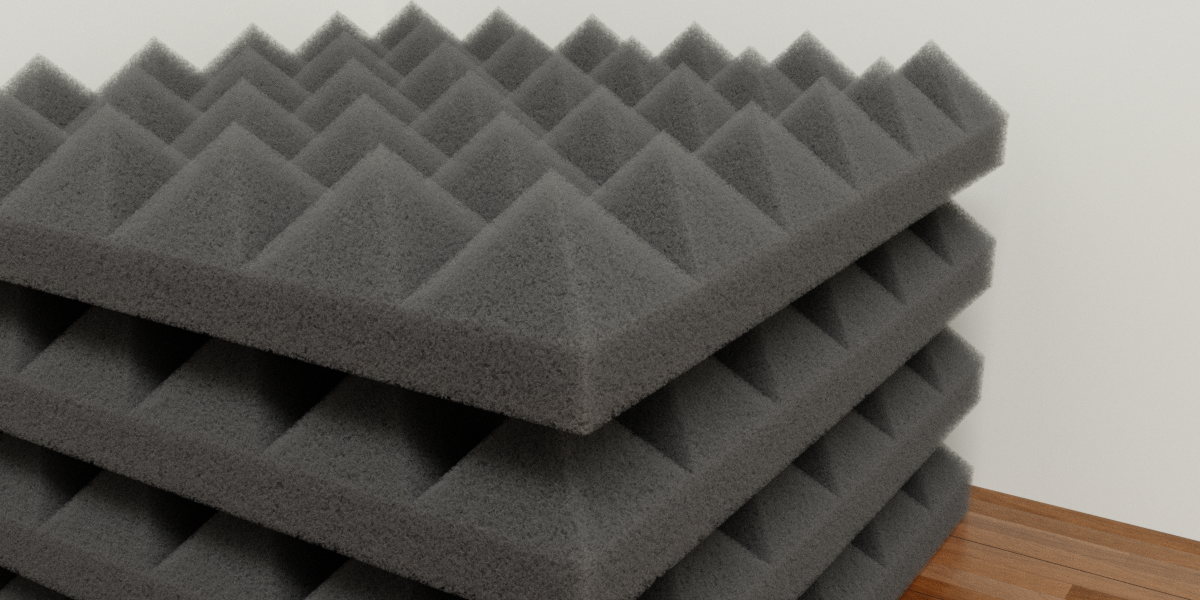
By default, a black foam material (called “SBAPPS Black Foam”) is applied to the models. In addition to this, the project is provided with a volumetric shader (and four materials with different colors obtained from it) which best simulates the typical spongy and soft look of foam panels. All the renders you see here were made with this shader.

How to import it into your project
First of all, obviously, you have to unzip the .zip file downloaded from the store and save its contents in a folder on your computer.
To use templates within your project, use Blender's Append feature.
Open your project and from the file menu choose Append, then browse the files and open the “SBAPPS Acoustic foam panels.blend” file, open the Objects folder and select all items starting with SBAPPS then press the Append button.
In addition to the models and relative modifiers, the default material (“SBAPPS Black Foam”) will also be imported.
If you want to use the other sample materials, use the add function again by choosing the Material folder, then select the materials you want to import.
Modifier parameters
The panels are generated in a procedural way through a geometry node group, it is therefore possible to modify the model geometry by changing some parameters.
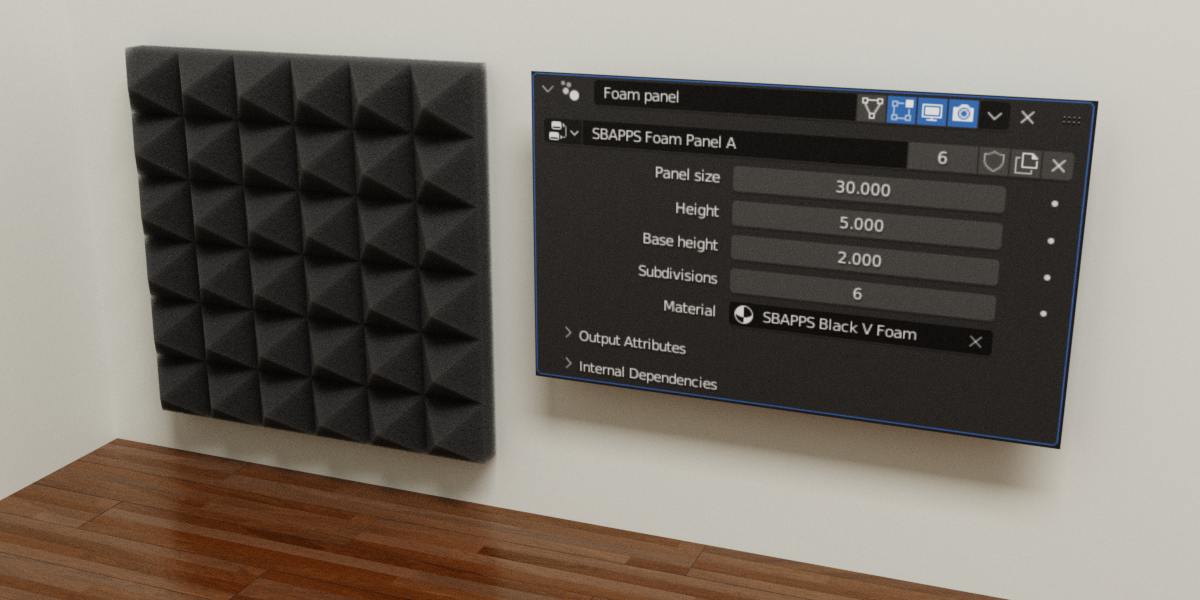
You can access those parameters by selecting the model and in the property editor view the modifier panel, the one indicated by the icon  .
.
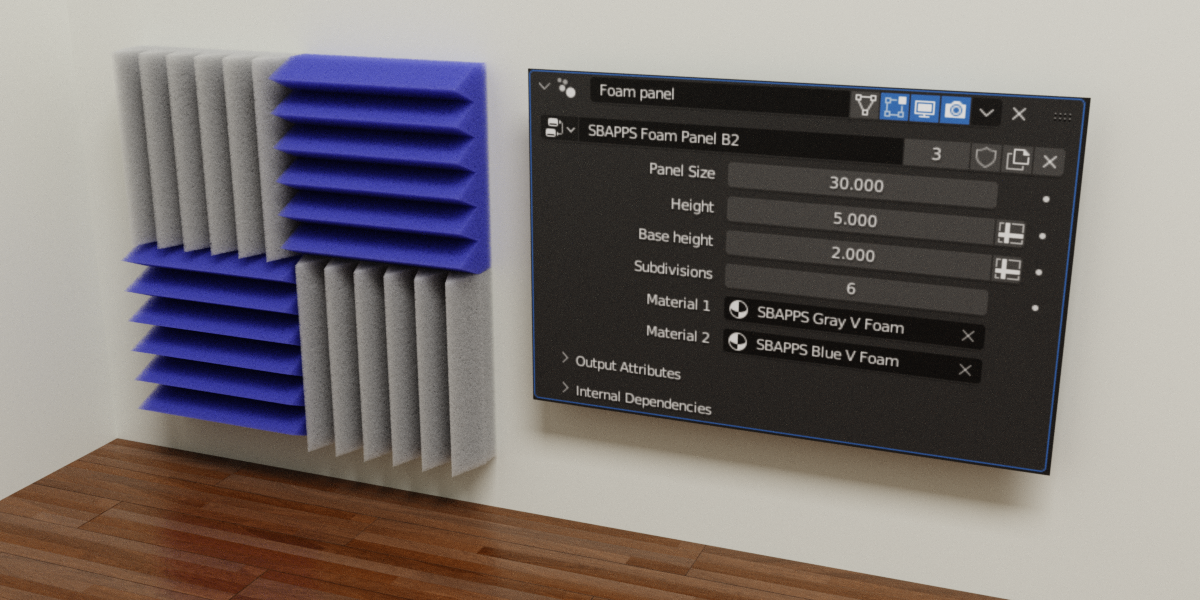
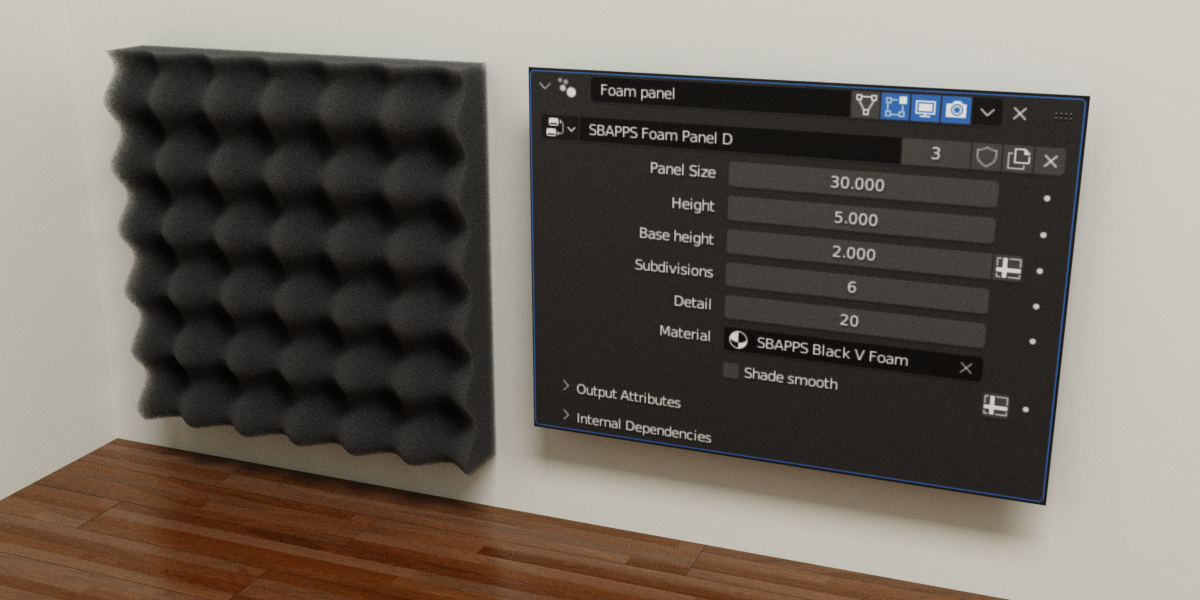
All parameters are the same for panels of type A, B, and C, for panels of type B2 and D they are slightly different.
For the panels of type A, B, and C

Panel size: the length of the side of the panel expressed in centimeters.
Height: the overall height (thickness) of the panel expressed in centimeters.
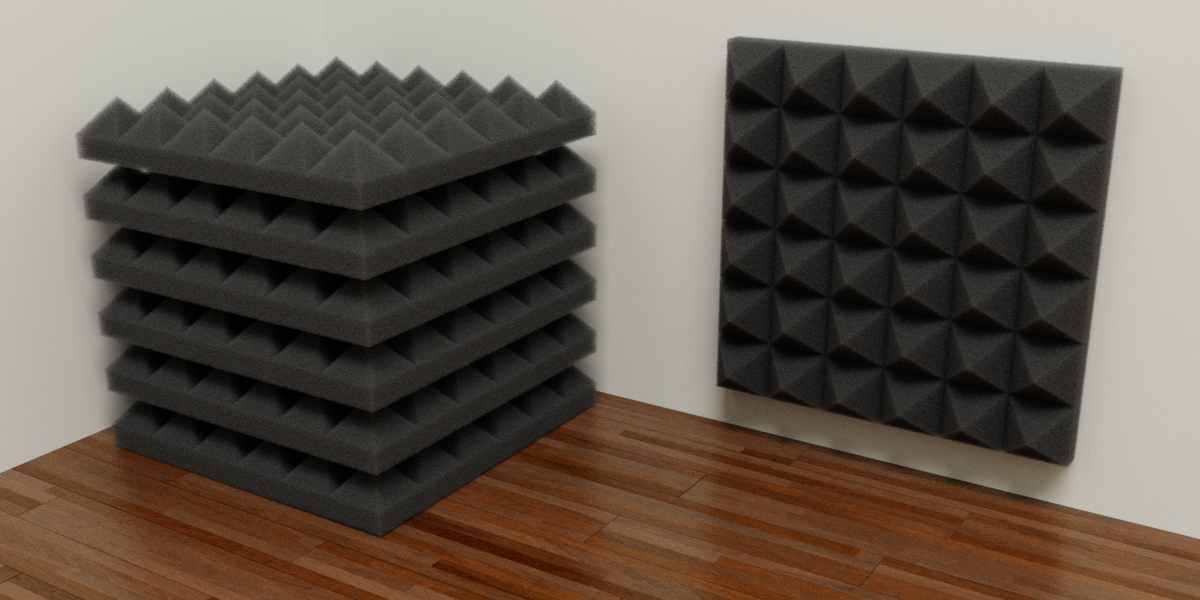
Base height: It is the height from which the bumps of the panel start. For example in the type A panel it is the height at which the bases of the pyramid shapes are located.
Subdivisions: the number of panel bumps.
Material: trivially the material applied to the panel.
For the panel of type B2

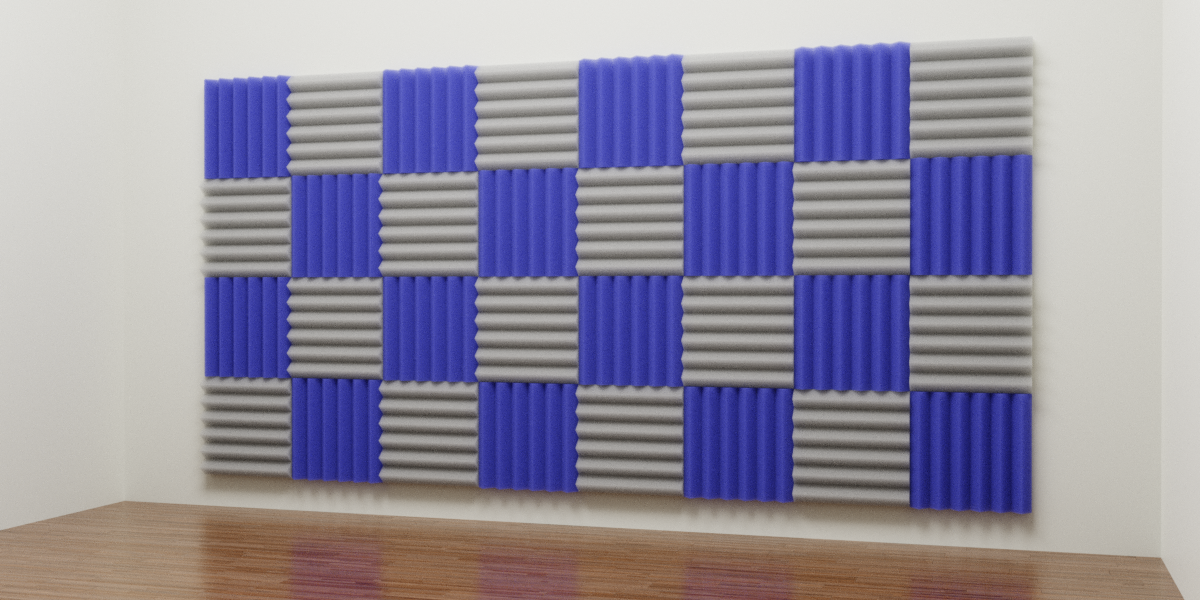
The type B2 panel consists of saw shape bumps oriented horizontally and vertically in a checkerboard pattern.
Material 1: is the material assigned to the horizontal portion of the panel,
Material 2: is the material assigned to the vertical portion.
Panel Size, Height, Base height, and Subdivisions are the same as described above.
For the panel of type D

Detail: controls the number of faces the mesh is divided into.
Leave the default value, increase it only if the mesh is not smooth enough.
Shades smooth: Applies a smooth shading to the mesh. In some cases, it is desirable to disable this parameter.
Panel Size, Height, Base height, and Subdivisions are the same as described above.
Note about shaders and rendering settings
As mentioned above, the project comes with two shaders.
A simpler one is assigned by default to the panels ("SBAPPS Black Foam") and is designed in cases where you want to speed up rendering time or in scenes where the camera is positioned far from the panels and there is no need for high detail. This shader is also usable with Eevee.

if you need a photorealistic result and rendering performance is not an issue then it is better to use one of the volumetric materials provided (“Black V Foam”, “Blue V Foam”, “Gray V Foam”, “Red V Foam” and “Yellow V Foam")


Warning: To assign the material it is not enough to drag it from the asset browser onto the object, you need to set the Material parameter inside the modifier (as shown above)
To get good results with the volumetric shader you need to set some render parameters correctly.
In the “Light Paths” section it is recommended to set the Max Bounces parameter for the Volume at least equal to 4 or higher.

also in the Volume section decrease the value of Step rate render (around 0.1)

In the project, you will find an example scene with the parameters already set to obtain renderings similar to the ones shown here.
Known issue
It may happen that by placing several panels side by side (for example using the Array modifier as in the introduction figure) artifacts appear in the joints between the panels. The problem is caused by overlapping faces between tiled panels and can be worked around by simply spacing the panels apart, adding a small offset to the Array modifier (even 0.0001 units is enough)

Discover more products like this
recording studio foam soundproof Sound-absorbing fluffy material sponge modular acoustic panels panels fluffy acoustic panel customization sound-absorbing panels audio music Music sound diffusion digital room acoustics procedural foam panels wall panel Absorbing panel soundproofing Blender Eevee materials soft material 3D modeling sound panels soft soft foam texture realistic foam material sound dampening materials insulation foam rehearsal room sound insulation soundproof wall panels wall recording music room acoustic treatment acoustic foam panels recording studio
