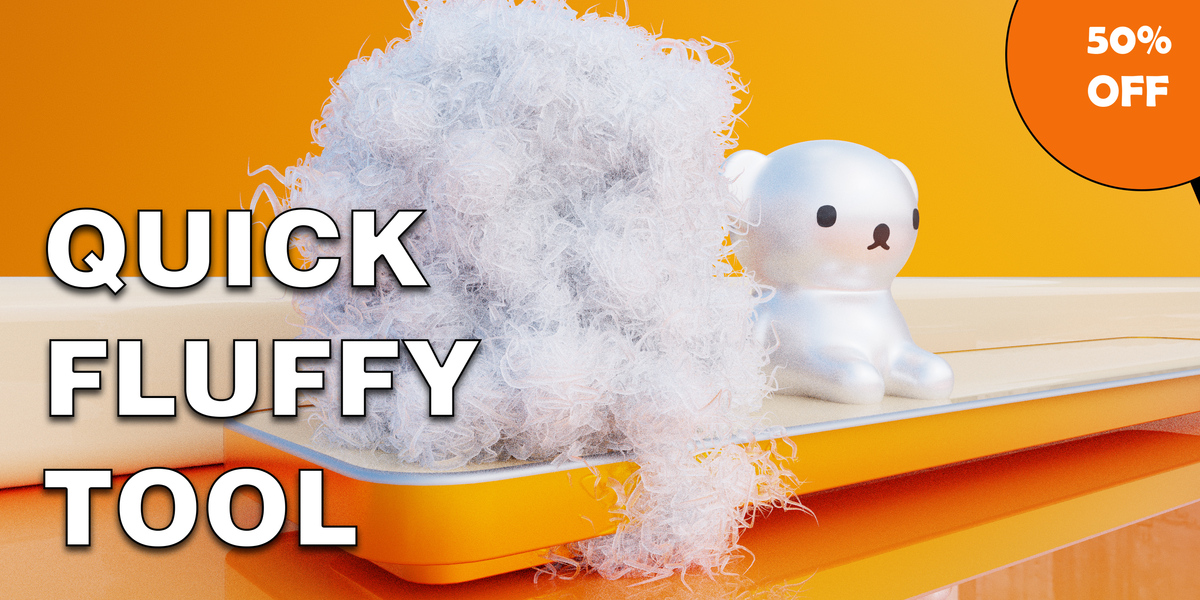
Quick Fluffy Tool
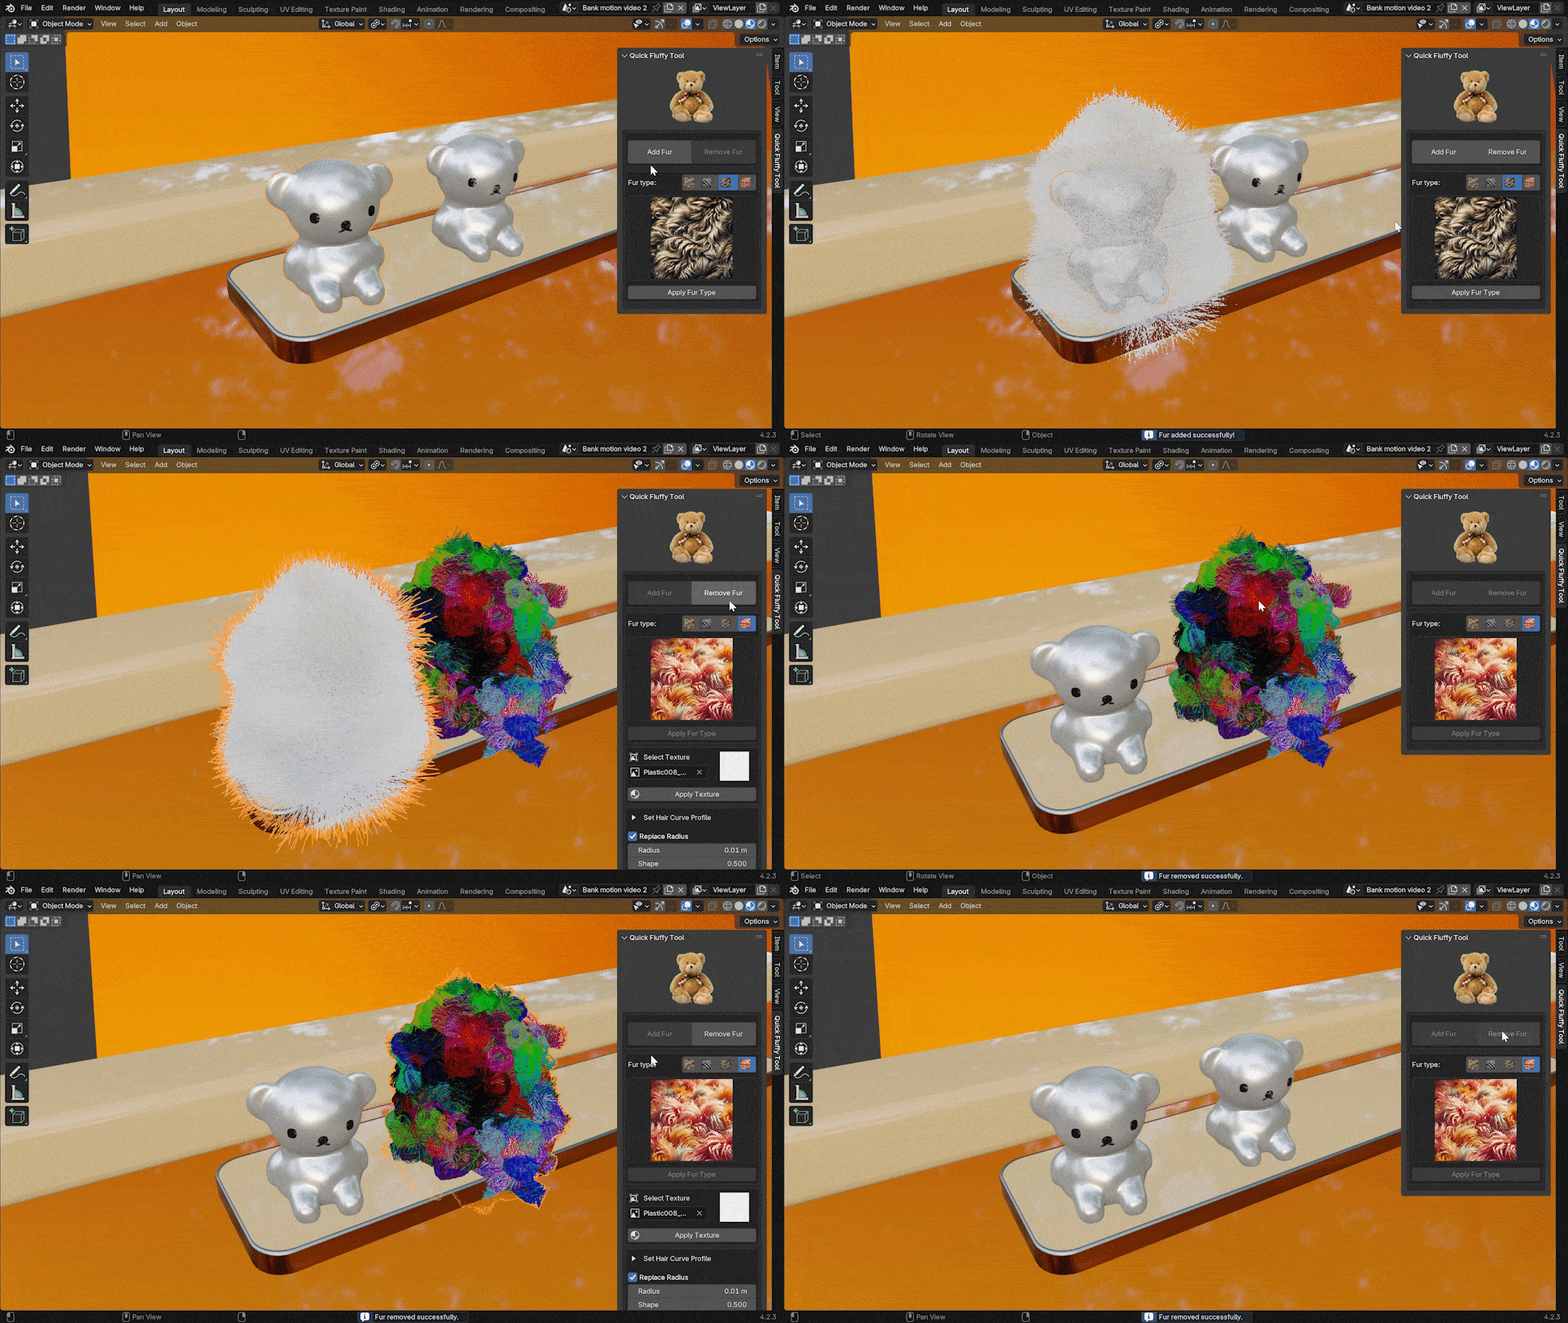
Quick Fluffy Tool makes the process quick and straightforward. With just a few clicks, you can add detailed, realistic fur that blends seamlessly with your models. The addon even extracts fur colors directly from the object's texture, ensuring perfect harmony between the fur and your design. Easy to use yet delivering professional-grade results, Quick Fluffy Tool is an essential tool for Blender artists looking to elevate their creations.
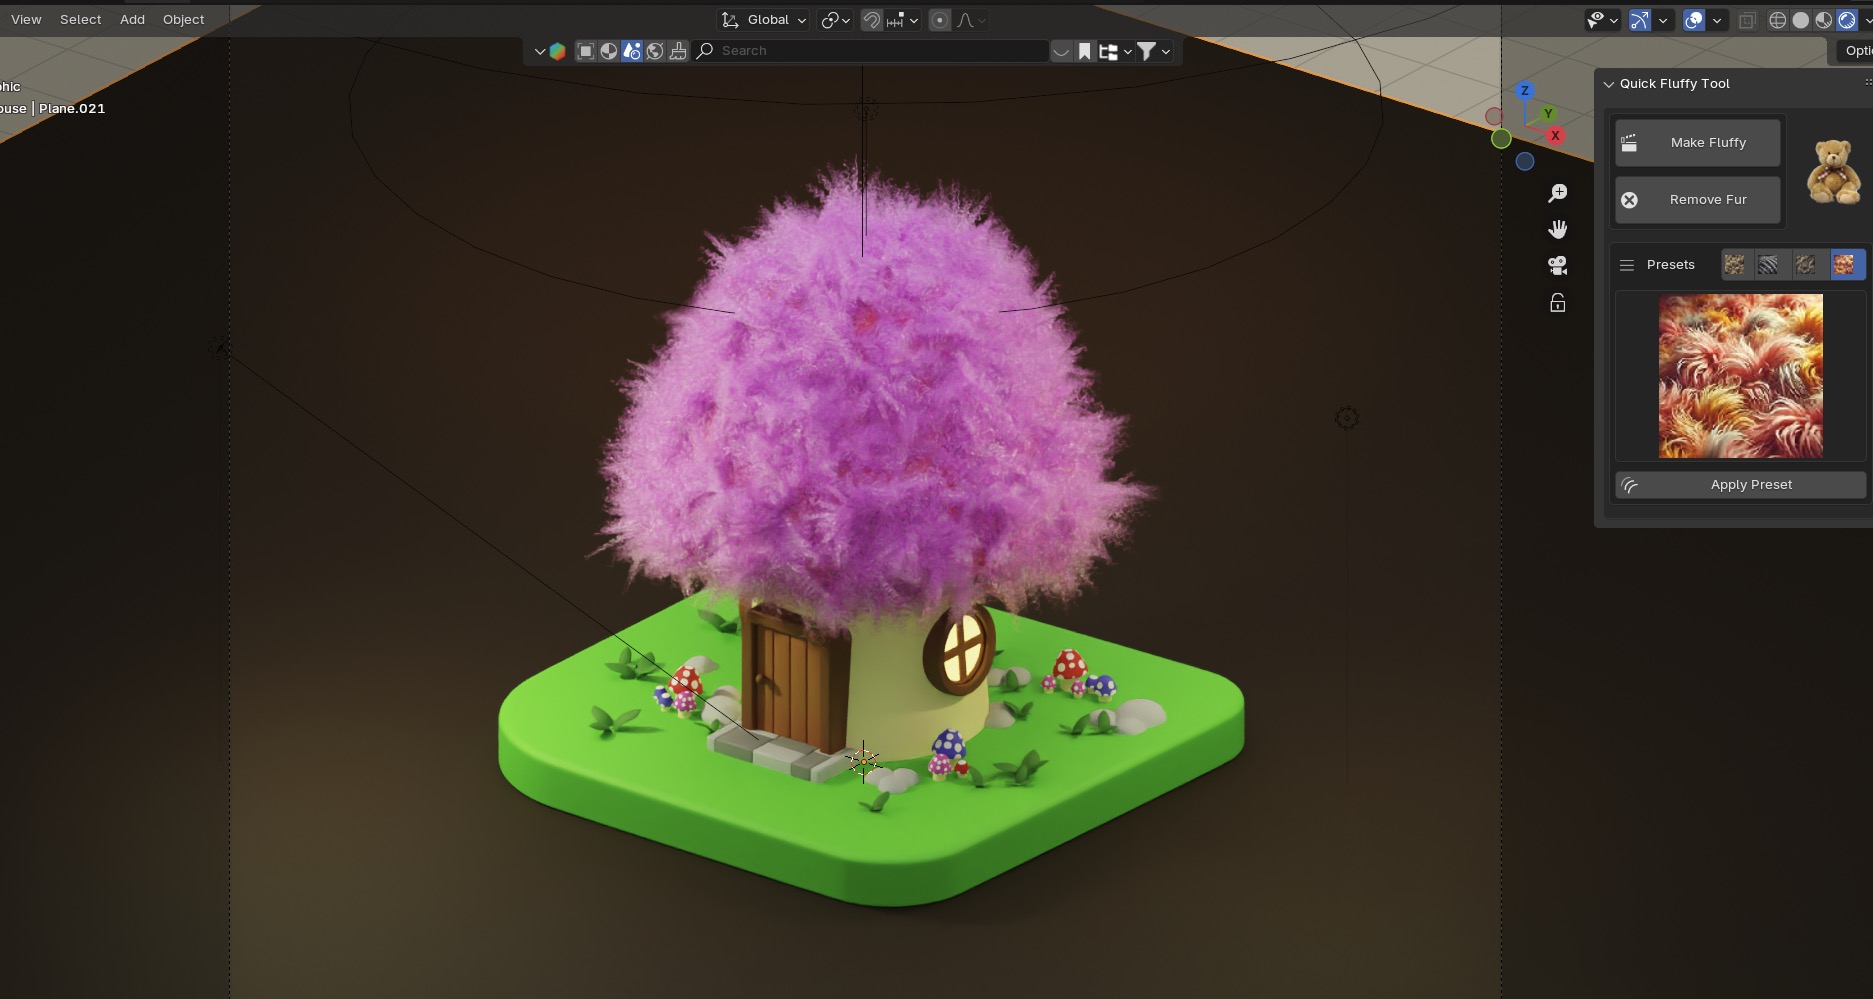
Key Features:
- Instant Fur Creation: Generate soft, realistic fur on any model with a single click, streamlining your workflow.
- Texture-Matched Fur Colors: Automatically derives fur colors from the object’s existing textures for a natural, cohesive look.
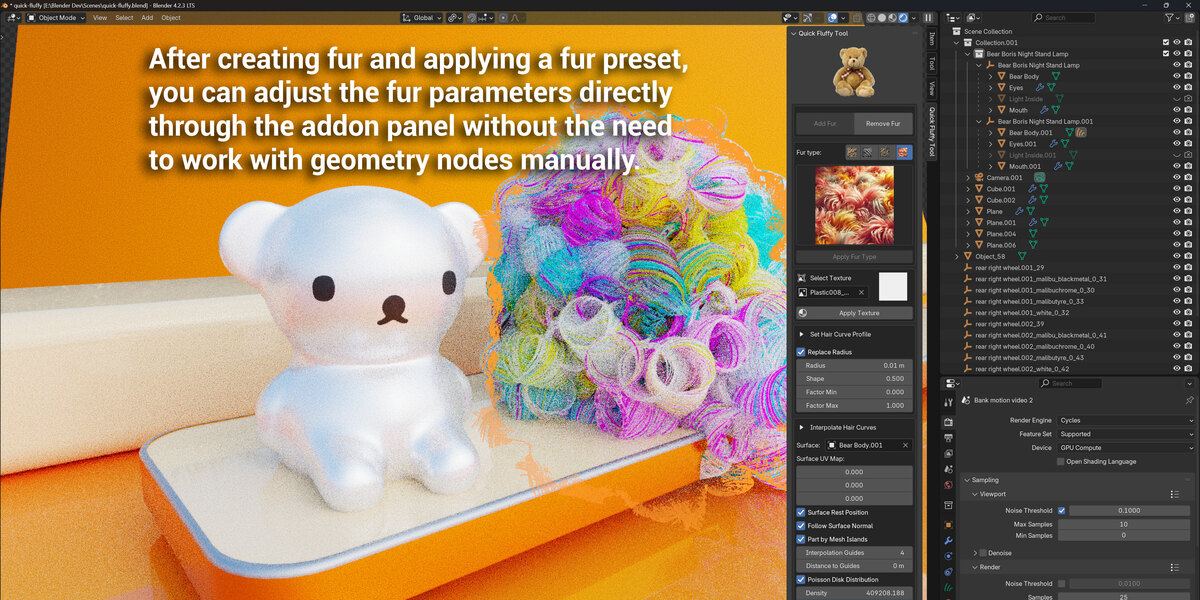
- Fully Adjustable Settings: Customize fur length, density, and softness to suit any creative vision, from hyper-realistic designs to imaginative characters.
- Optimized for Performance: Efficiently handles fur creation without slowing down Blender, even on complex scenes.
- Versatile for Animation and Renders: Delivers consistent, high-quality results for both animated sequences and static visuals.
How to Use Quick Fluffy Tool Addon
The Quick Fluffy Tool Addon is designed to simplify and accelerate the creation of fluffy fur in Blender. Follow the steps below to use it effectively:
Installation
-
Download the Addon: Ensure you have the latest version of the Quick Fluffy Tool addon.
-
Install the Addon:
- Open Blender.
- Go to Edit → Preferences → Add-ons.
- Click Install and select the downloaded
.zip file.
- Enable the addon by ticking the checkbox next to Quick Fluffy Tool.
- Open Blender.
- Go to Edit → Preferences → Add-ons.
- Click Install and select the downloaded
.zipfile. - Enable the addon by ticking the checkbox next to Quick Fluffy Tool.
Using the Addon
1. Open the Tool Panel
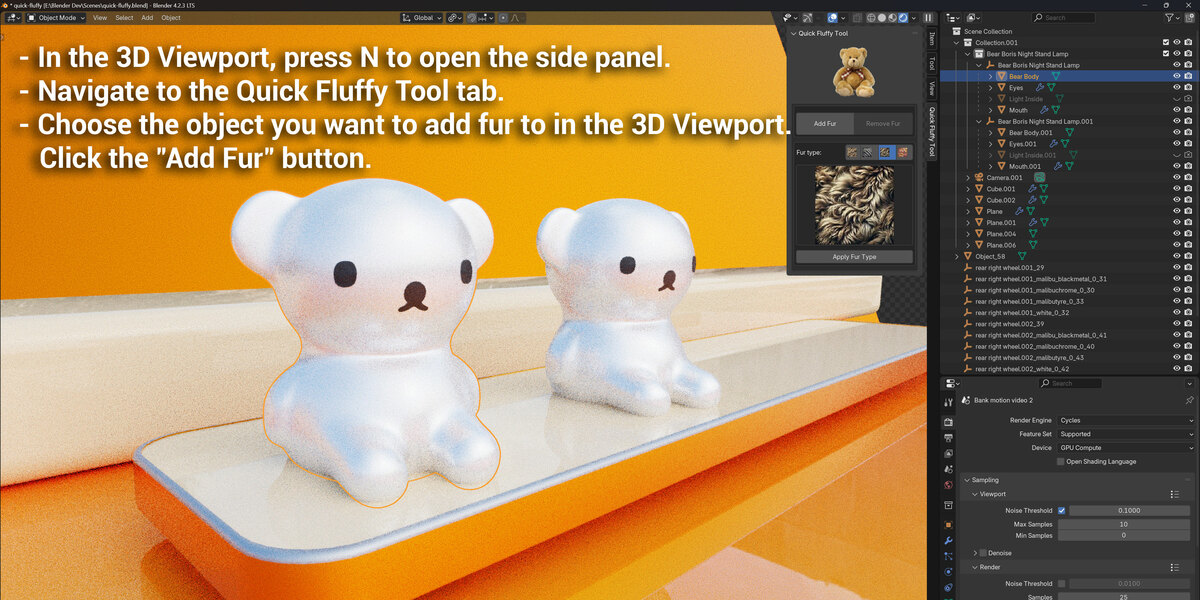
- In the 3D Viewport, press N to open the side panel.
- Navigate to the Quick Fluffy Tool tab.
2. Adding Fur
-
Select a Mesh Object:
- Choose the object you want to add fur to in the 3D Viewport.
- The mesh must be active for the addon to work.
-
Add Fur:
- Click the "Add Fur" button.
- The addon will generate fur curves for the selected mesh.
- After adding fur, the selection will automatically switch back to the mesh.
- Choose the object you want to add fur to in the 3D Viewport.
- The mesh must be active for the addon to work.
- Click the "Add Fur" button.
- The addon will generate fur curves for the selected mesh.
- After adding fur, the selection will automatically switch back to the mesh.
3. Applying Fur Presets
-
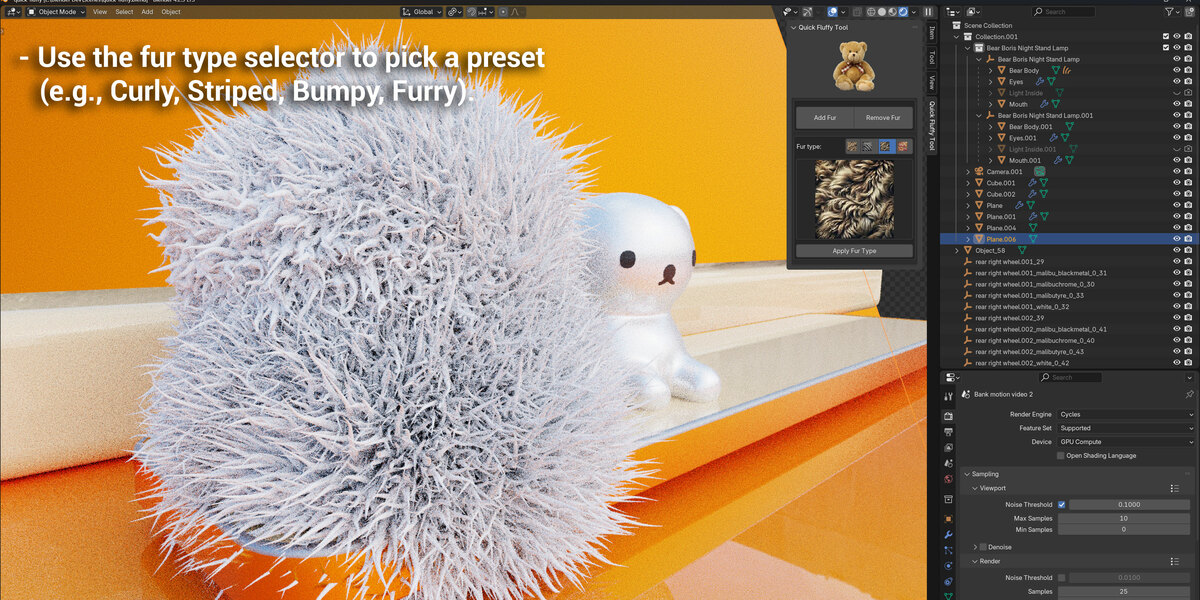
Choose a Fur Type:
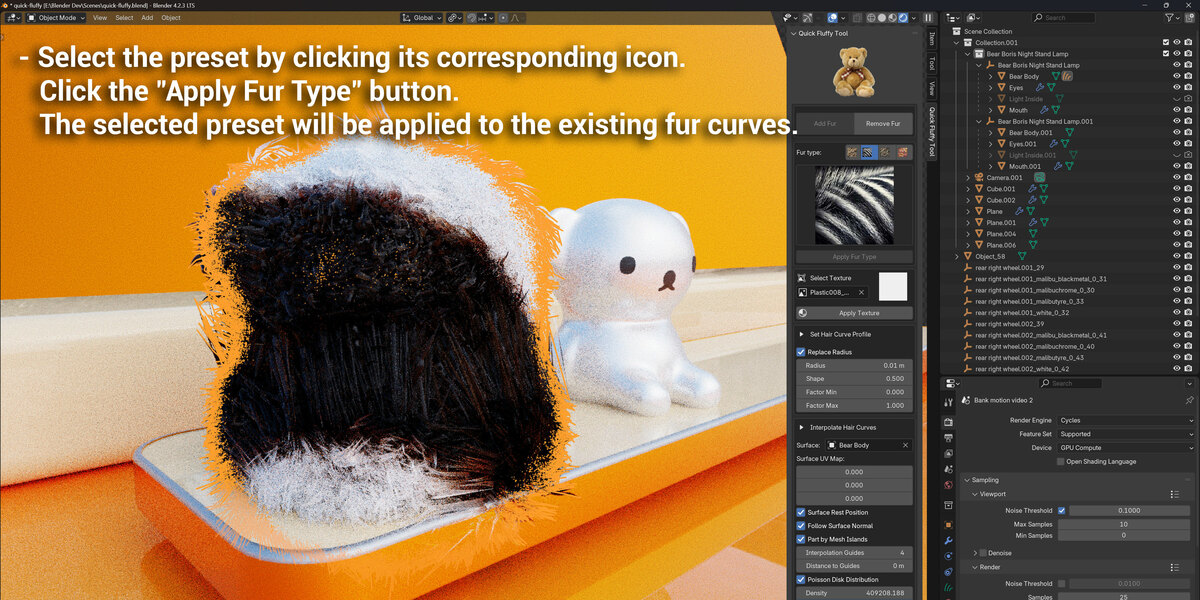
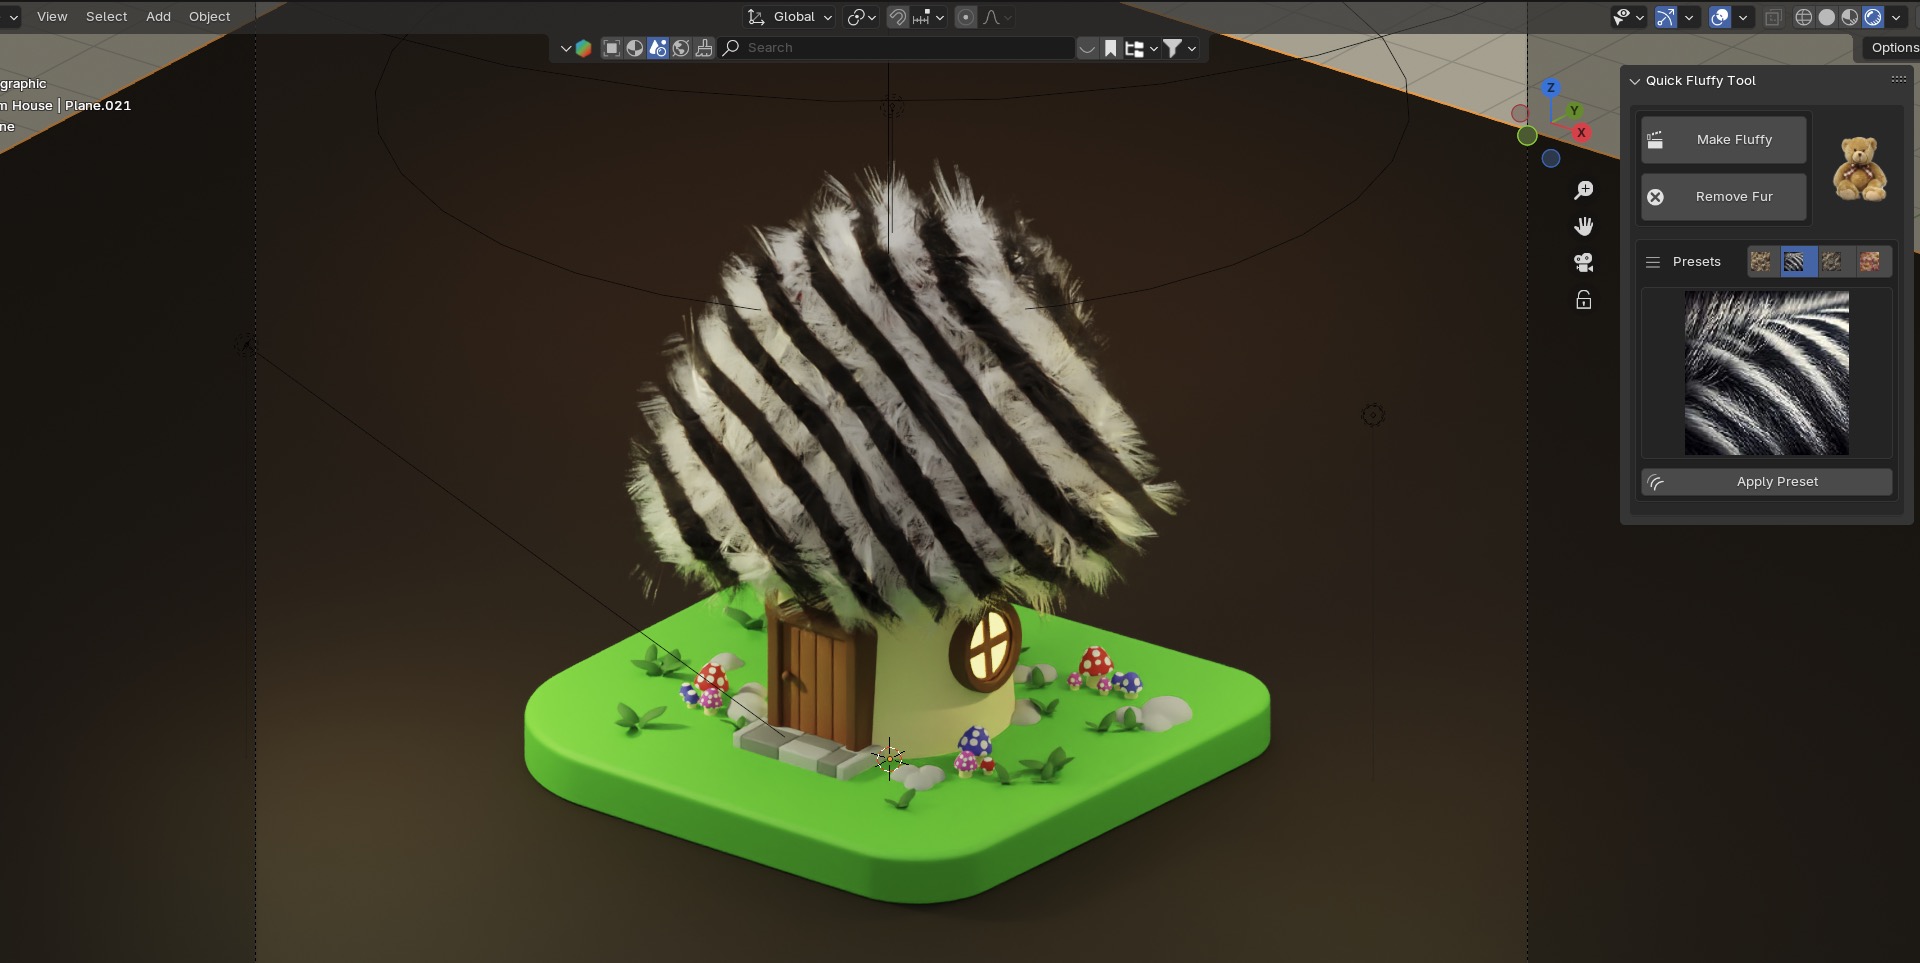
- Use the fur type selector to pick a preset (e.g., Curly, Striped, Bumpy, Furry).
- Select the preset by clicking its corresponding icon.
-
Apply Fur Preset:
- Click the "Apply Fur Type" button.
- The selected preset will be applied to the existing fur curves.
- Use the fur type selector to pick a preset (e.g., Curly, Striped, Bumpy, Furry).
- Select the preset by clicking its corresponding icon.
- Click the "Apply Fur Type" button.
- The selected preset will be applied to the existing fur curves.
4. Removing Fur
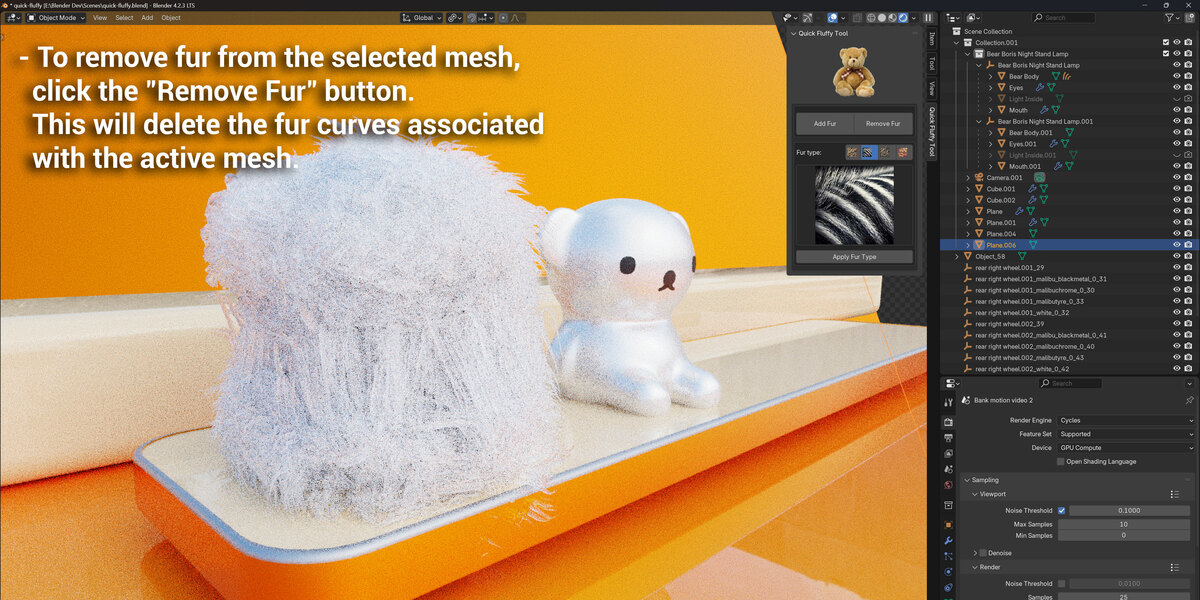
- To remove fur from the selected mesh, click the "Remove Fur" button. This will delete the fur curves associated with the active mesh.
Additional Features
-
Texture Application:
- Select a texture from the "Select Texture" dropdown.
- Click "Apply Texture" to map the texture to the fur.
-
Dynamic Updates:
- The addon supports real-time changes to fur type, enabling easy experimentation with different looks.
- Select a texture from the "Select Texture" dropdown.
- Click "Apply Texture" to map the texture to the fur.
- The addon supports real-time changes to fur type, enabling easy experimentation with different looks.
Notes
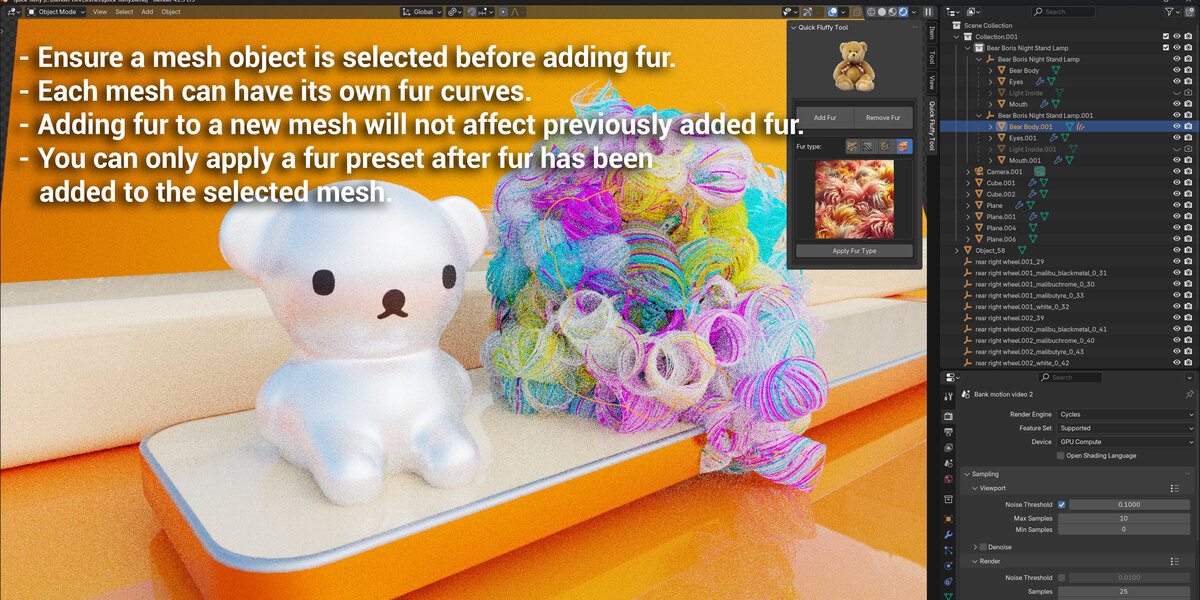
- Ensure a mesh object is selected before adding fur.
- Each mesh can have its own fur curves. Adding fur to a new mesh will not affect previously added fur.
- You can only apply a fur preset after fur has been added to the selected mesh.
Troubleshooting
-
Error: "Select a mesh object to add fur."
- Ensure you have selected a mesh object before clicking Add Fur.
-
Error: "No fur added. Please add fur before applying a preset."
- Add fur to the mesh first, then apply the desired preset.
- Ensure you have selected a mesh object before clicking Add Fur.
- Add fur to the mesh first, then apply the desired preset.
Explore My Other Blender Addons Below:
| Published | 7 days ago |
| Blender Version | 4.3, 4.2, 4.1, 4.0 |
| Extension Type | Add-on |
| License | GPL |
Have questions before purchasing?
Contact the Creator with your questions right now.
Login to Message