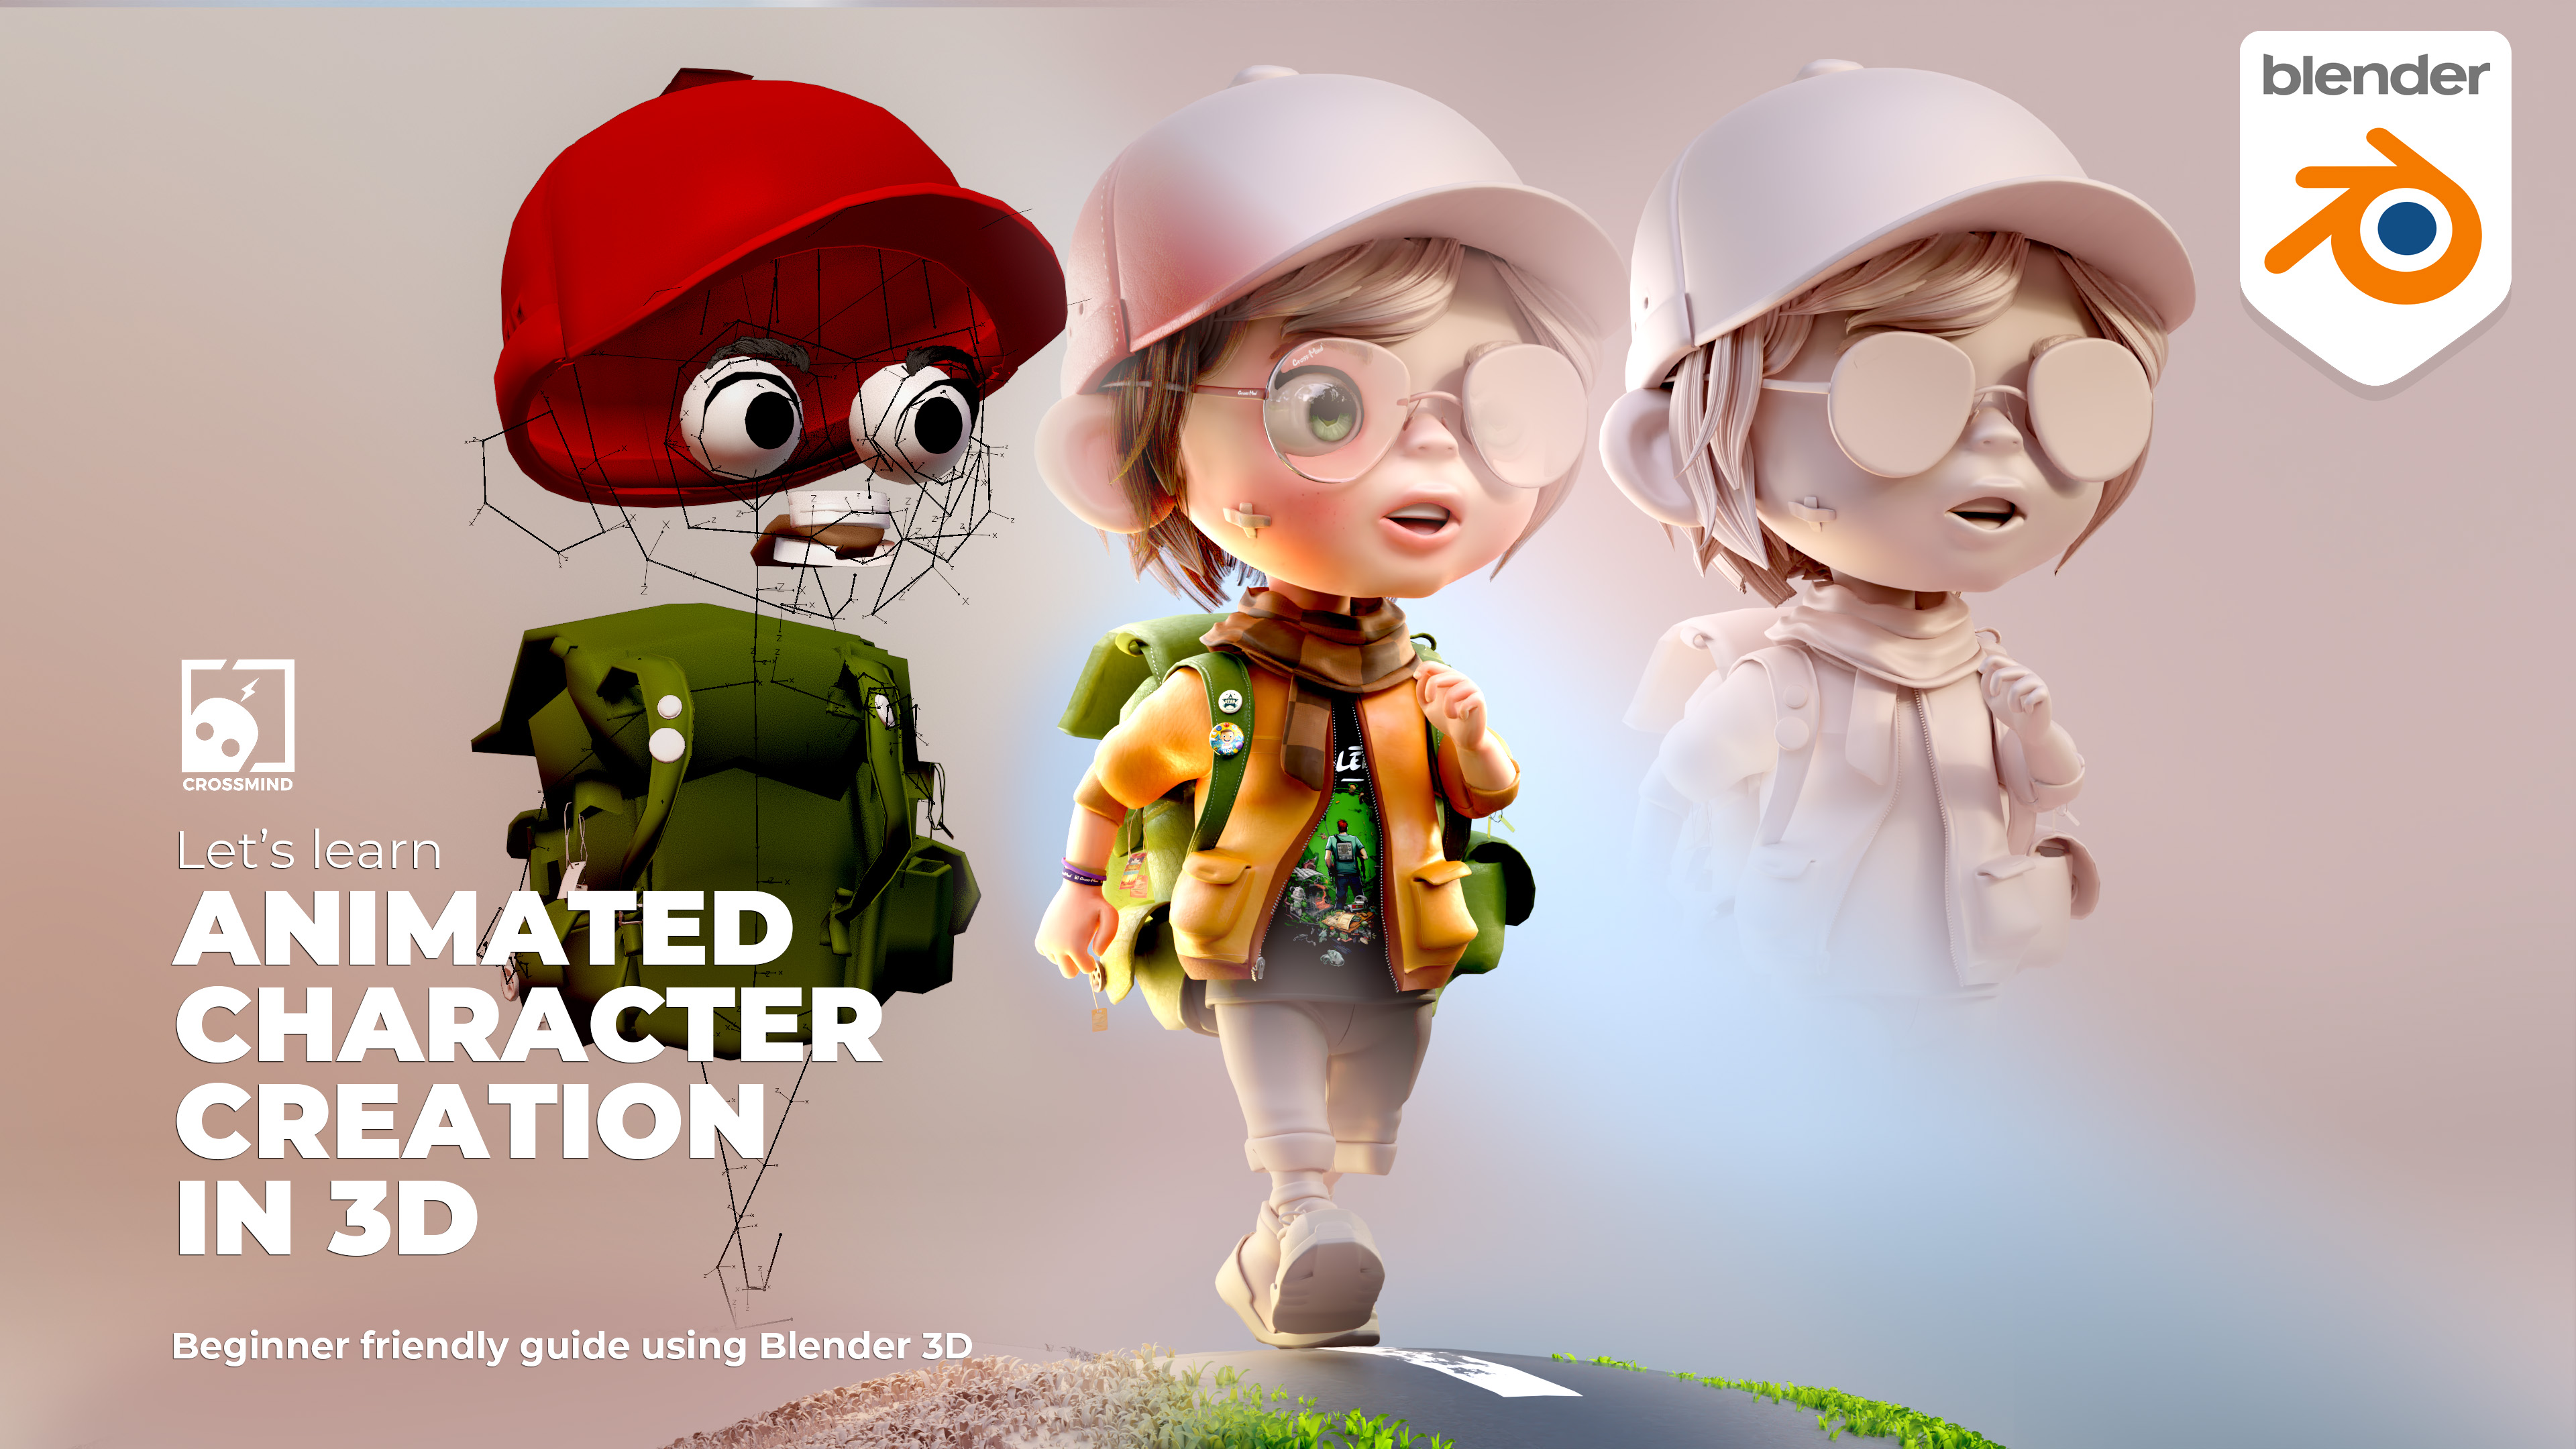
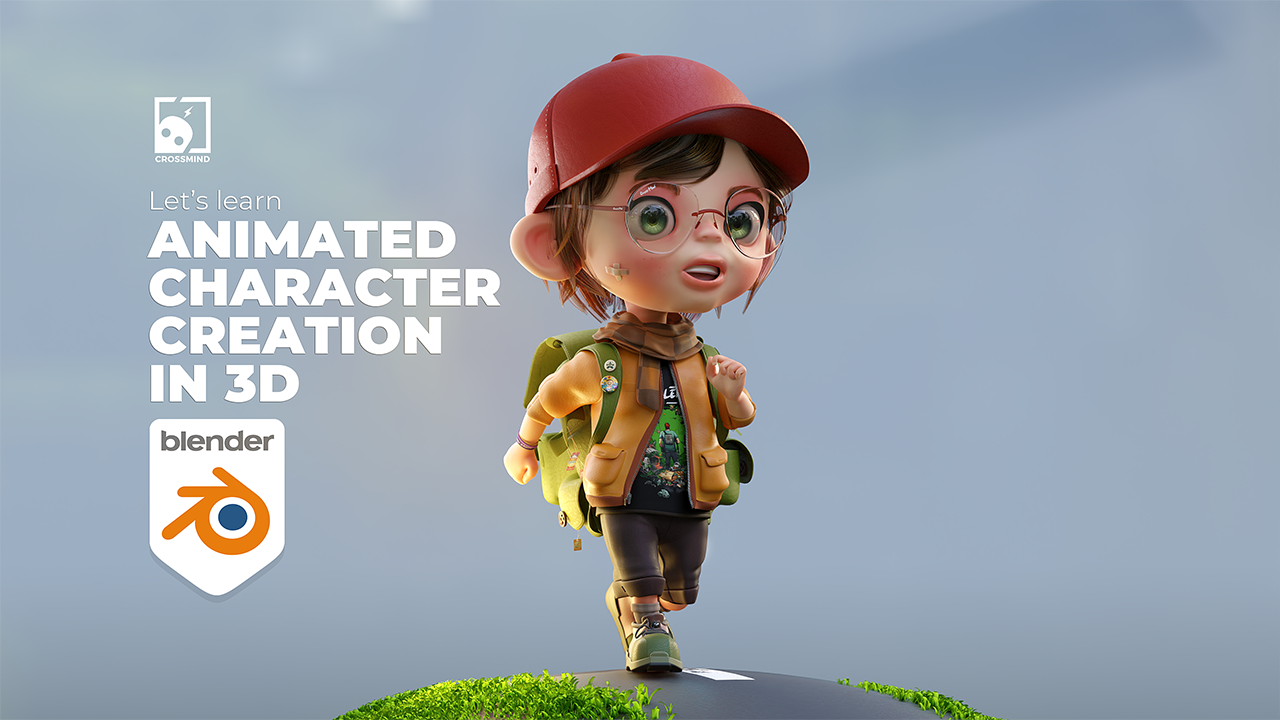
Let’S Learn Animated Character Creation In 3D
Course Description
Welcome to the premium edition of our highly anticipated course, "Animated Character Creation in 3D using Blender." This comprehensive guide is designed for aspiring beginners, providing an immersive journey from character modeling, uv, shading, rigging to making your first animated scene and rendering it.
This course is crafted for beginners who often find themselves with questions right after delving into 3D software and wondering how animated characters are created. In this course, we take things up a notch, moving beyond basic object modeling to the creation of characters, guiding you through the entire process, ultimately leading to animation.
Featuring over 10 hours of content spread across 20 chapters (compressing more than 40 hours of tightly edited material).
By the end of this course, you will have understood all the aspects involved in creating characters and how you can use this knowledge to craft your animated stories.
Whether you aim to create characters for animations, illustrations, motion graphics, music videos, or your own YouTube channel, this course is suitable for everyone. It guides you through the entire process without overwhelming you with details that can be explored at a later stage.
What’s included in the premium edition:
10 Bonus chapters making it More than 80 lessons spread across 20 Chapters.
Downloadable in QHD format for offline uninterrupted viewing.
Over 10 hours of videos packing more than 40 hours of material tightly edited.
All blender files per lesson
Complete character rig.
All animated scenes Blender from trailer.
Rendered animated sequence of character.
More about course breakdown https://youtu.be/AZrOhXdOUCI
-
Free future updates to this course.
More insight into this course.
I'm sure many of you who are learning 3D and animation have stories to tell. Whether it's through animations, illustrations, graphic novels, music videos, experimental films or YouTube videos, there are various mediums to express your thoughts. Every one of us stepping into the world of 3d is curious about one thing right after getting introduced to these fancy software's: how do you make animated characters? And that's what this series is all about.
We're going to create a character in 3D, and not just a 3d model but an animated 3d character model, which you can use to bring your stories to life. Just like how you must have seen in cartoon shows. By the end of the series, we'll have animated the character, covering everything from modelling, UV mapping, texturing, shading, armature rigging, all the way to animation, simulations and final rendering. Most importantly, we'll be doing it in a way that is beginner friendly. You don't need to have knowledge of sculpting or a great understanding of human anatomy to follow along.
What will you learn?
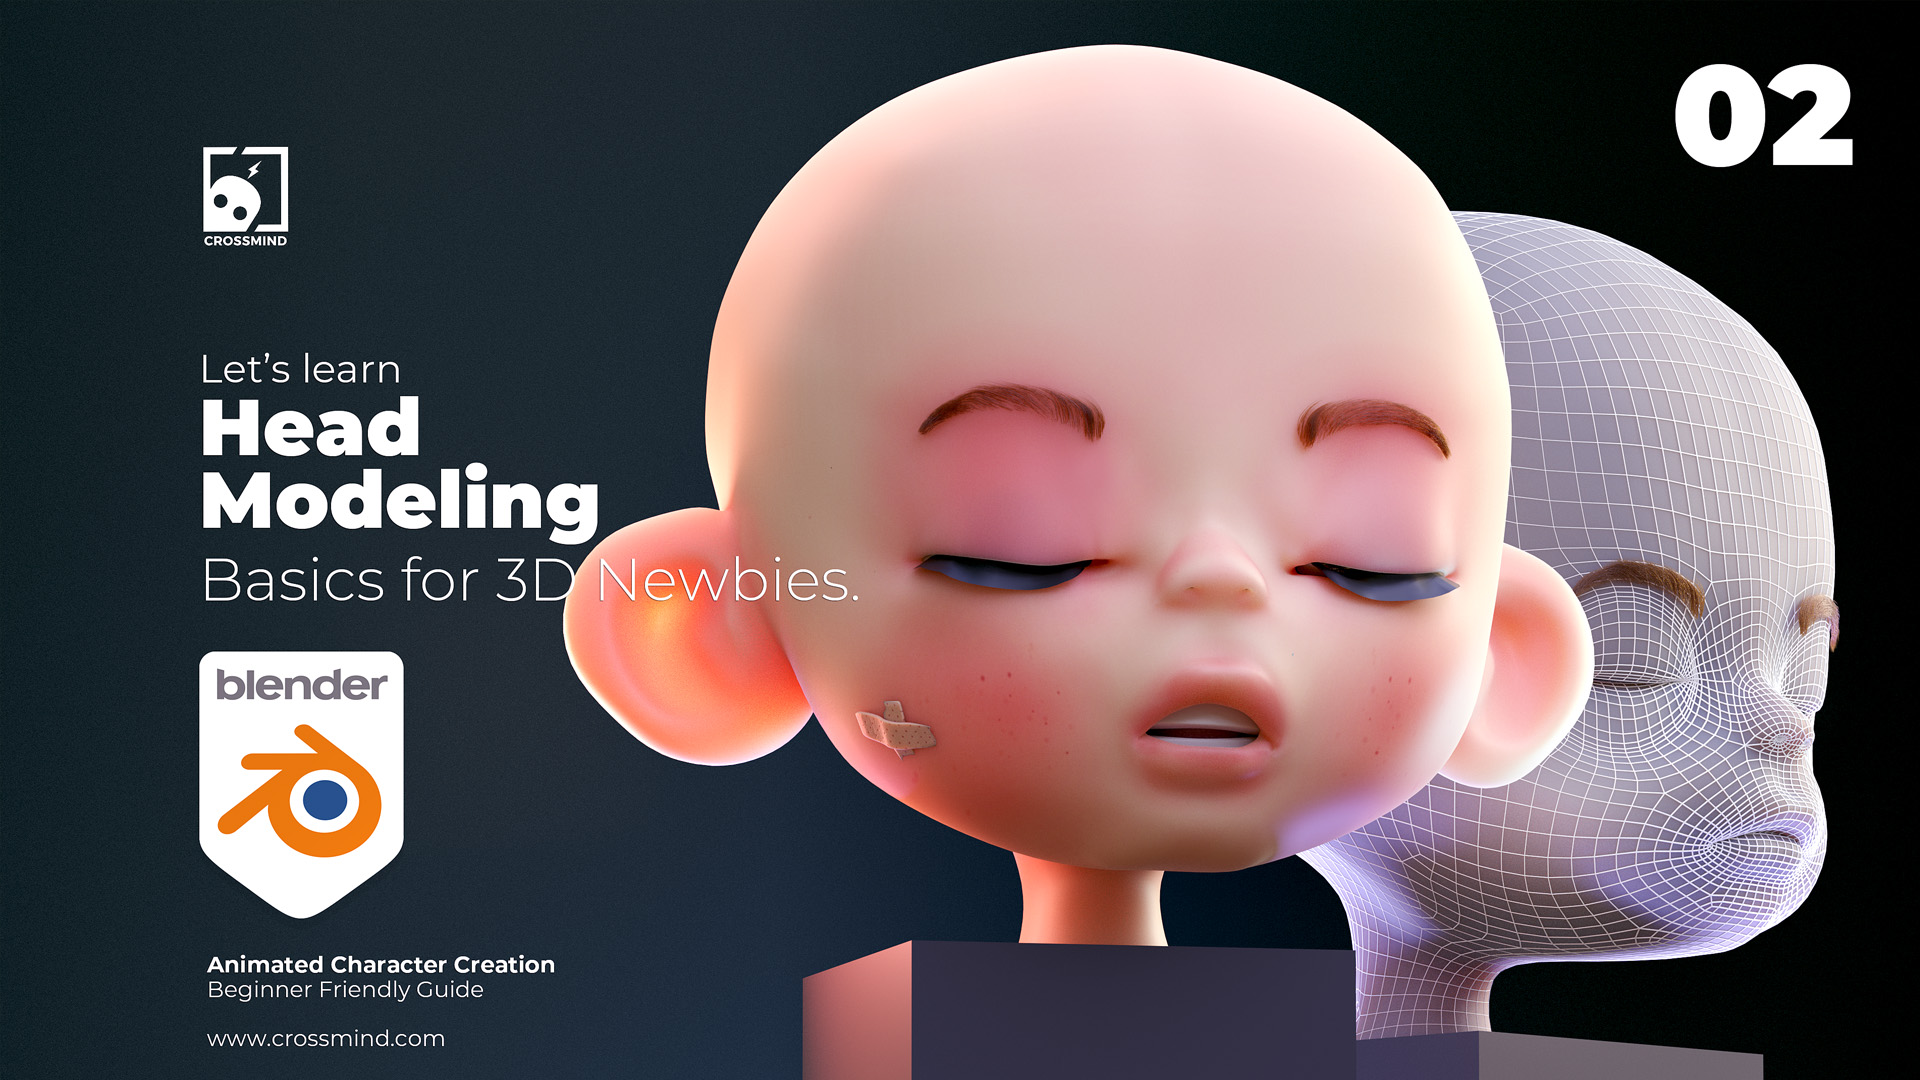
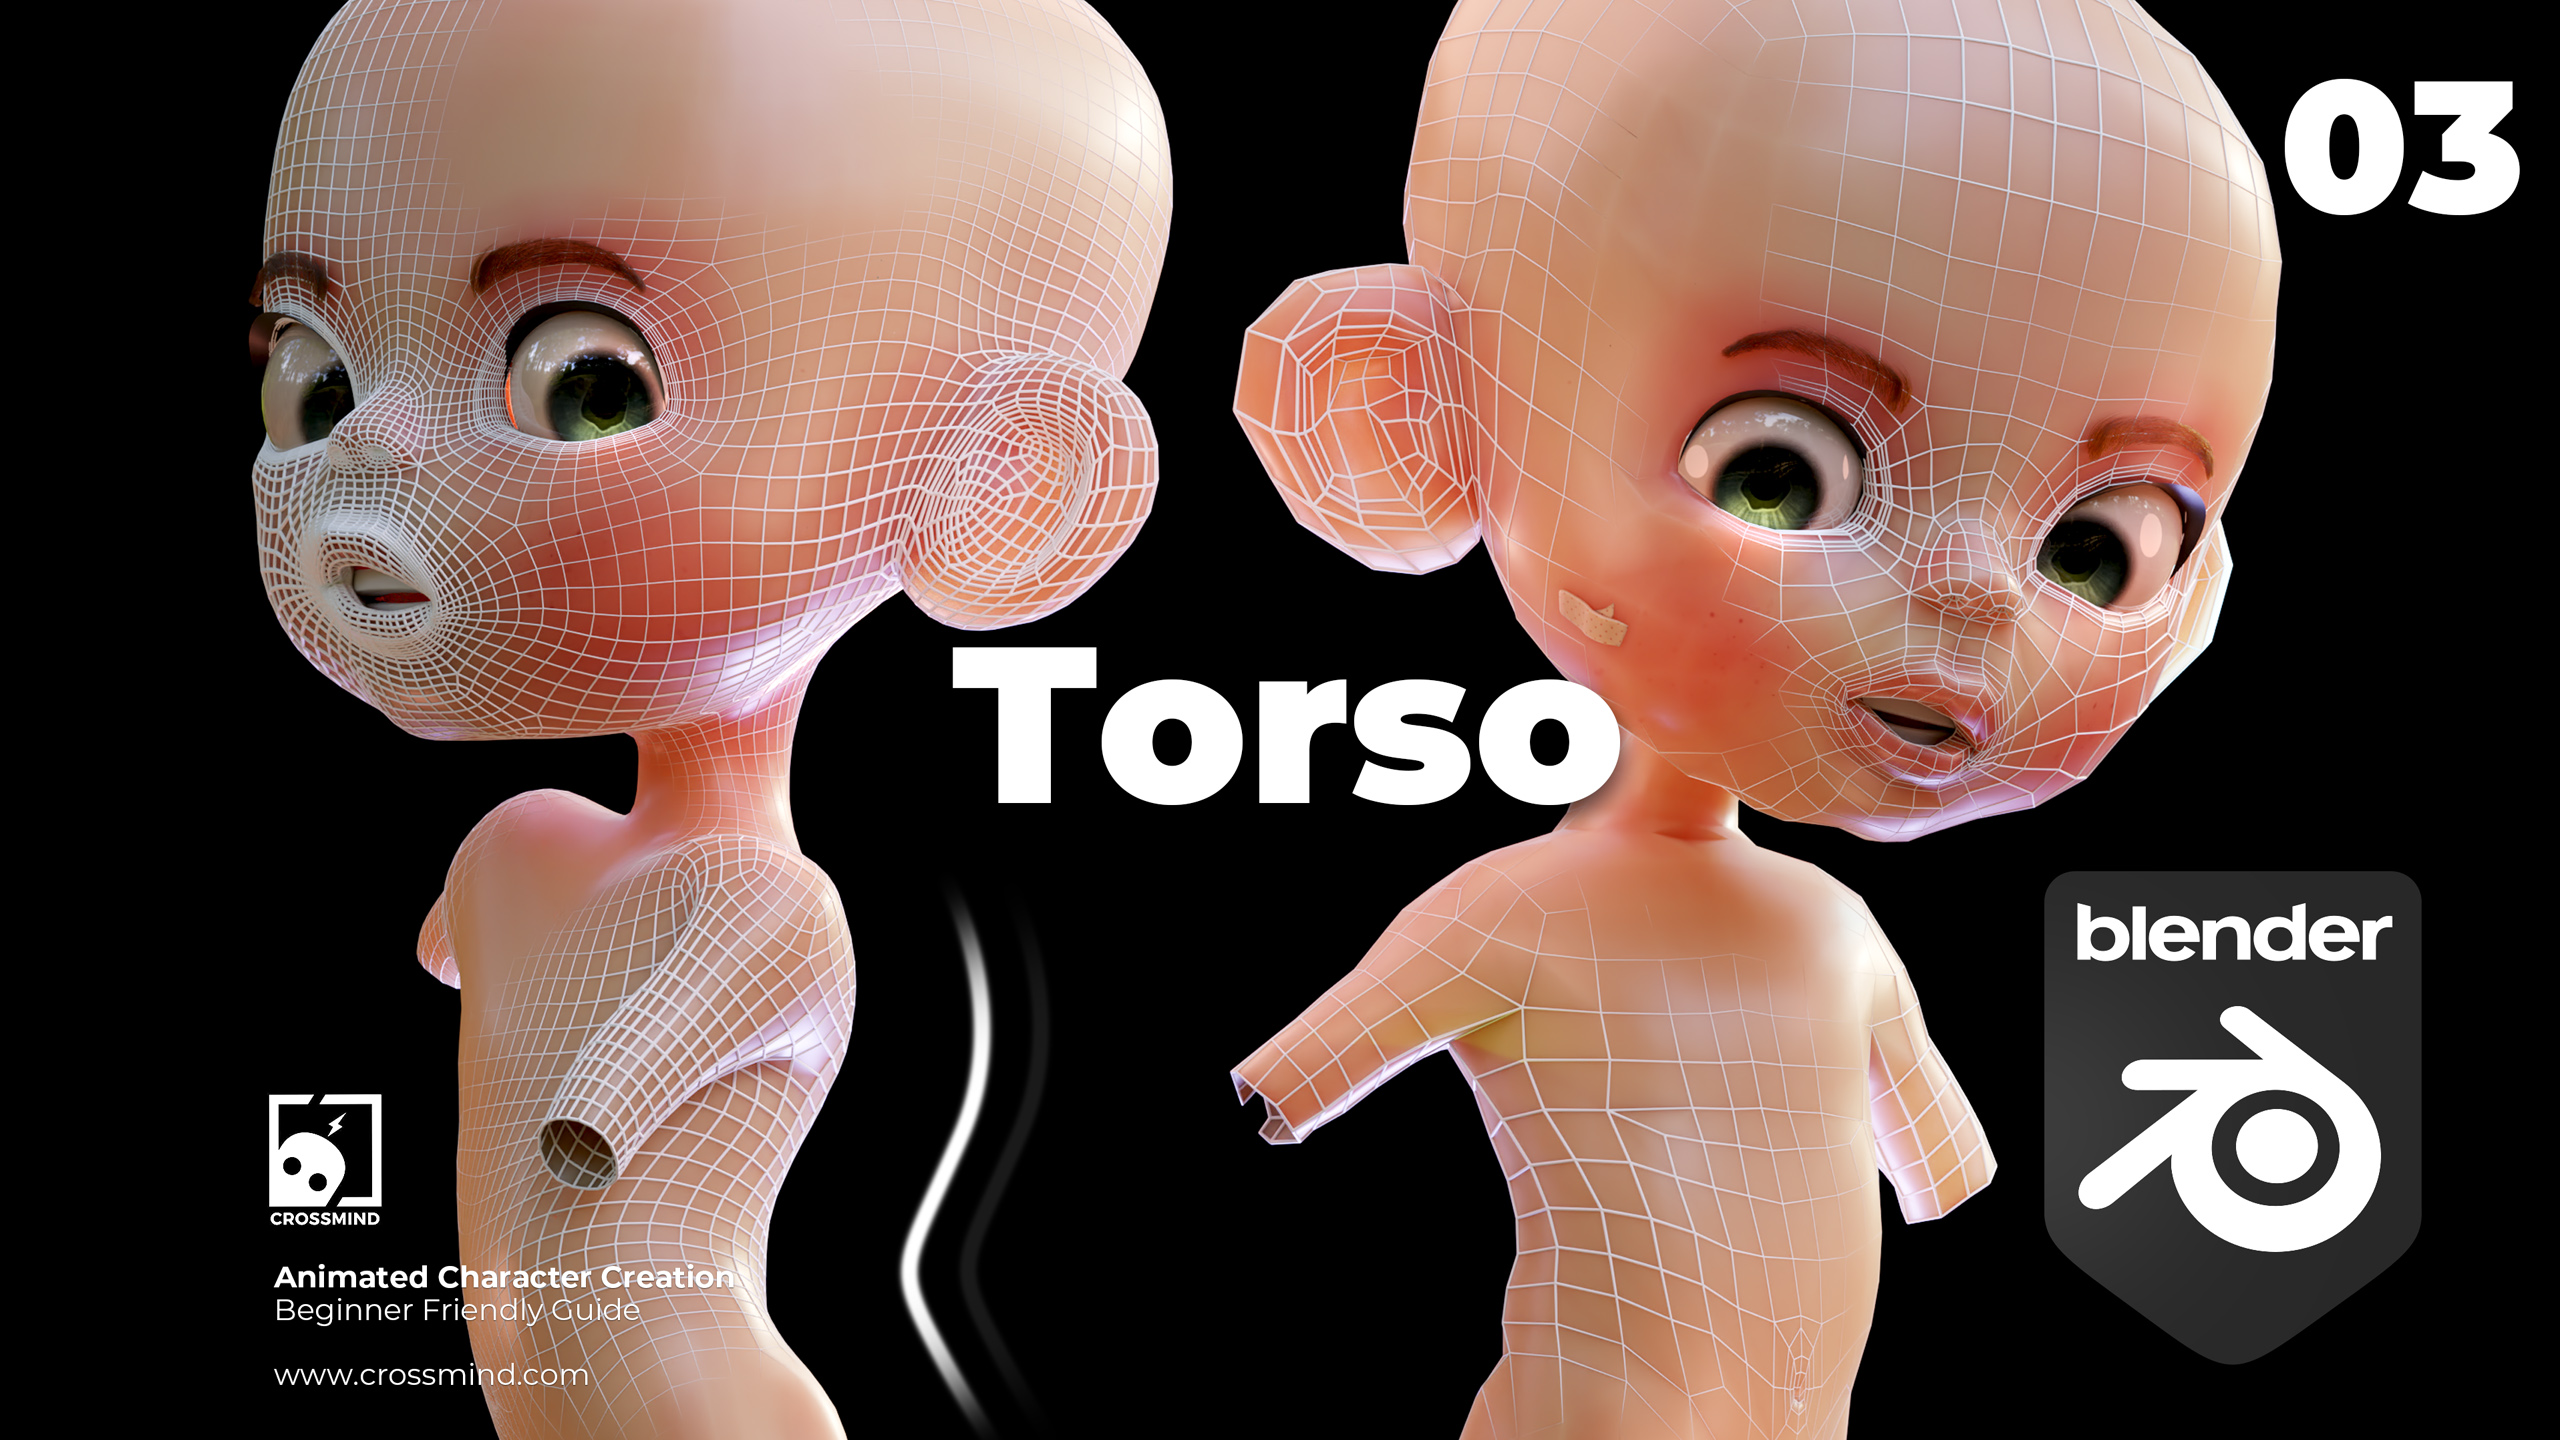
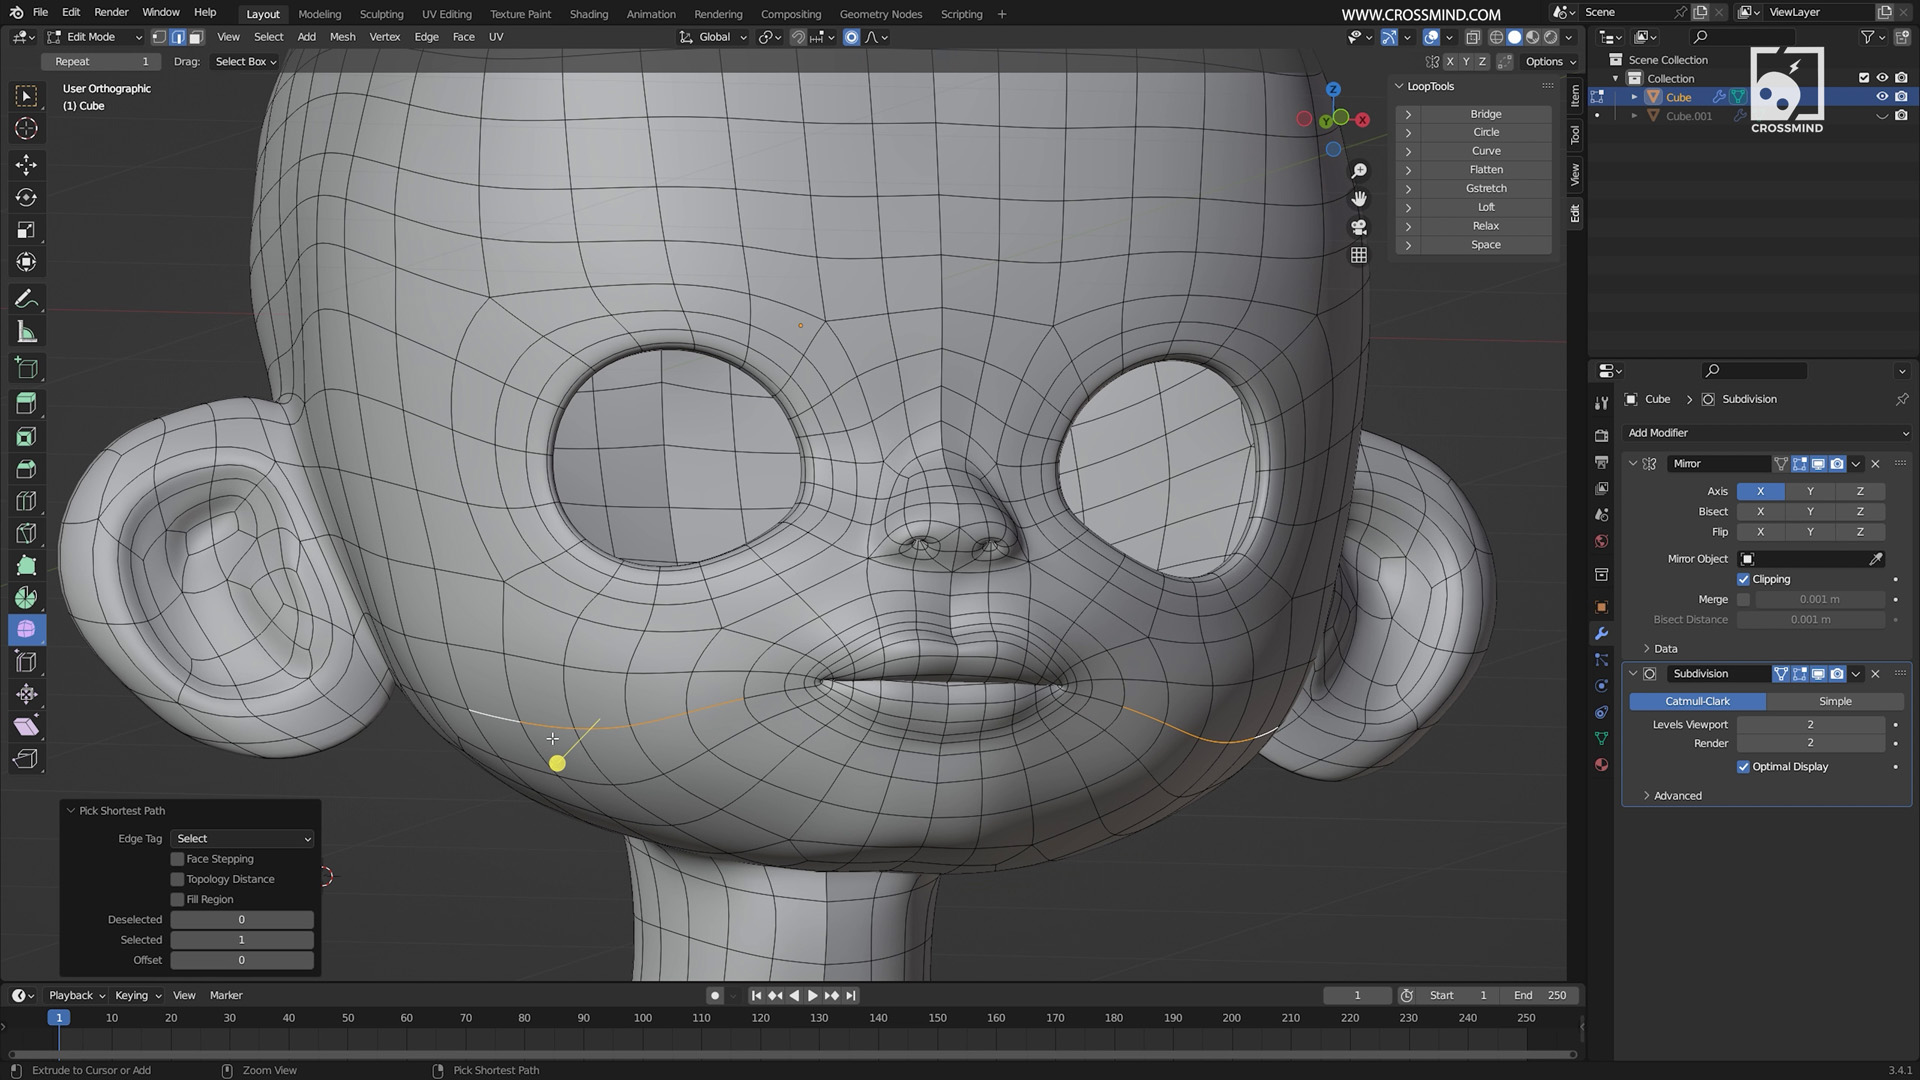
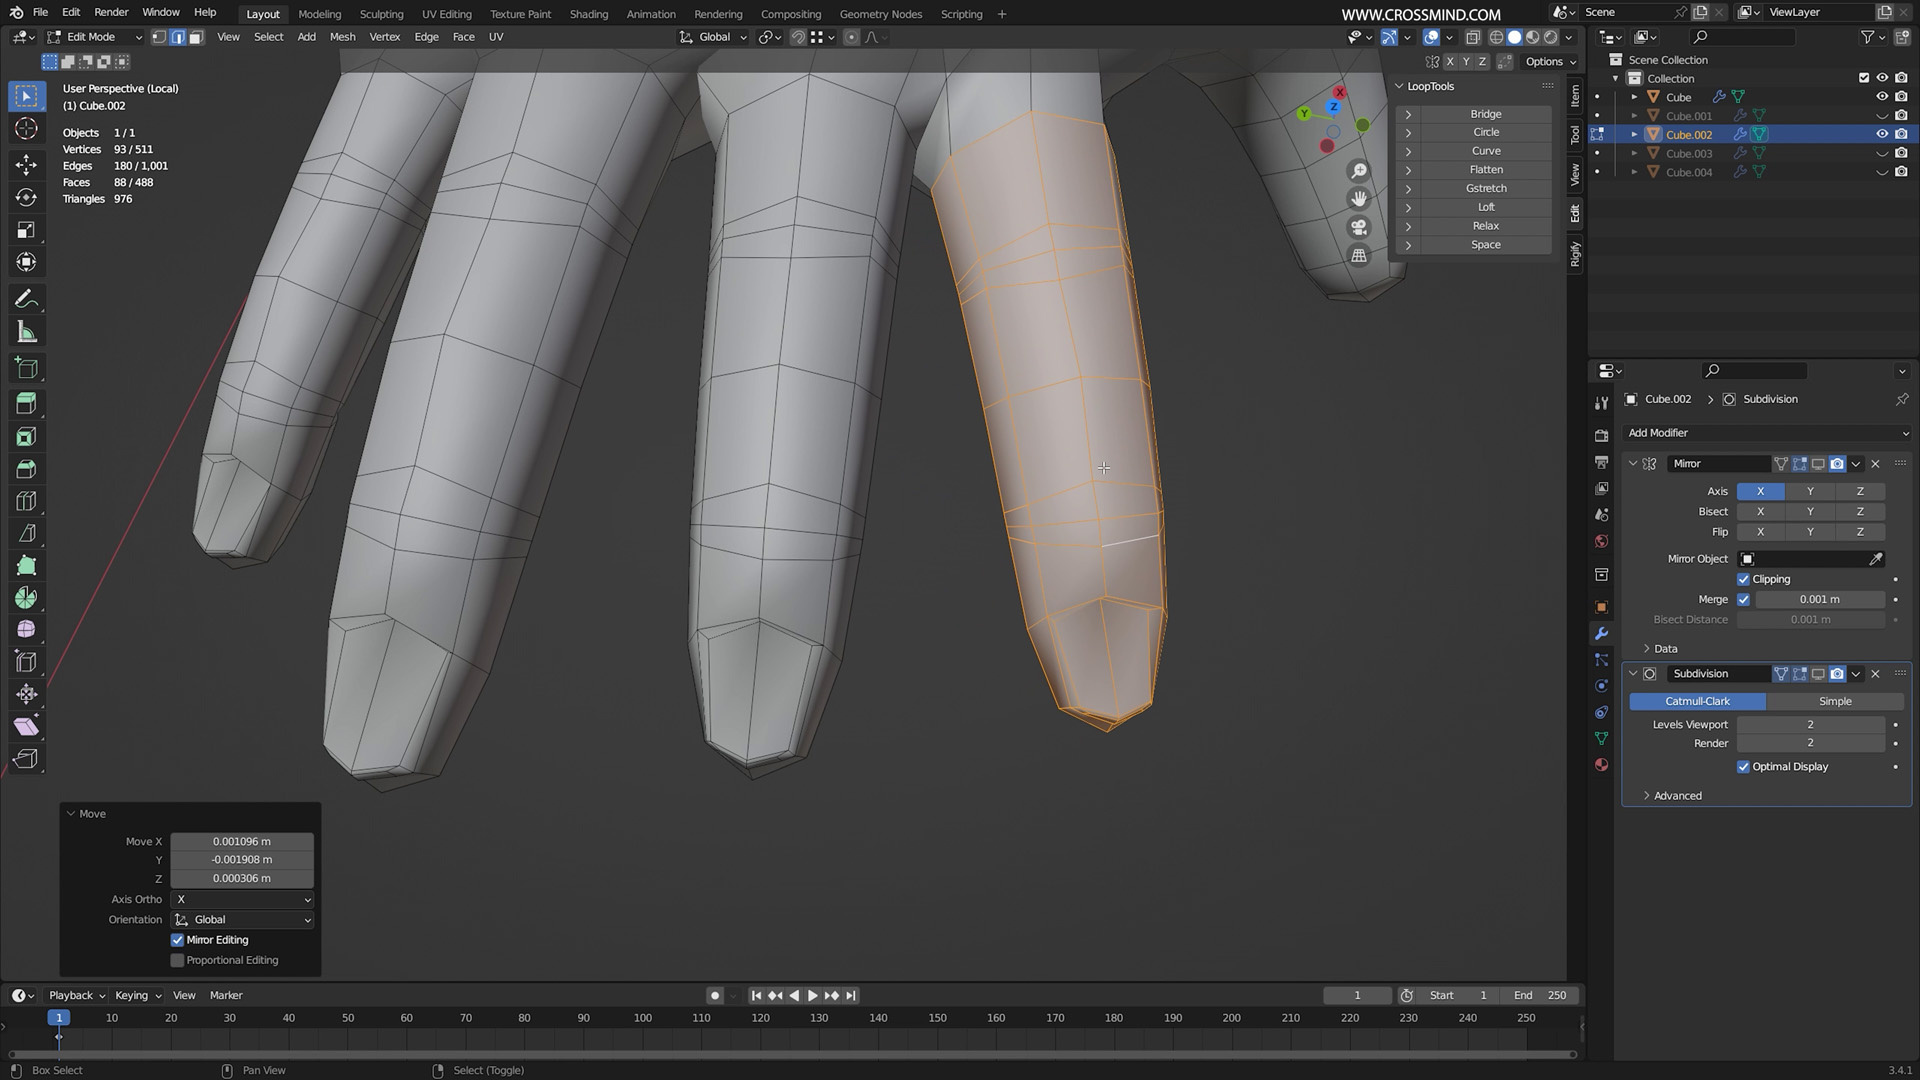
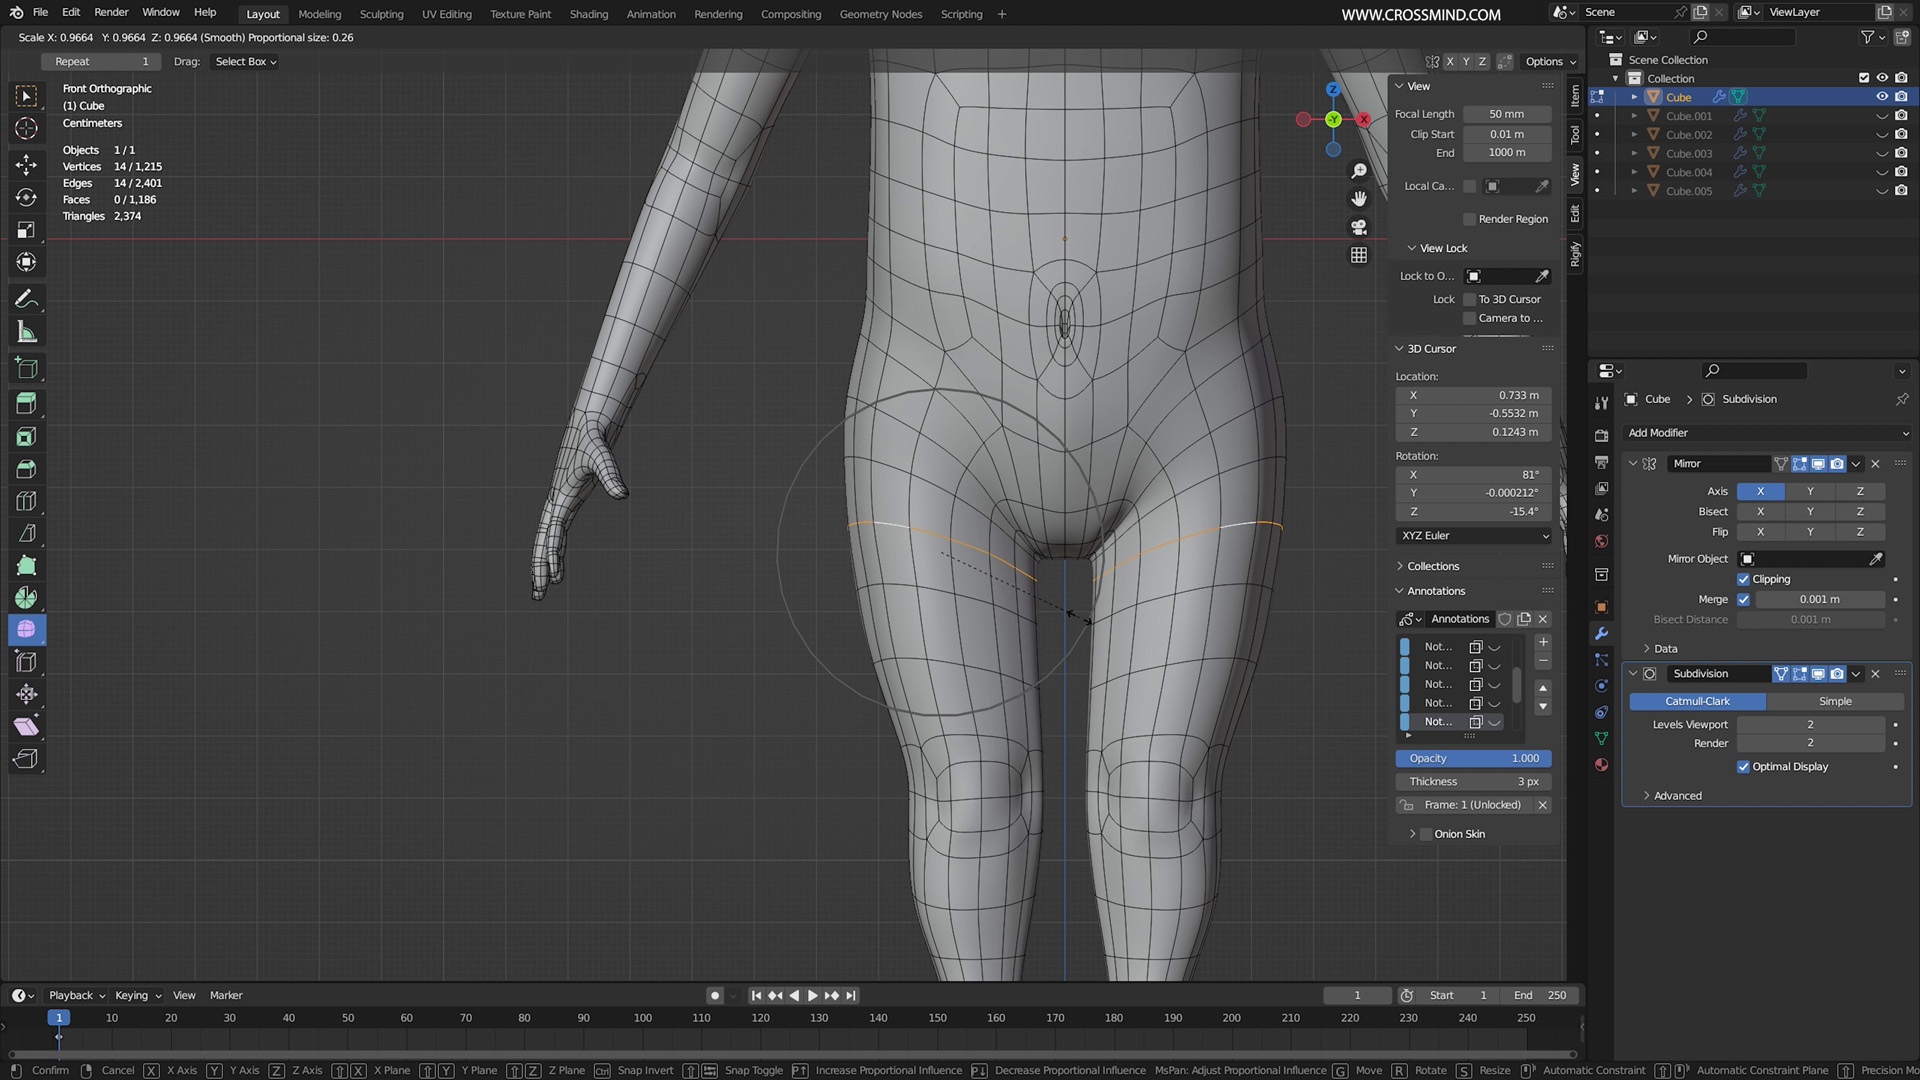
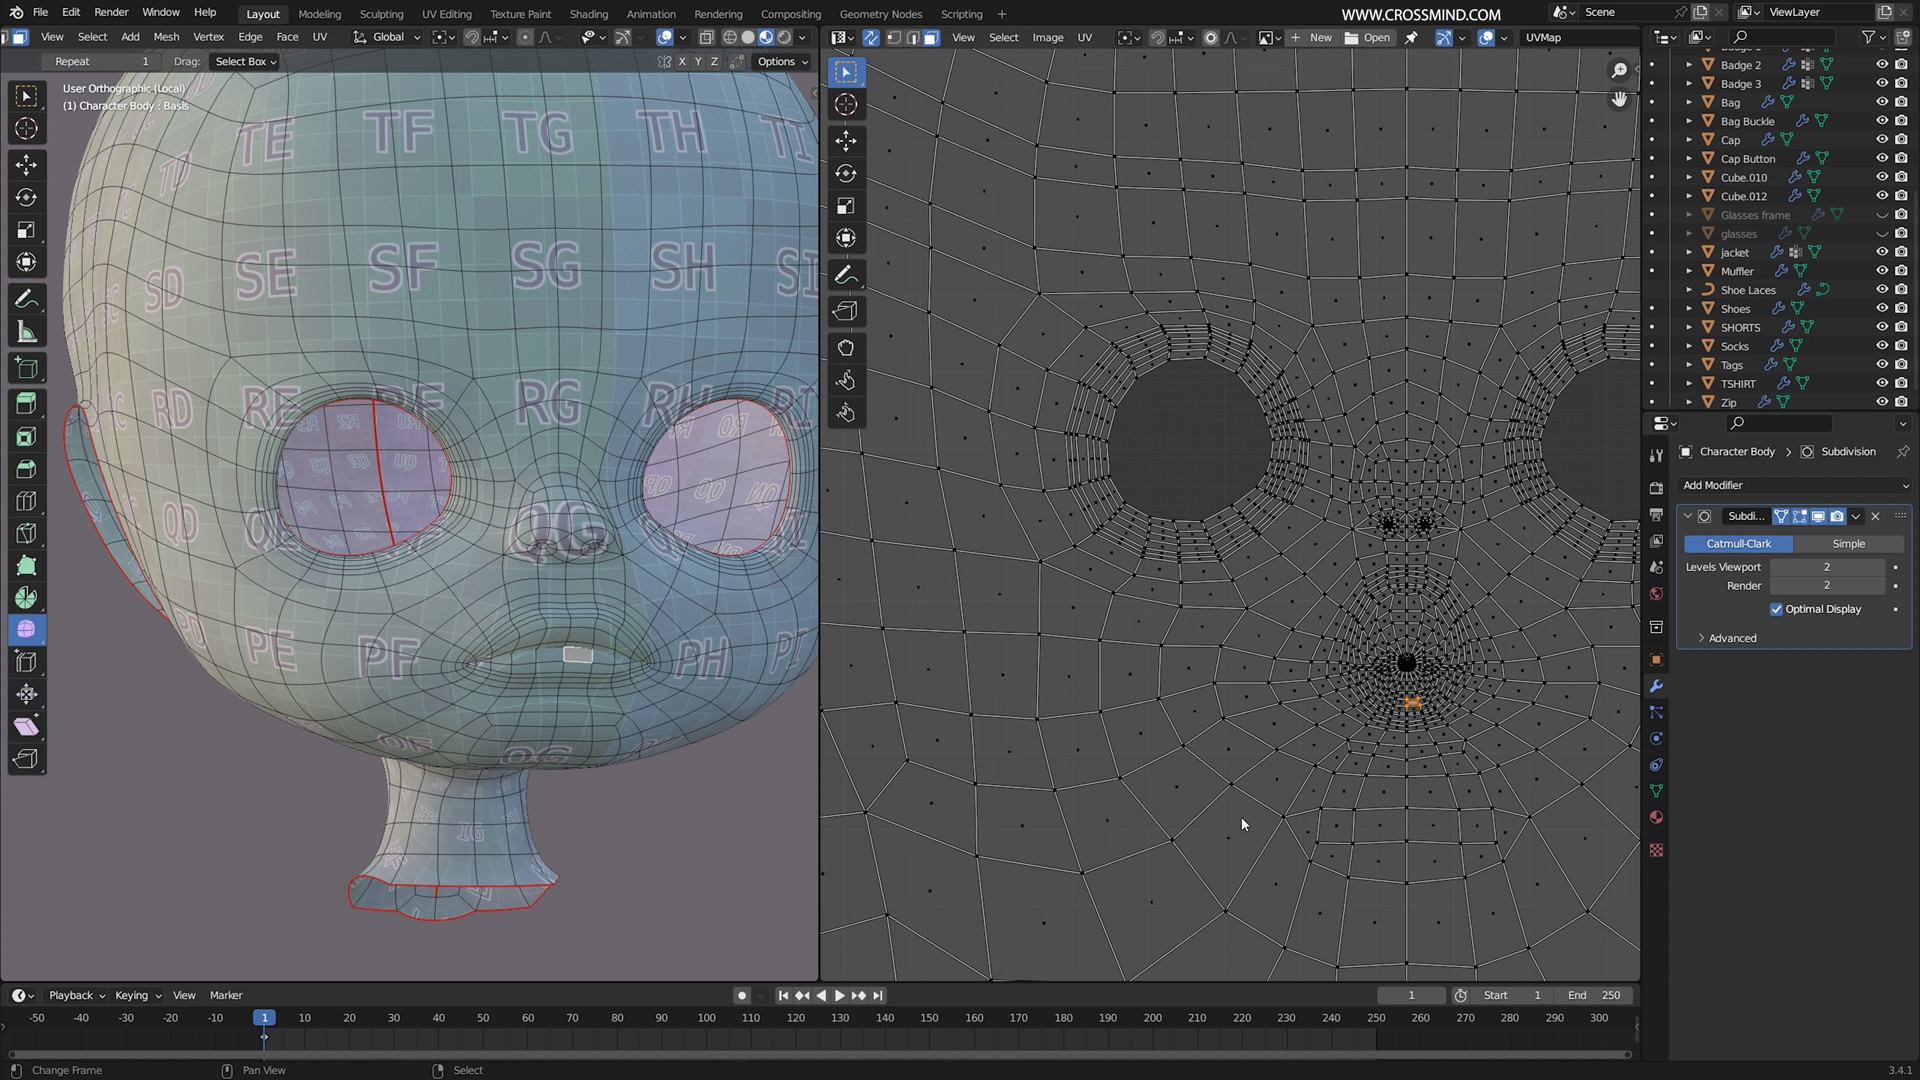
We'll kick off with the basics of topology, a fundamental concept crucial for crafting character models suitable for animation, be it for realistic VFX or simpler characters. Chapter 2 dives into modeling the character's head, followed by the torso and limbs in chapters 3 and 4. By the end of chapter 4, you'll have a complete character body model, but there's more to come.
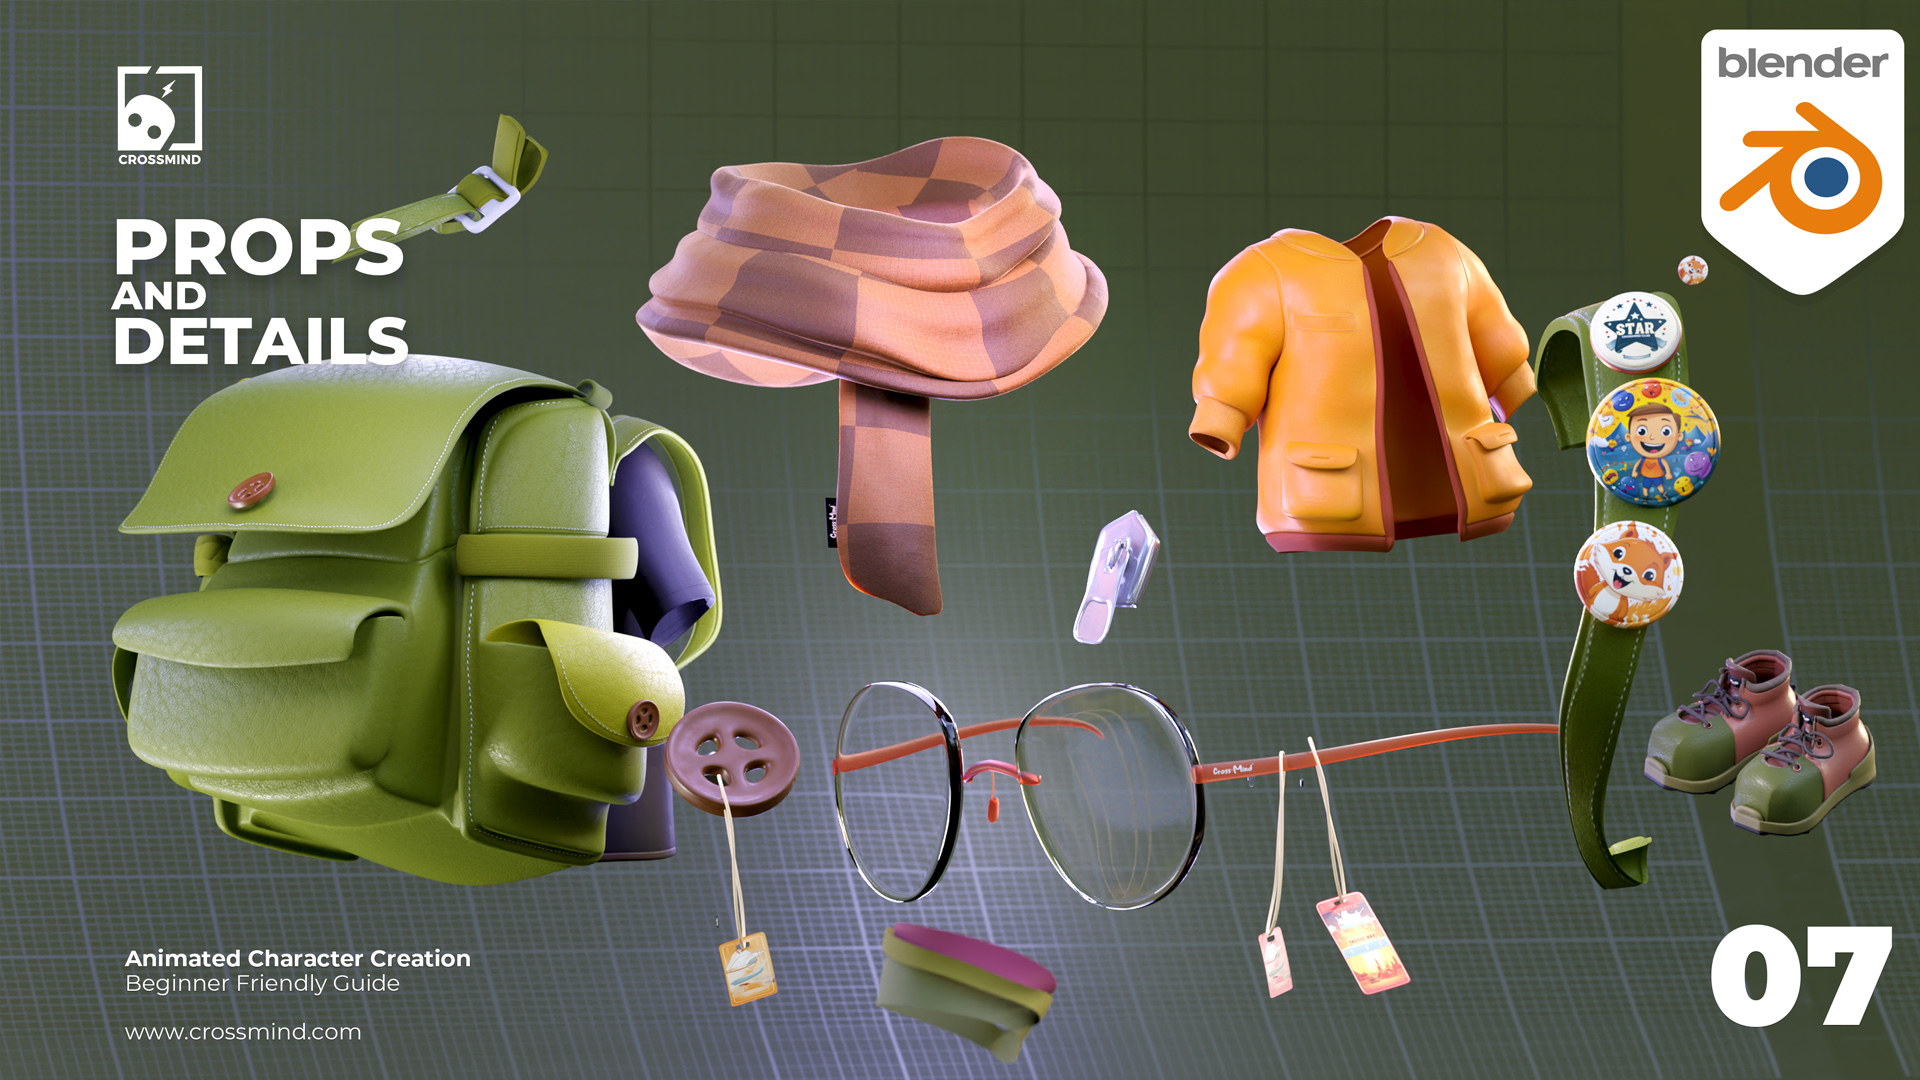
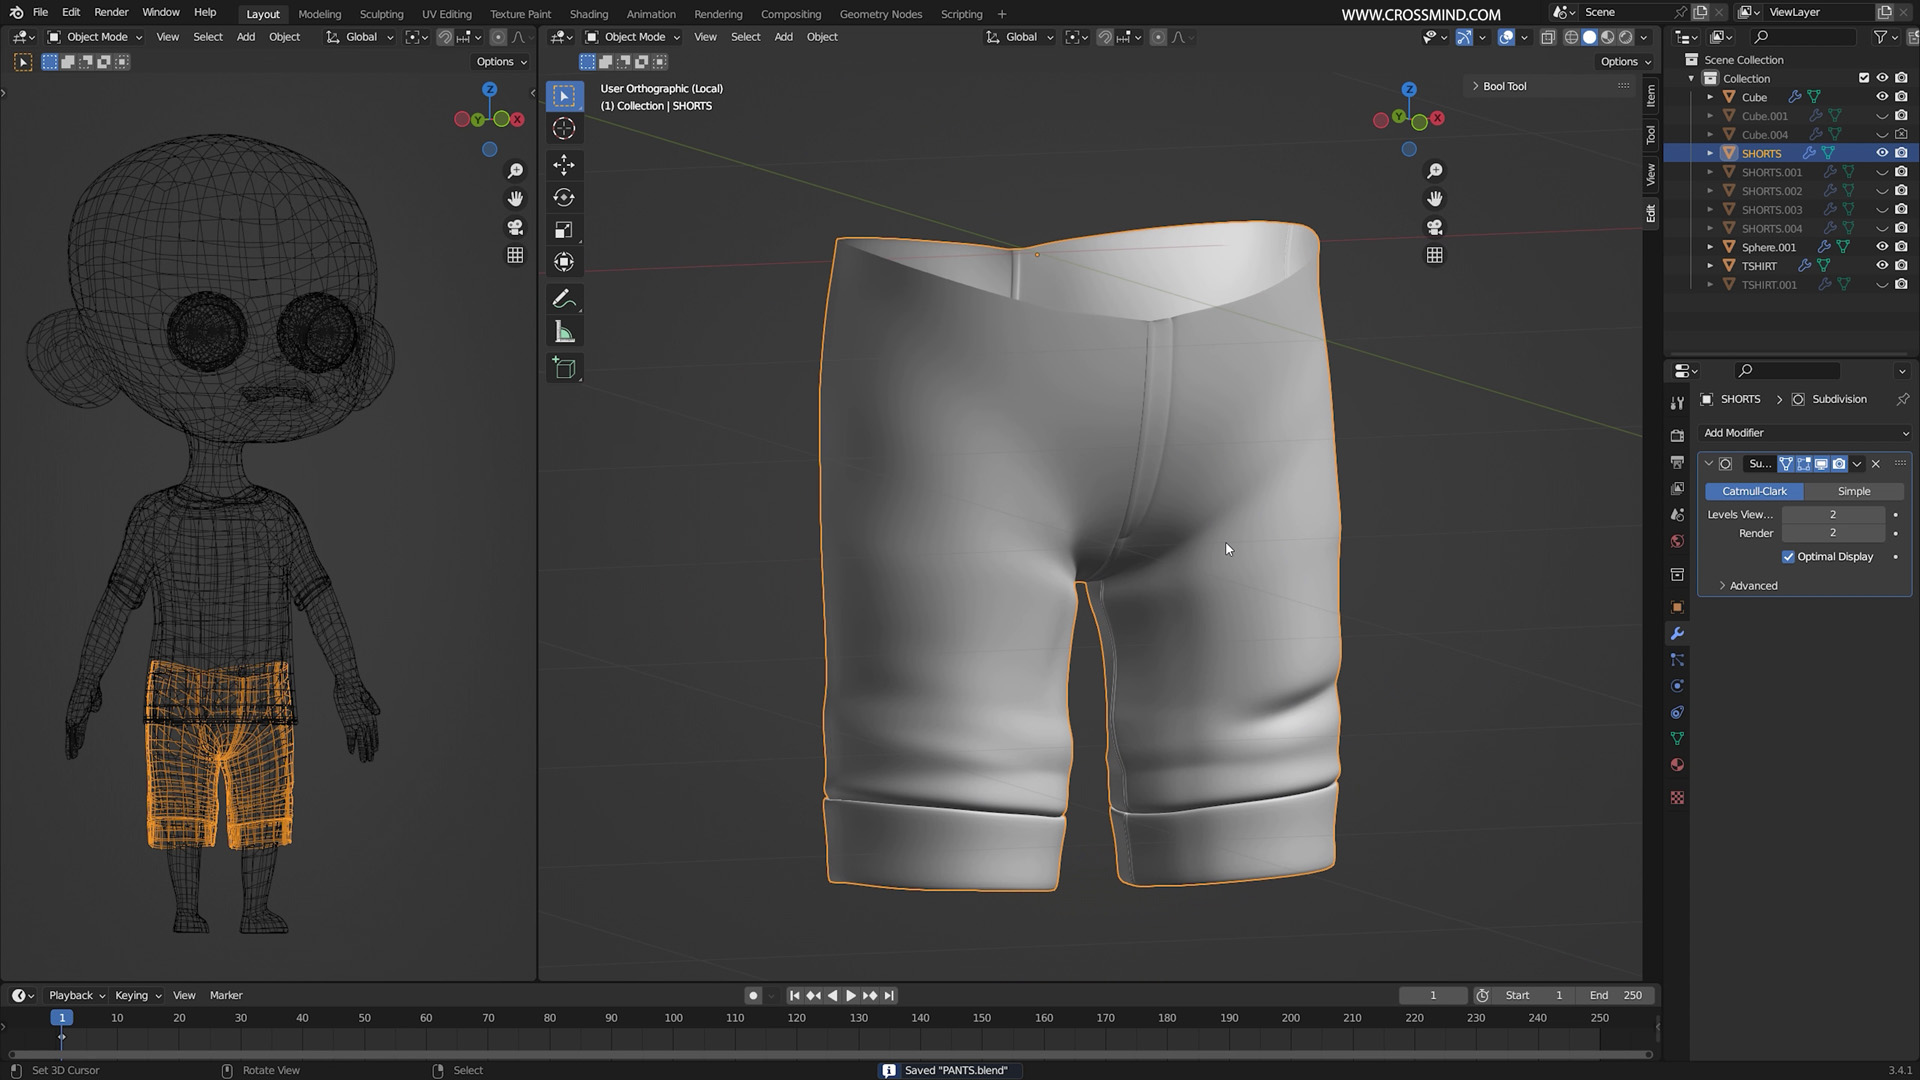
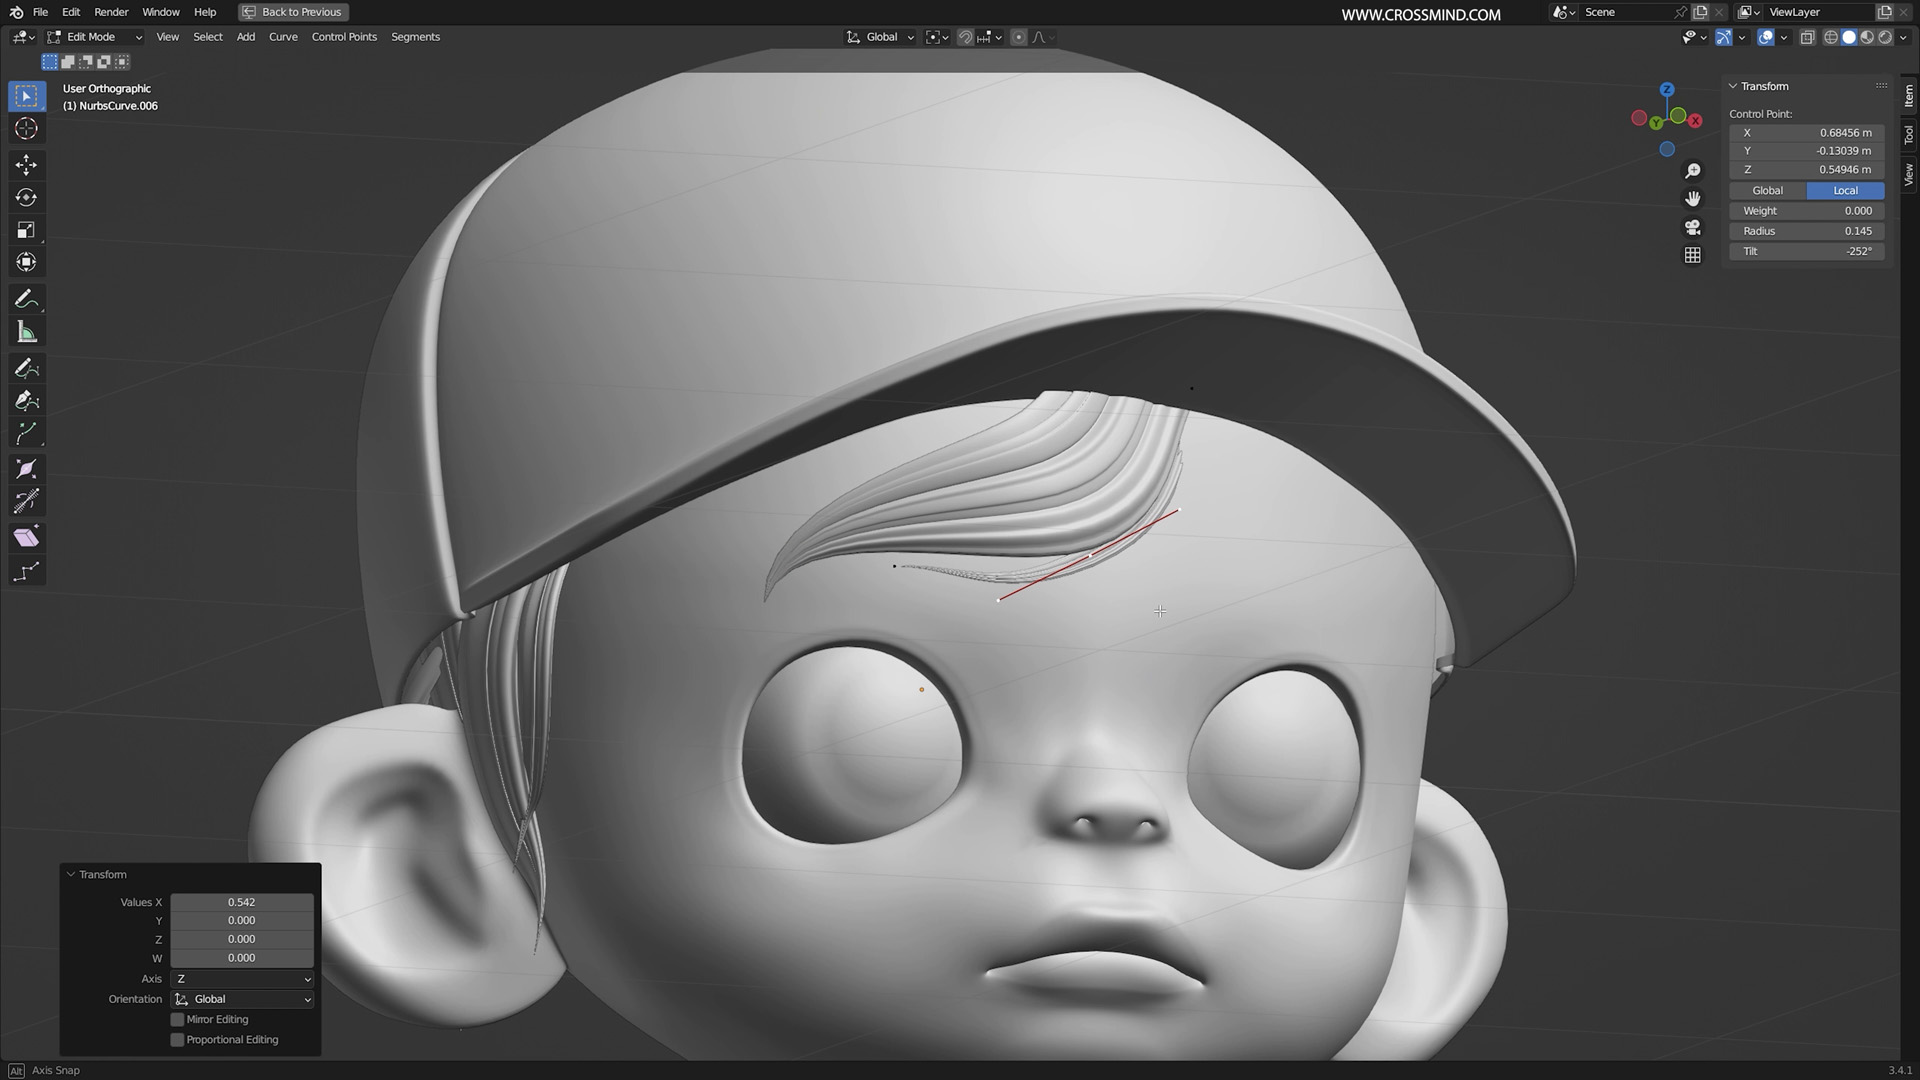
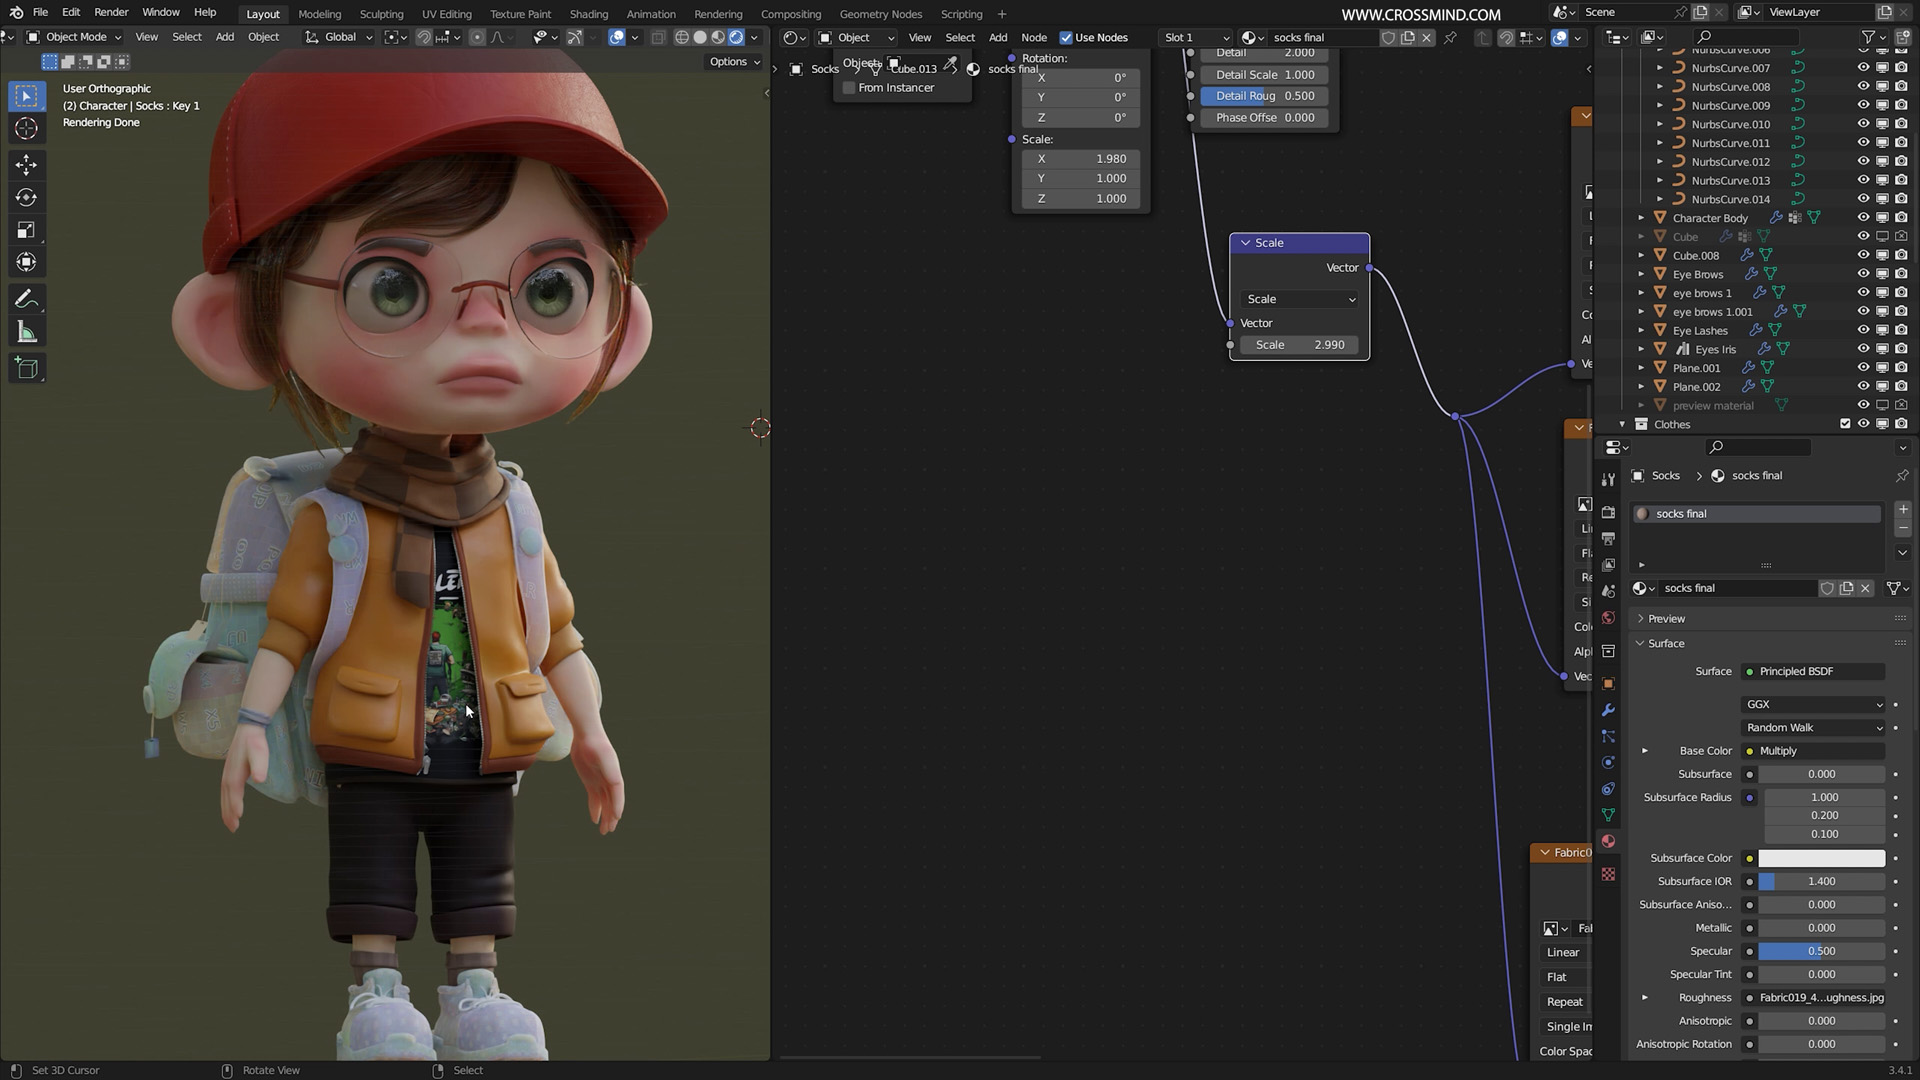
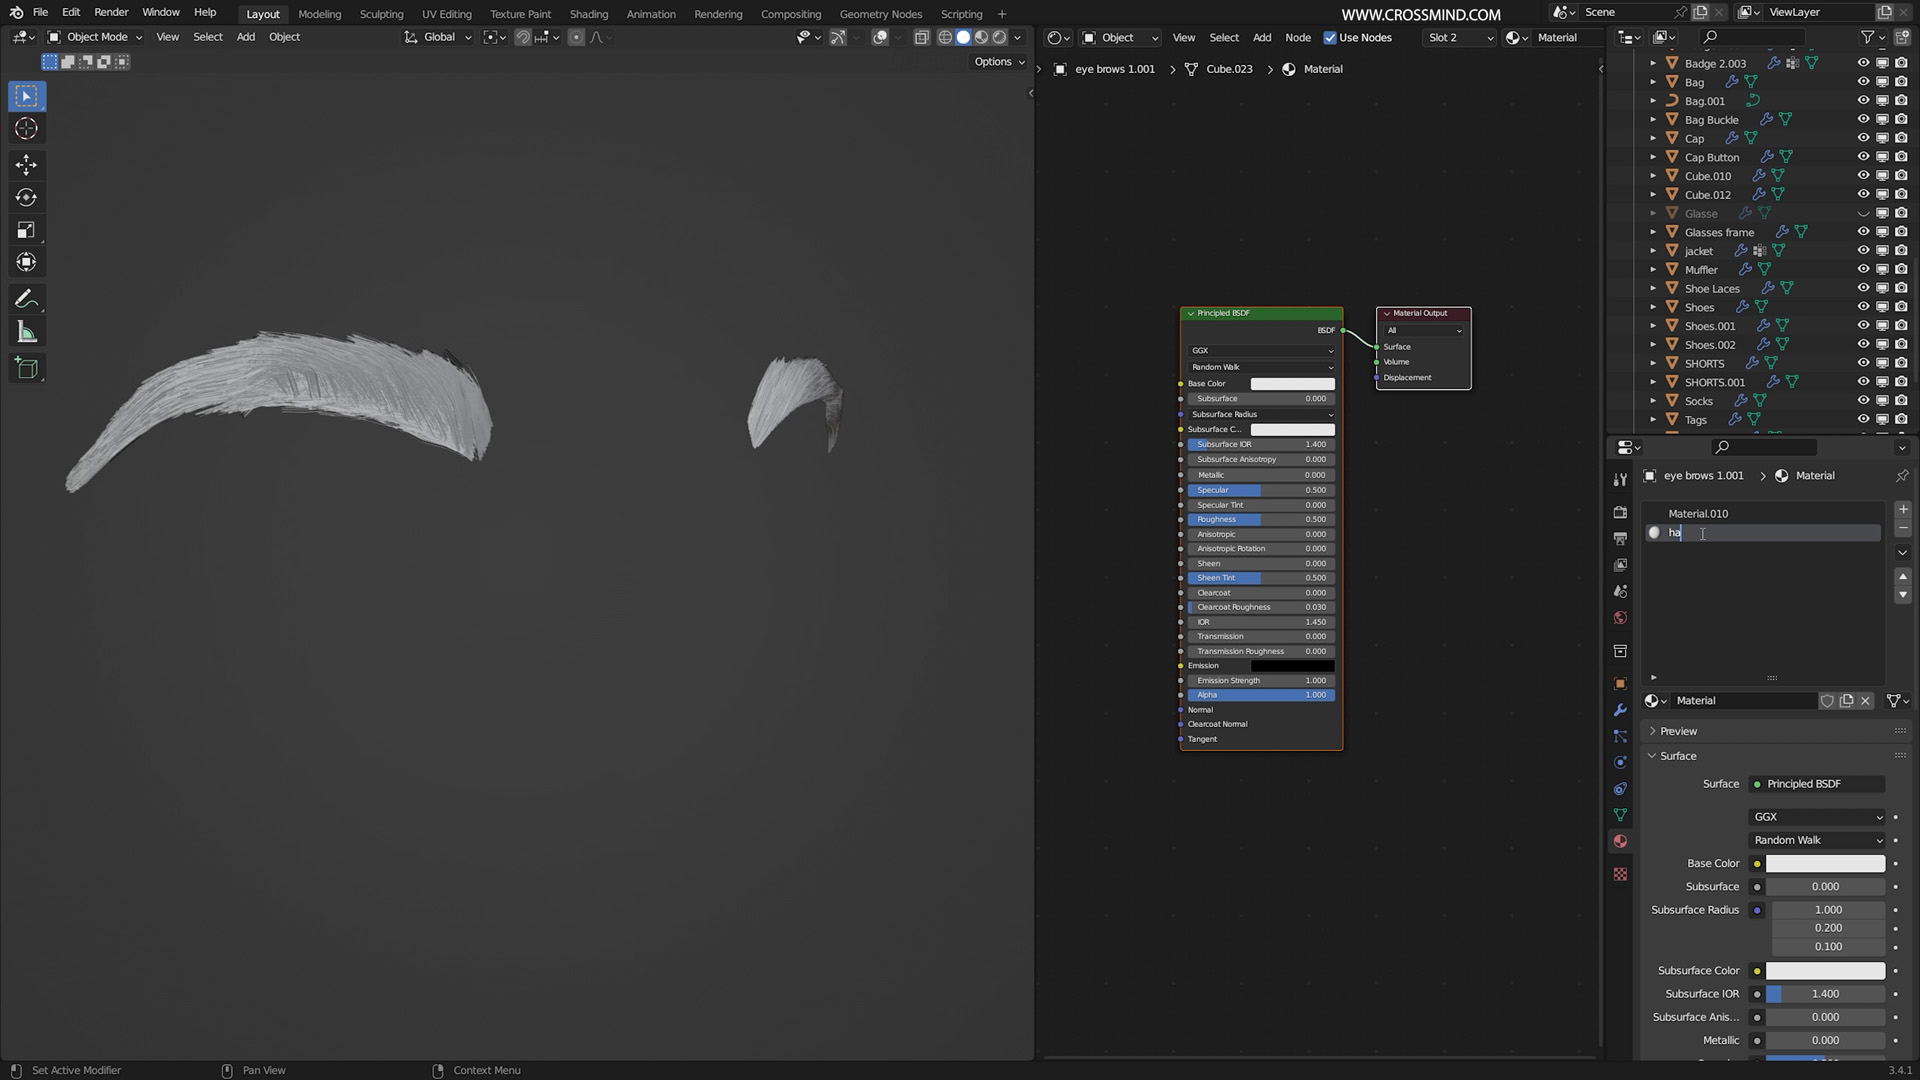
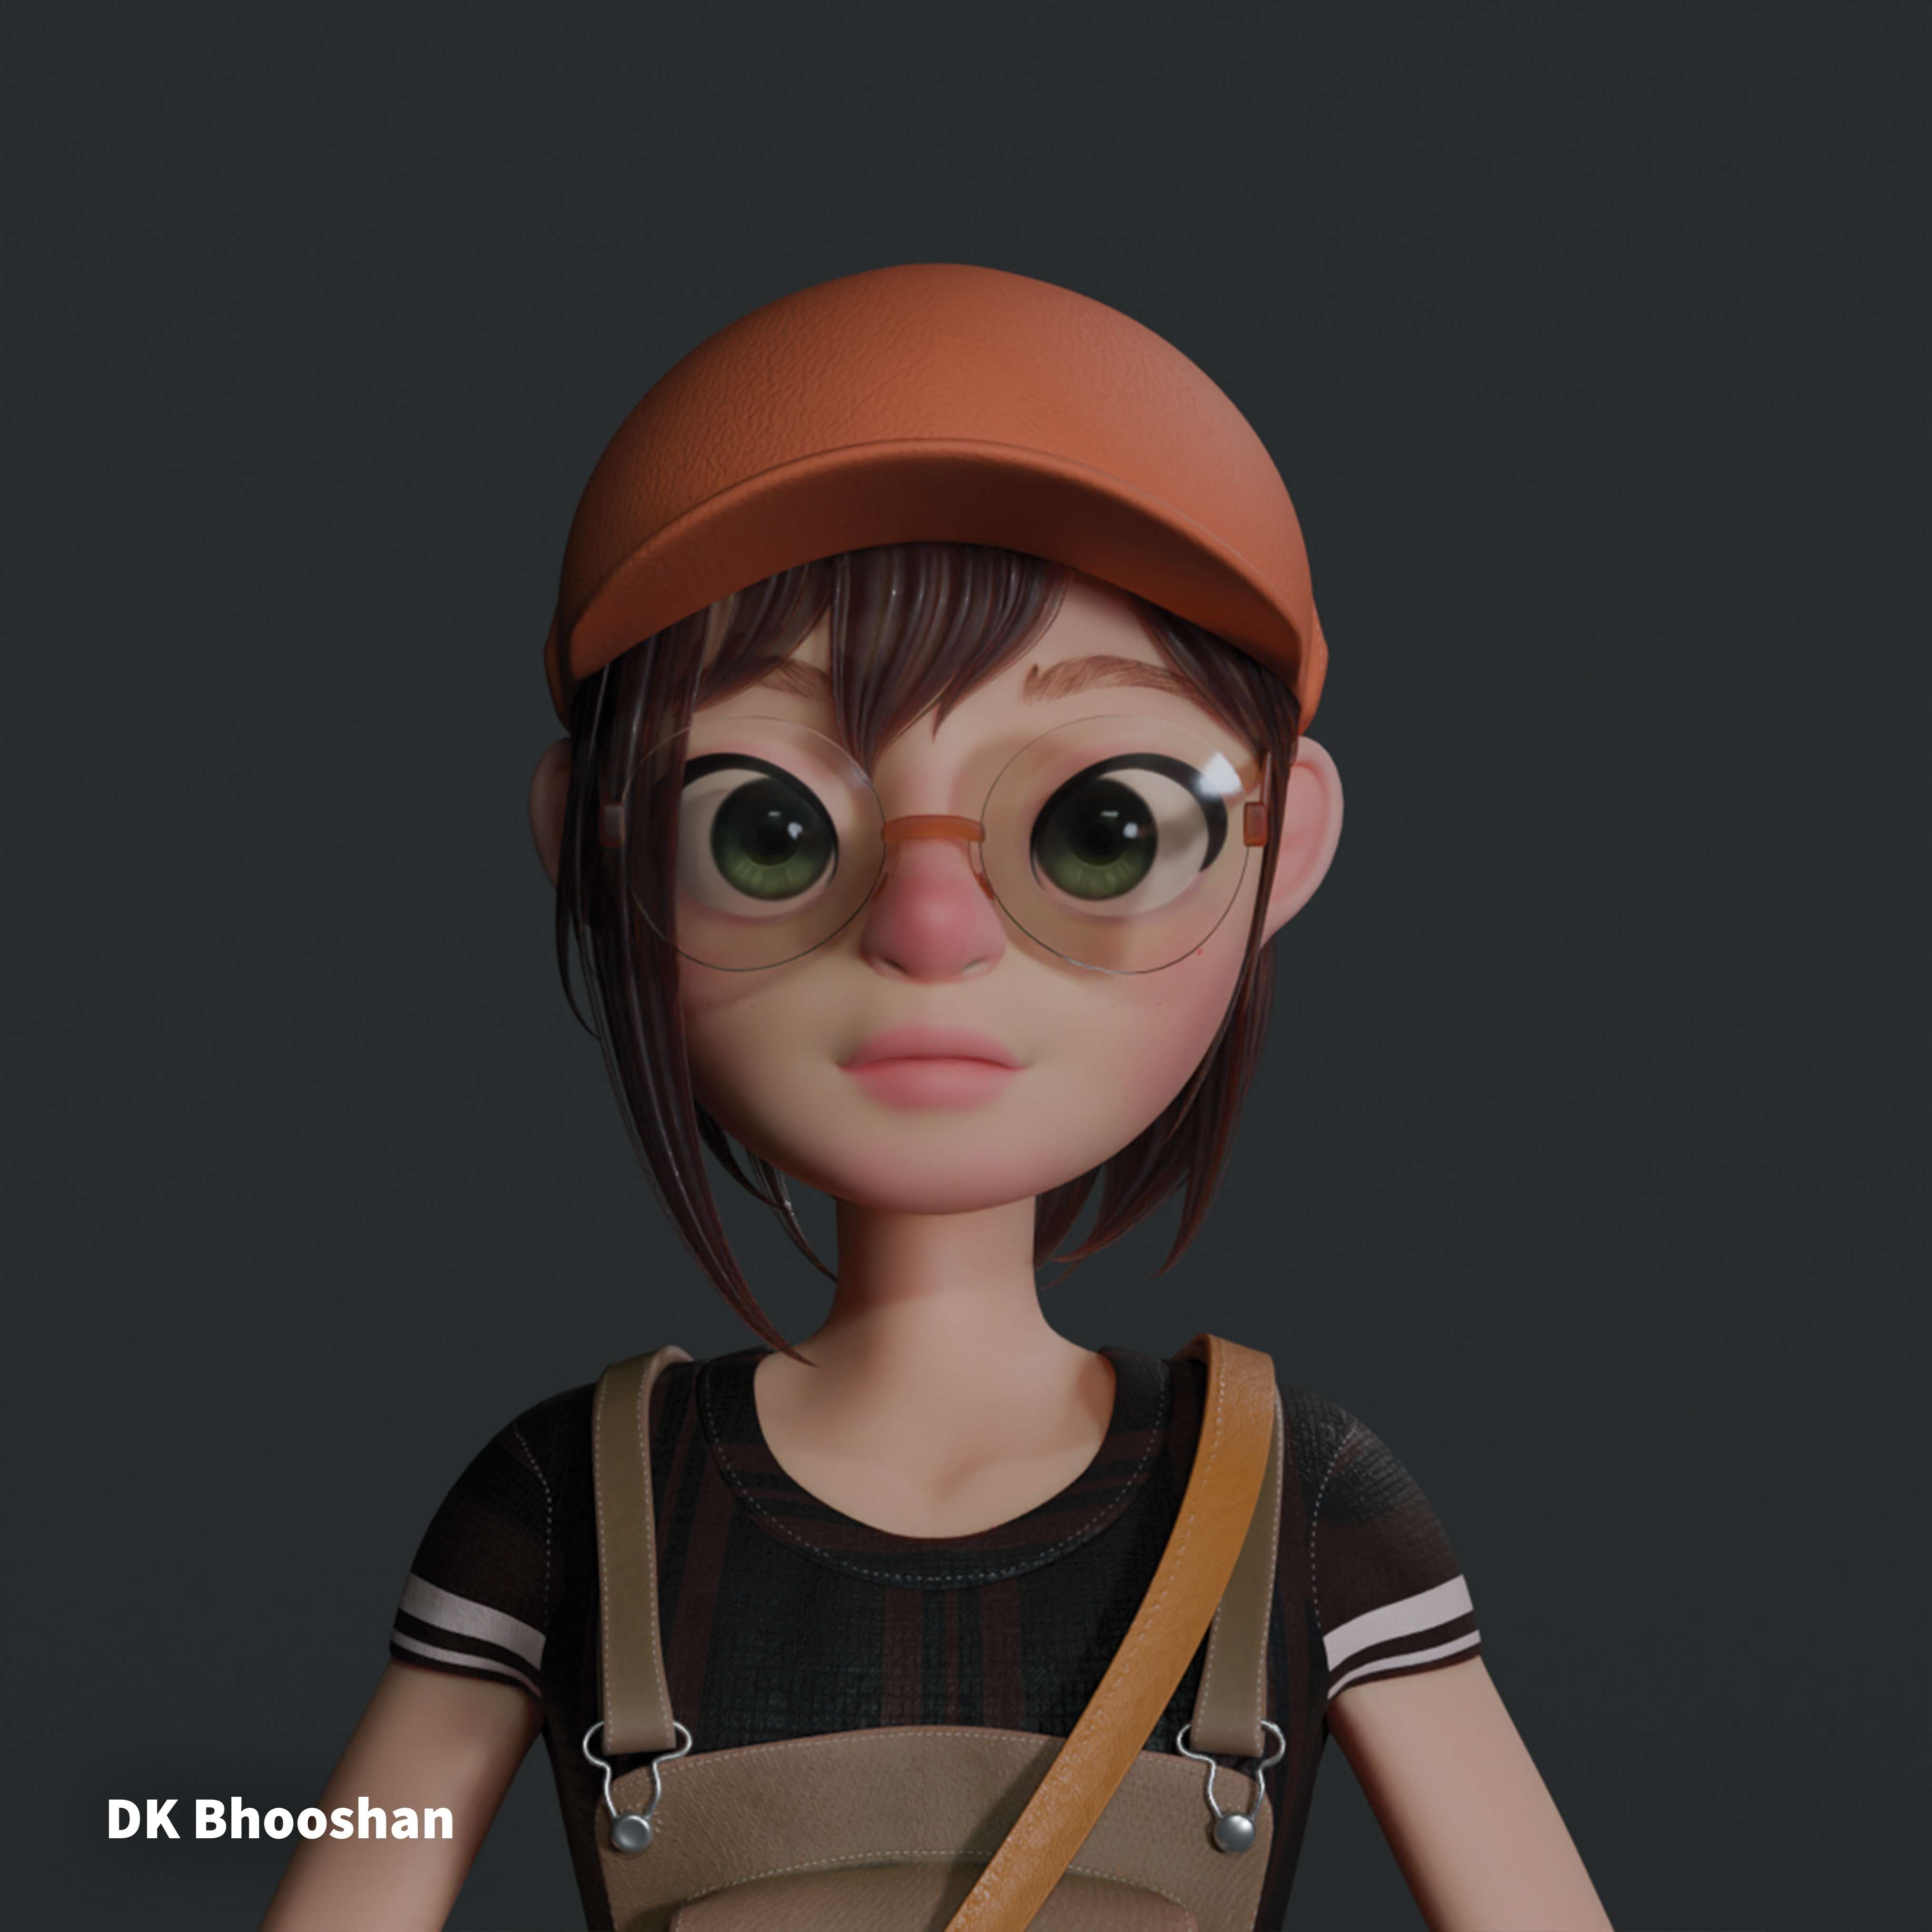
In chapters 5, 6, and 7, we'll craft all the models for the character's attire and accessories – including a t-shirt, jacket, shorts, shoes, glasses, cap, hair, bands, bag, and more.
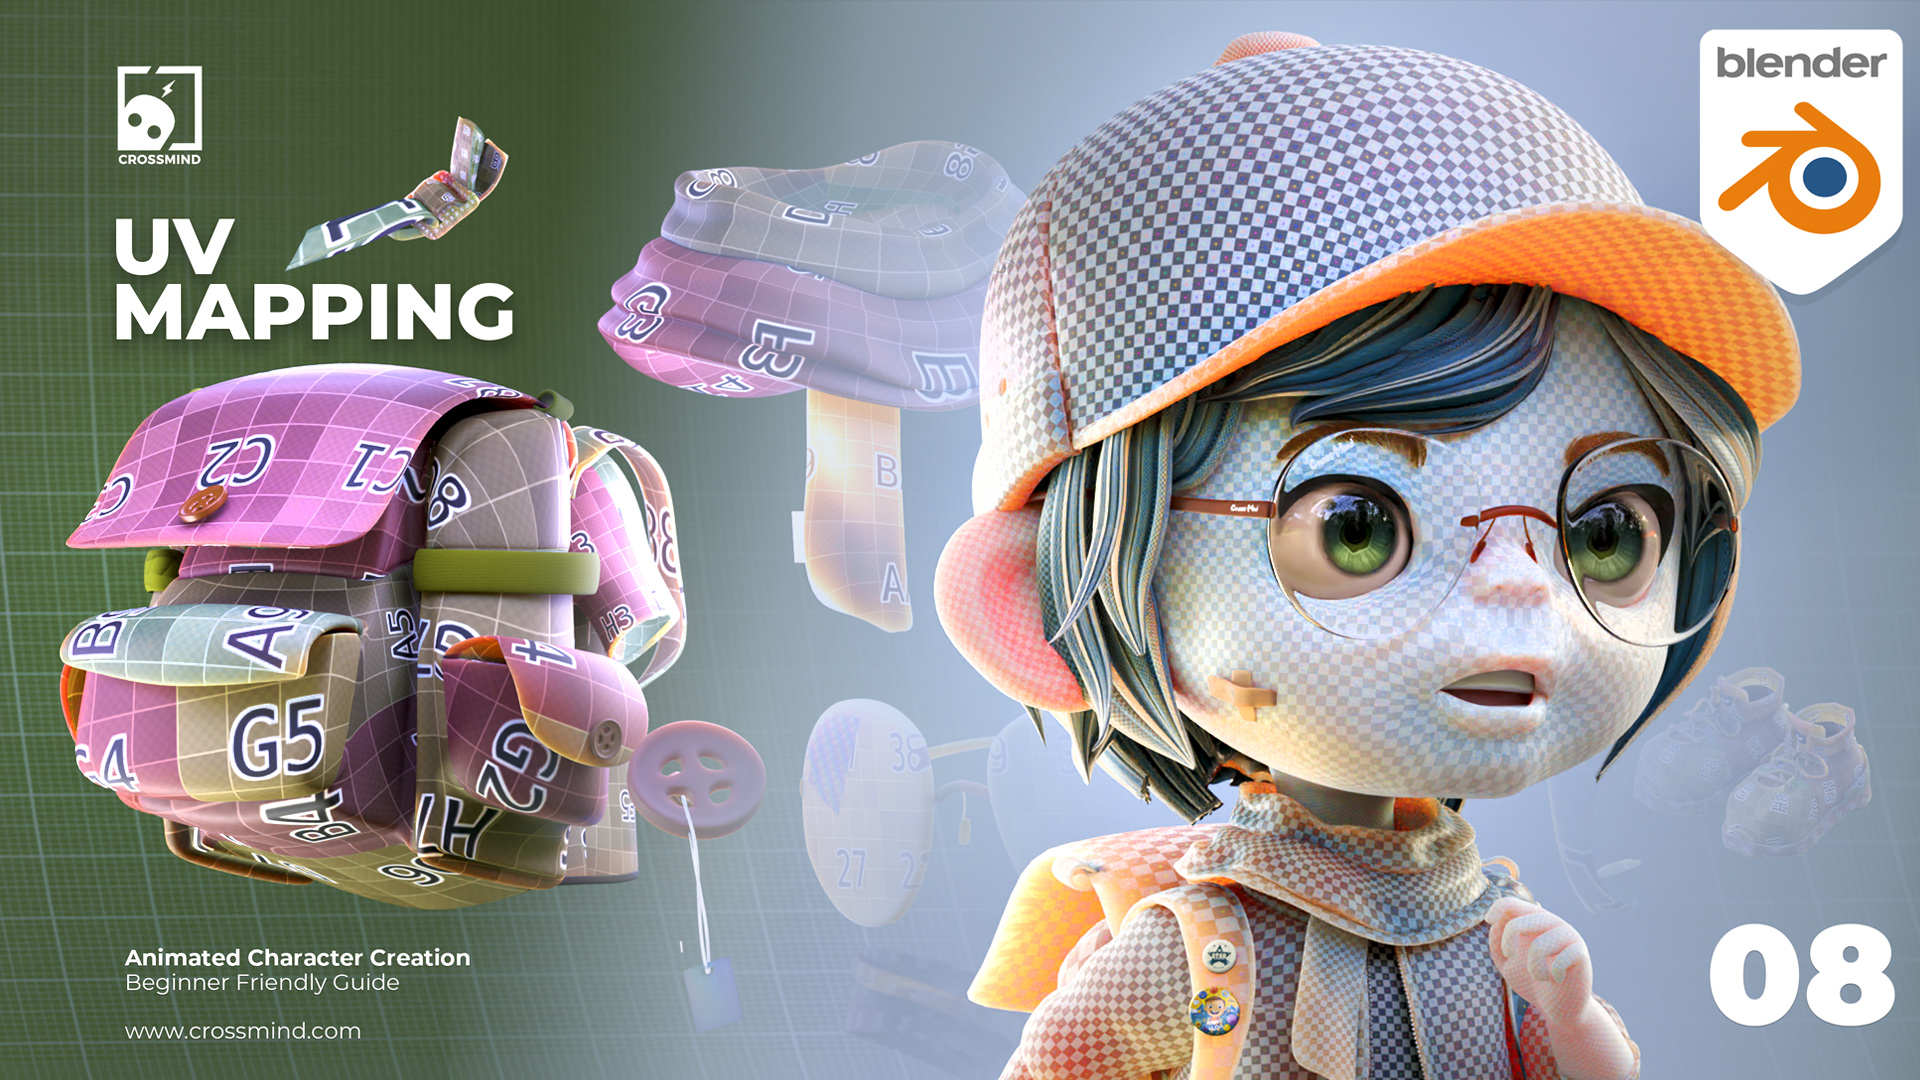
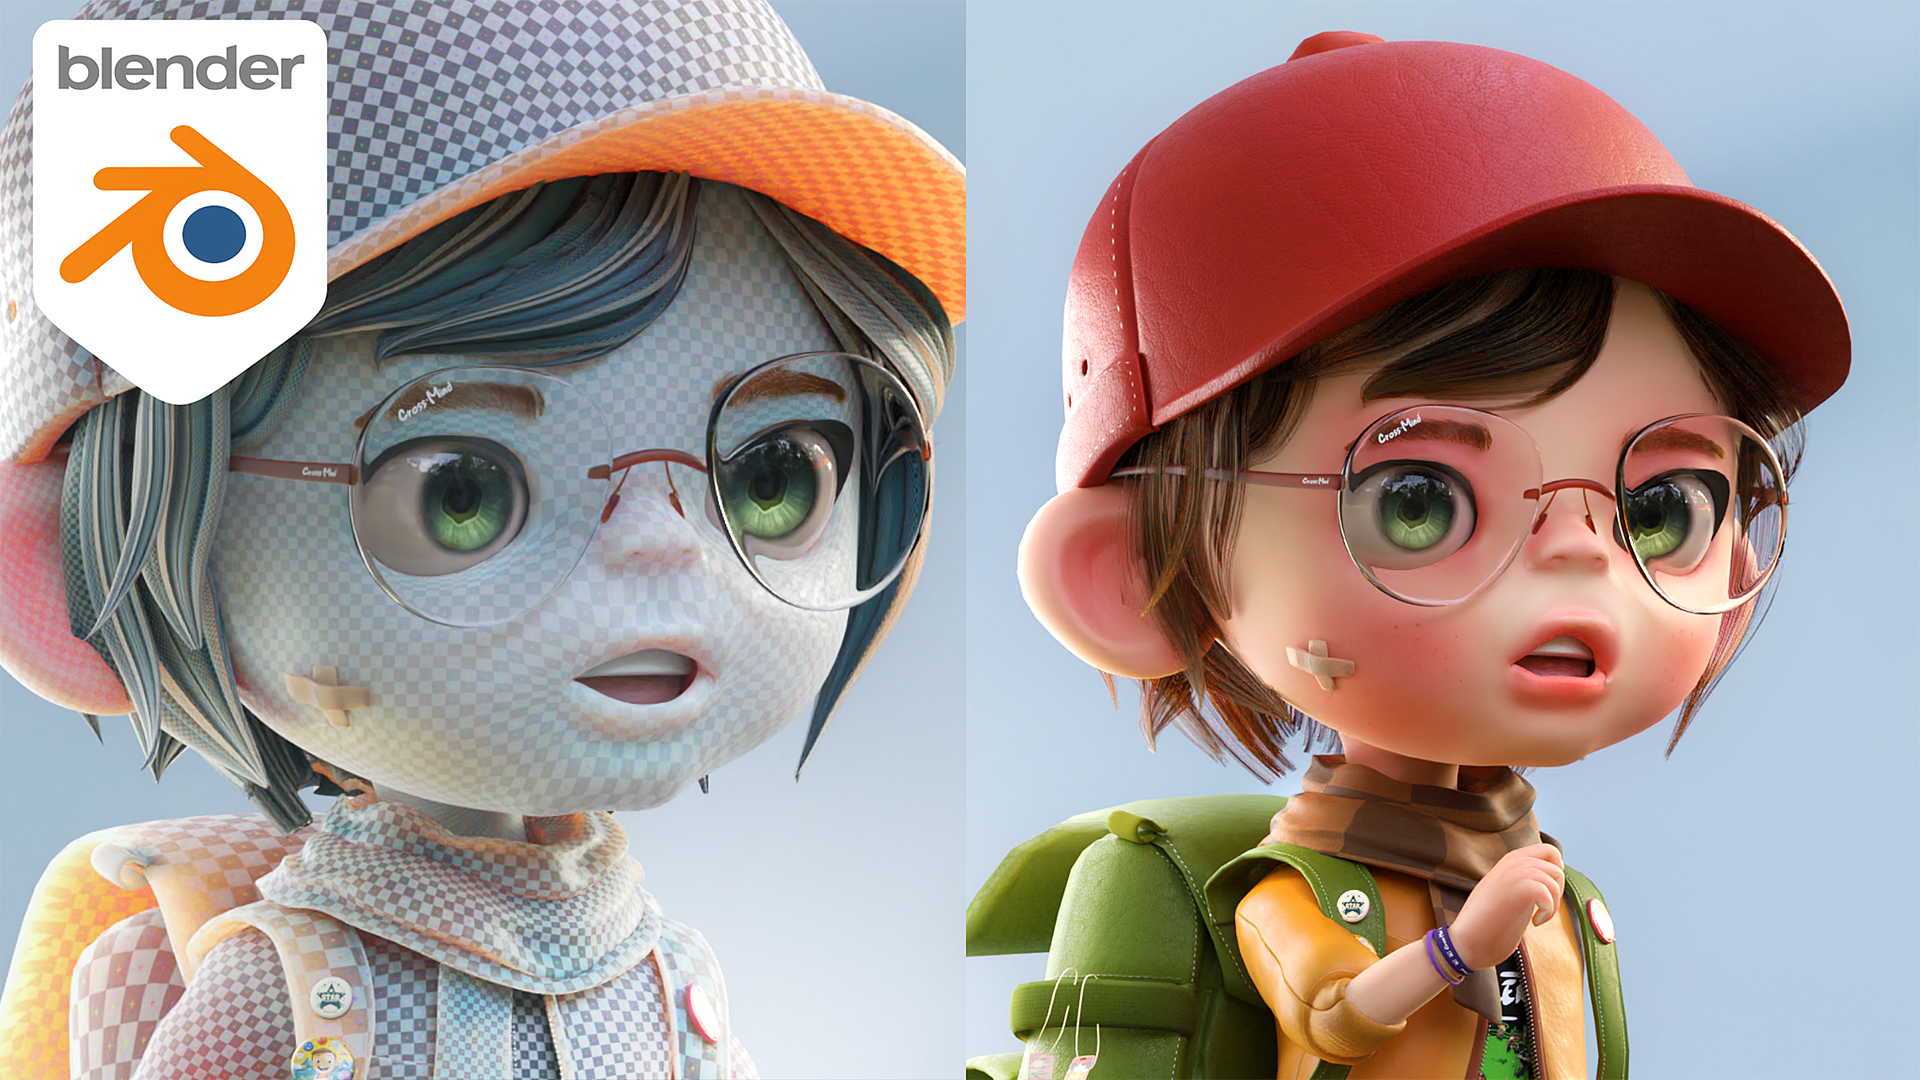
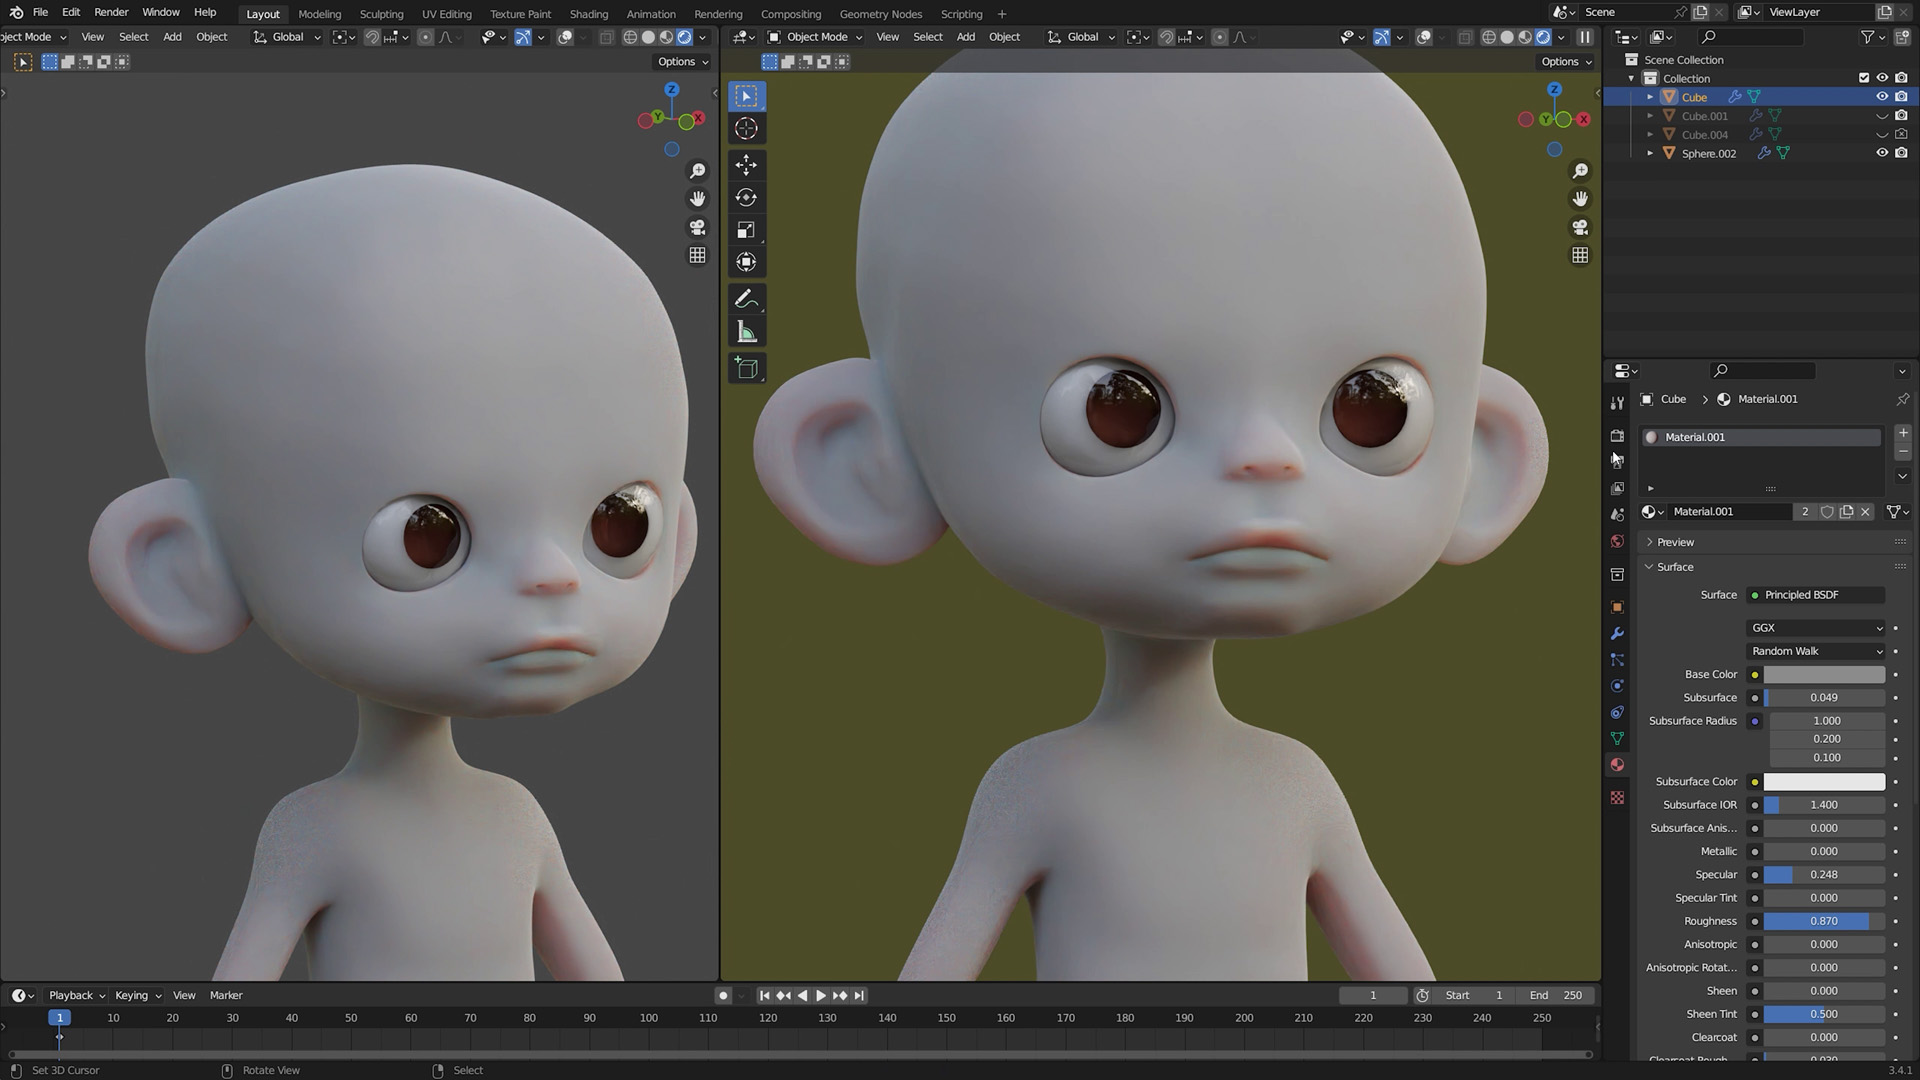
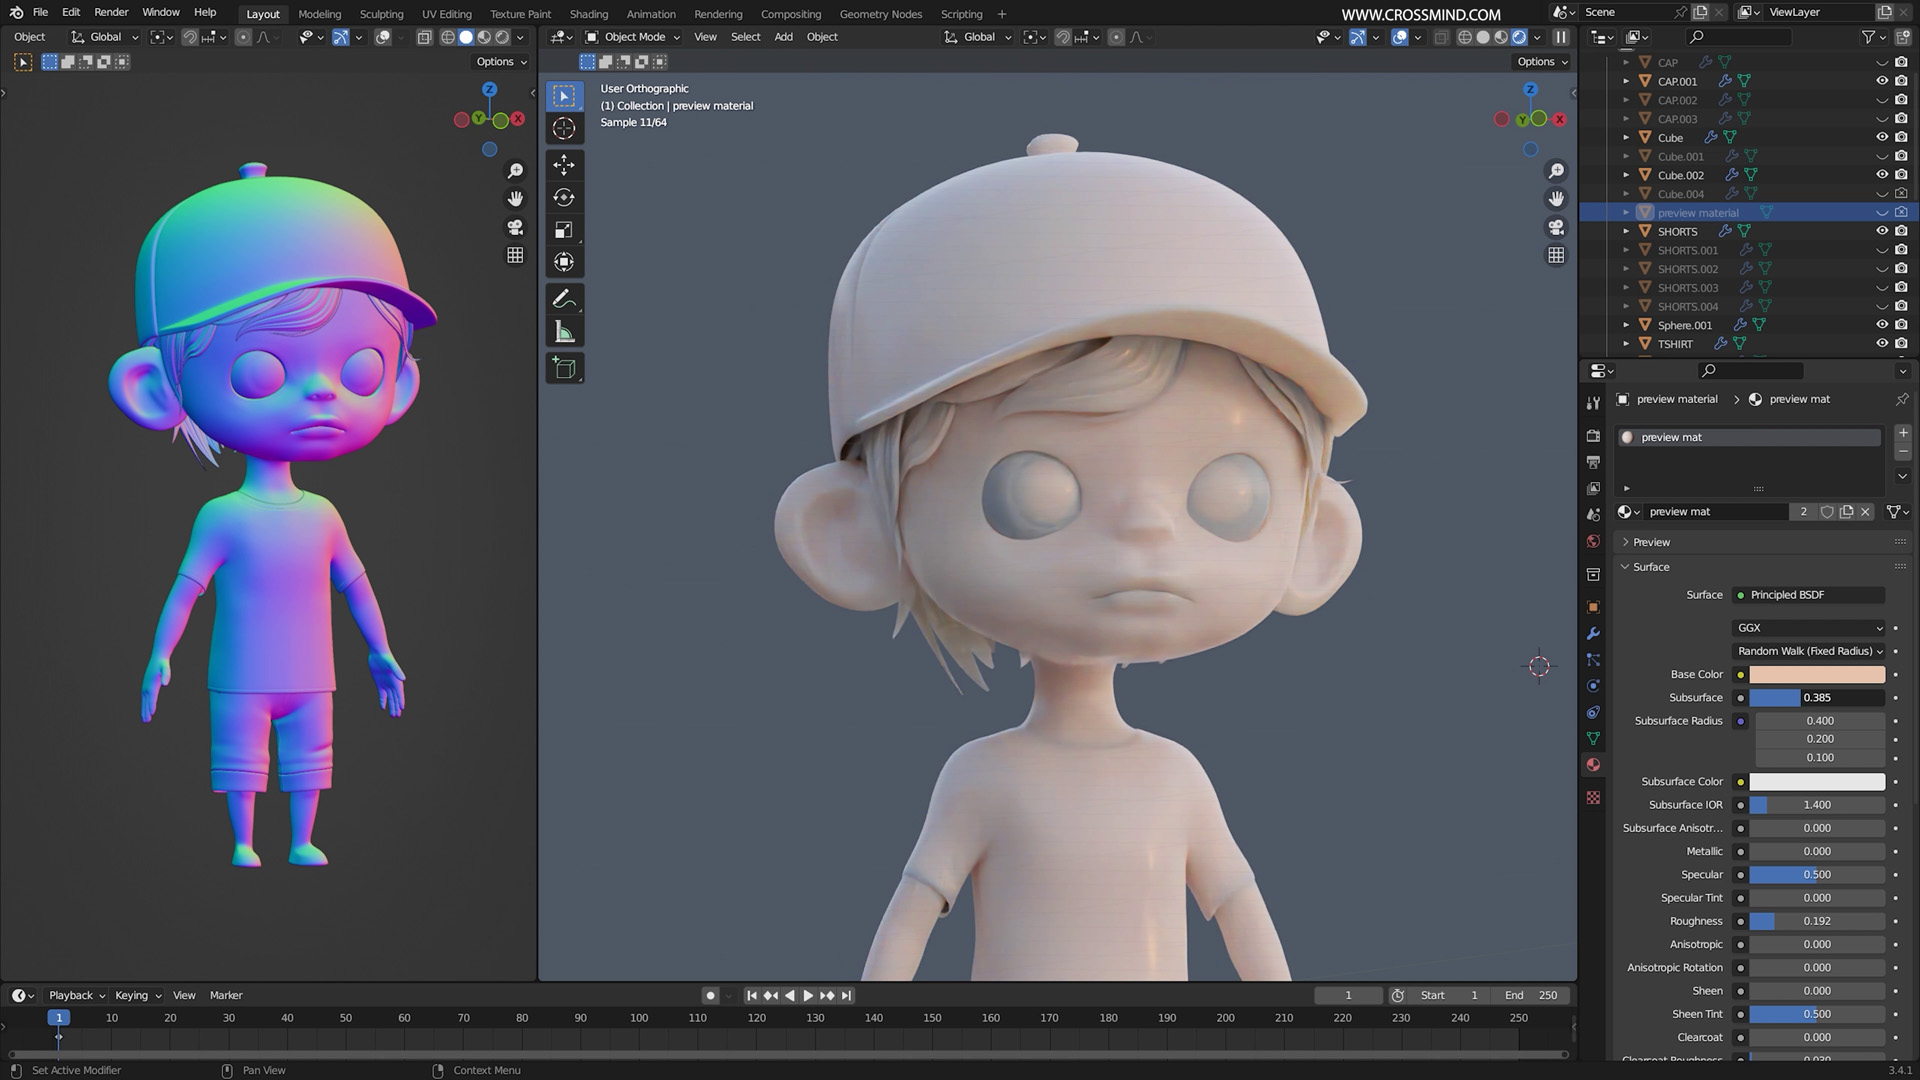
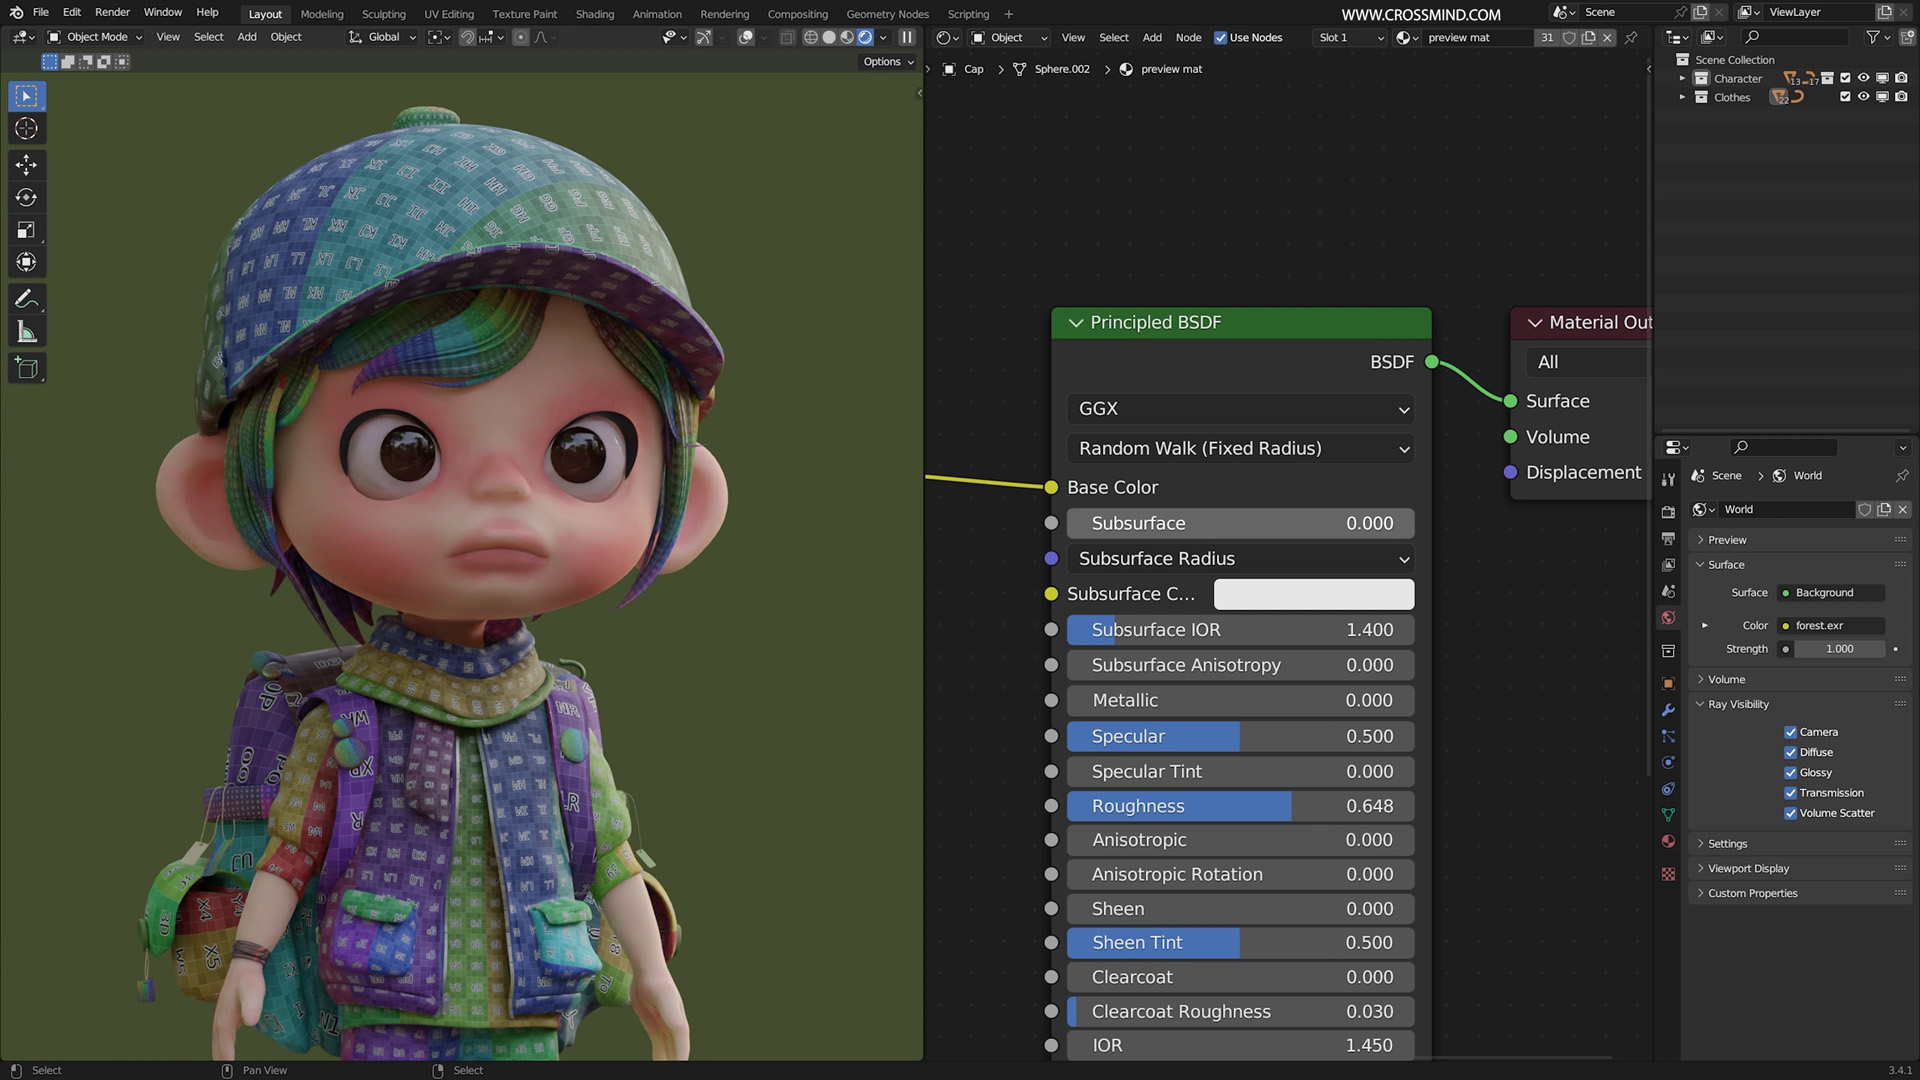
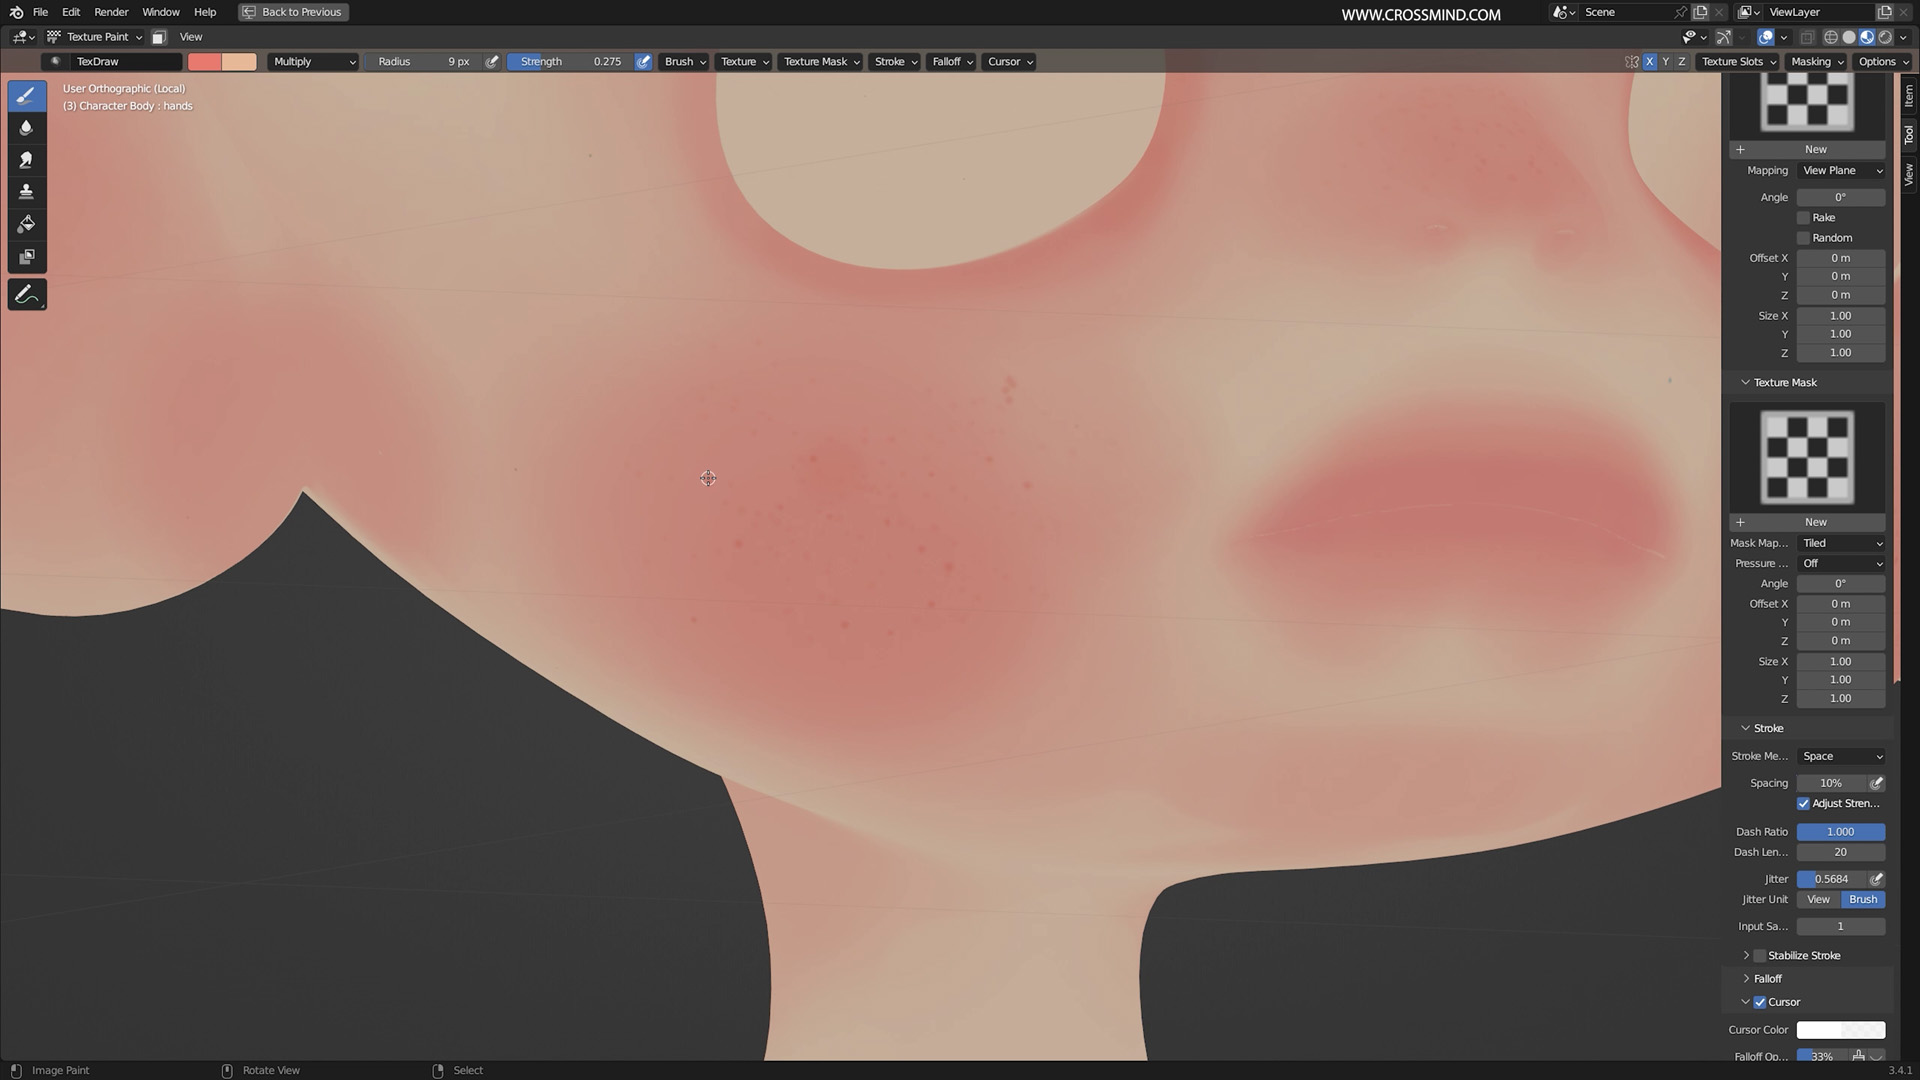
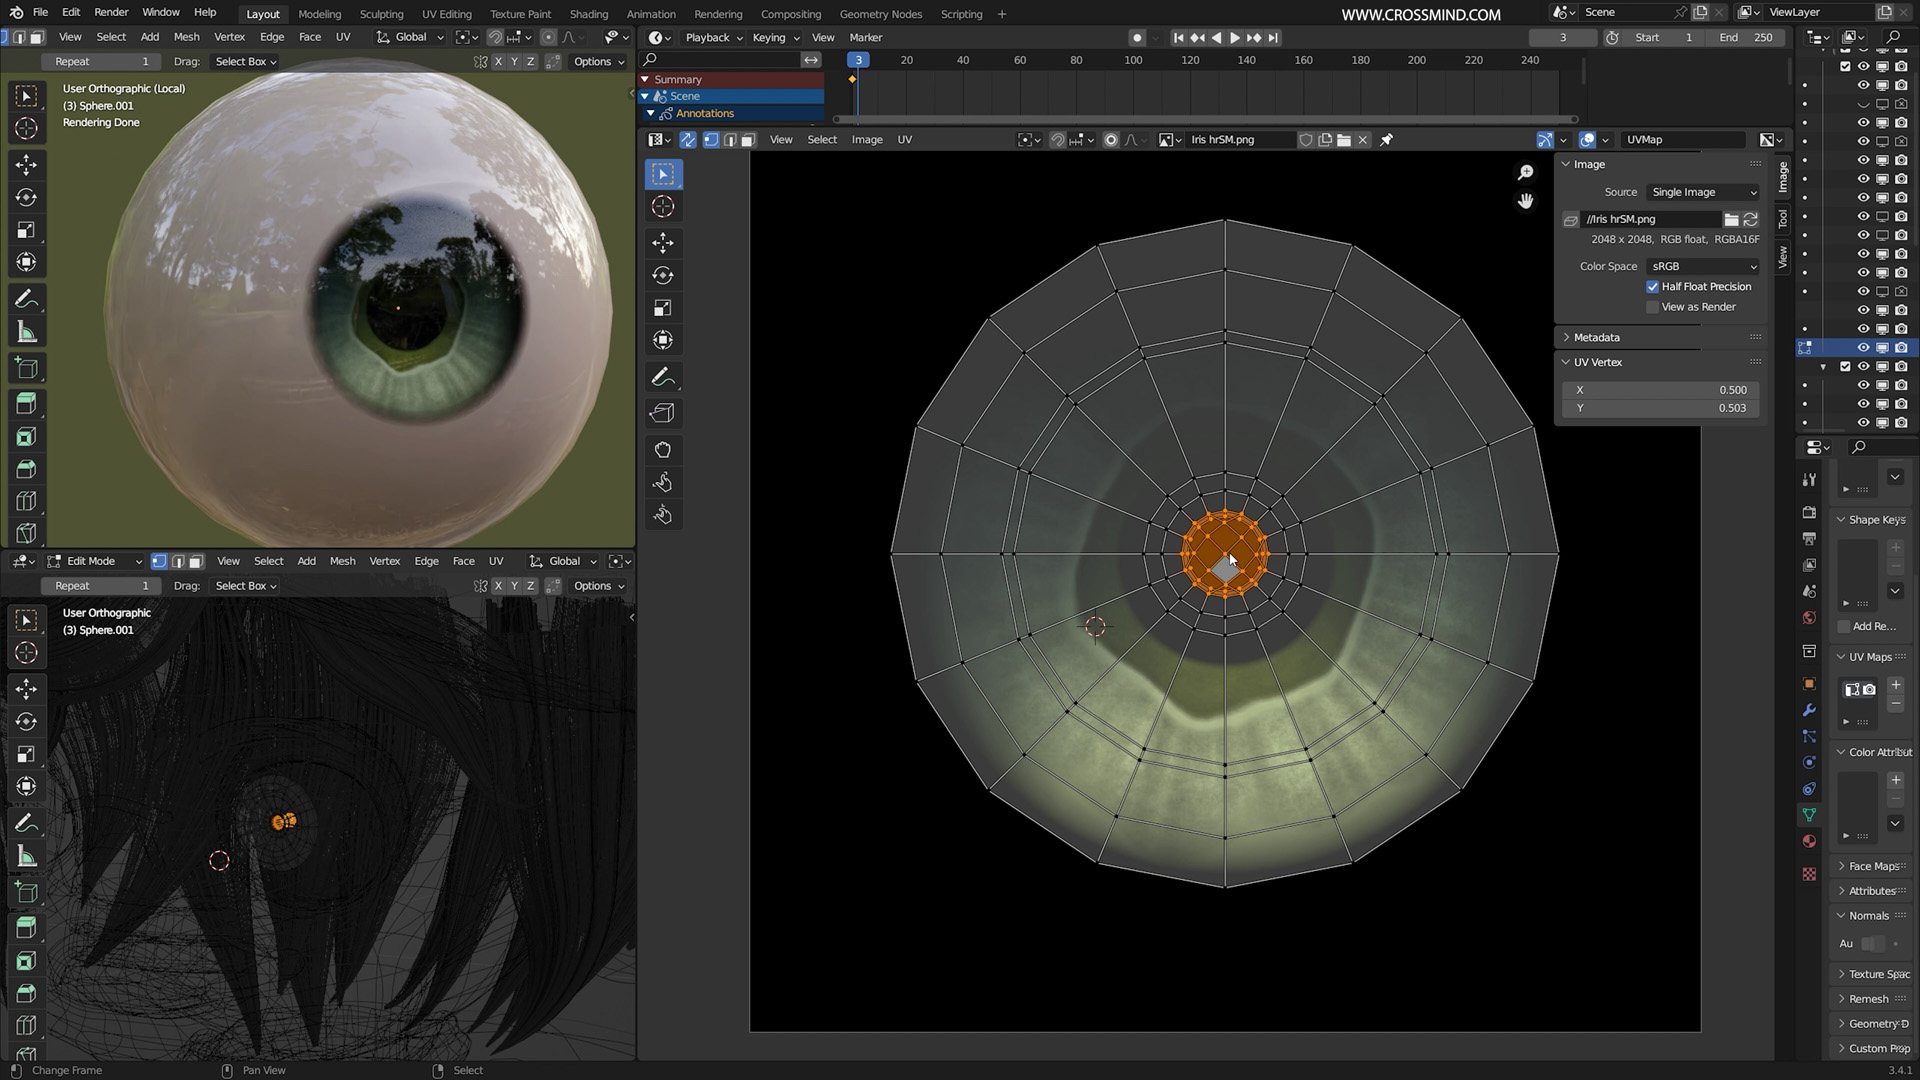
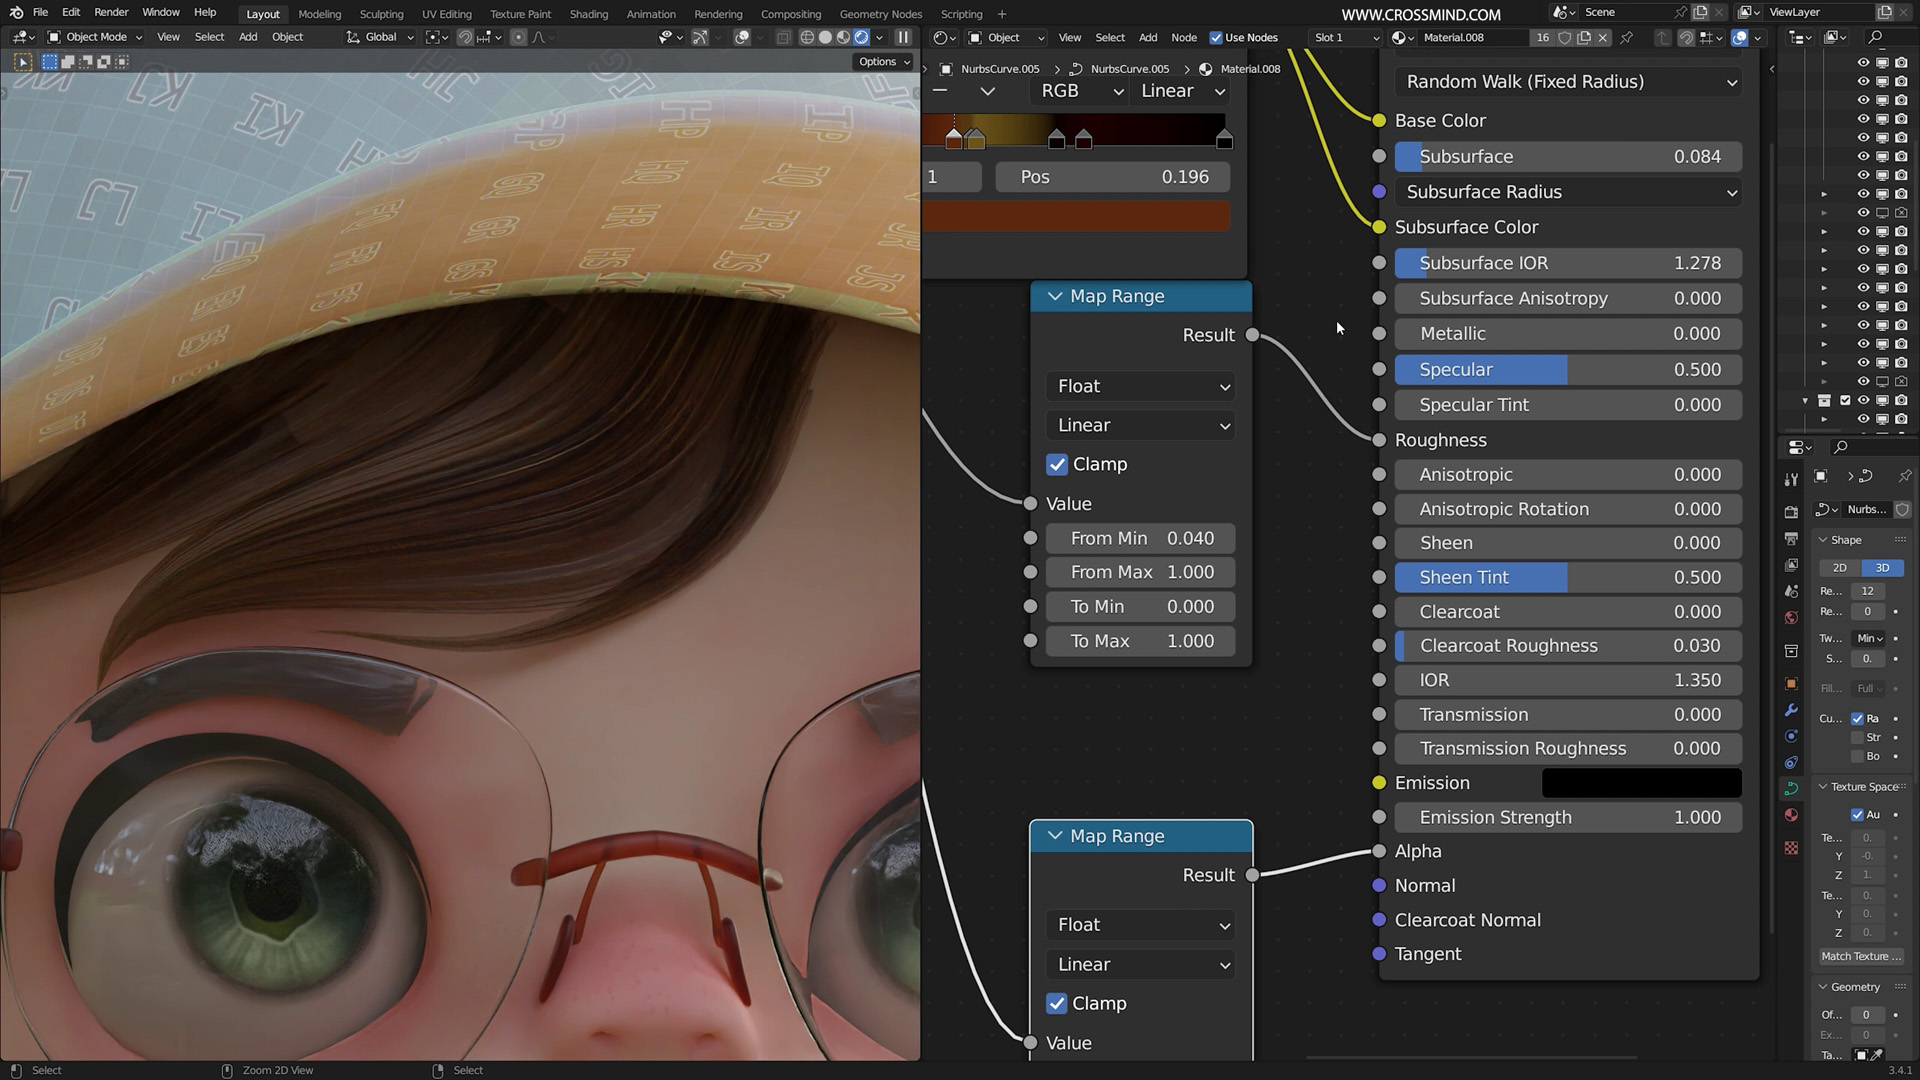
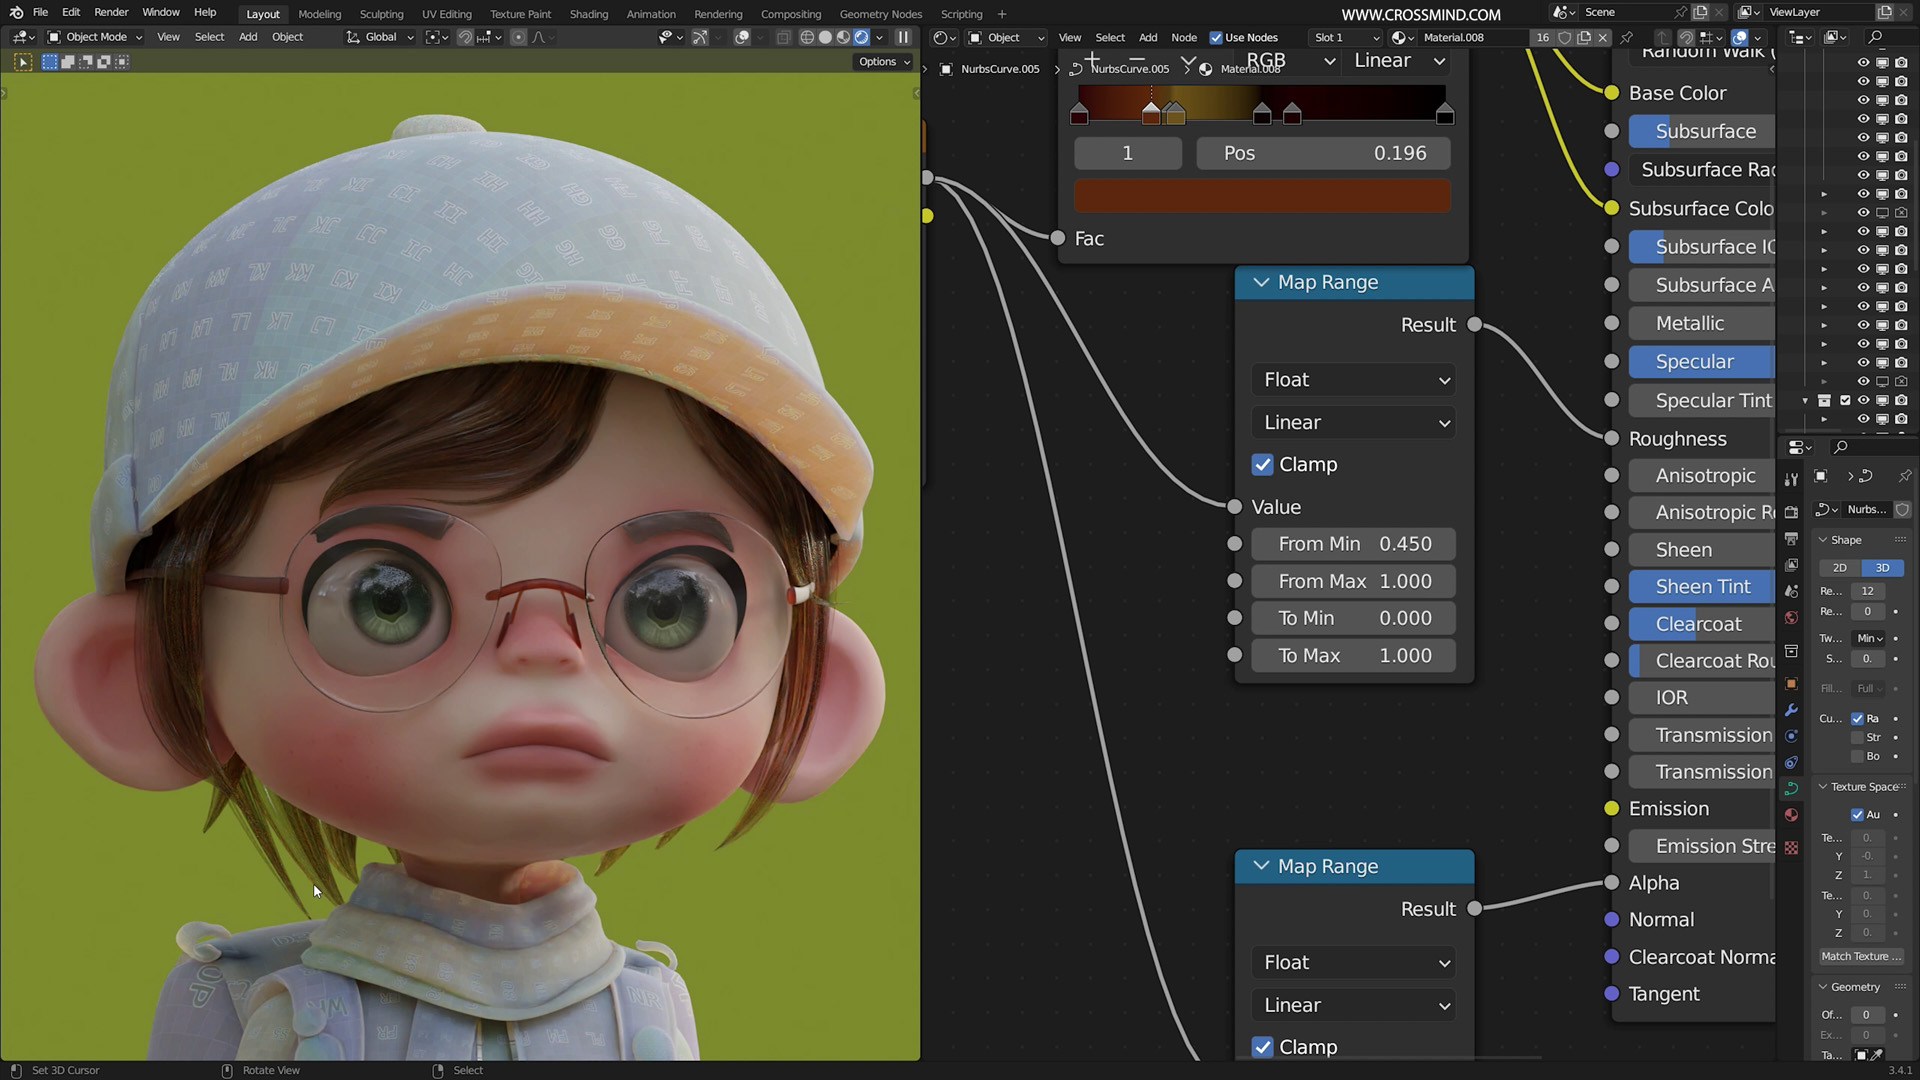
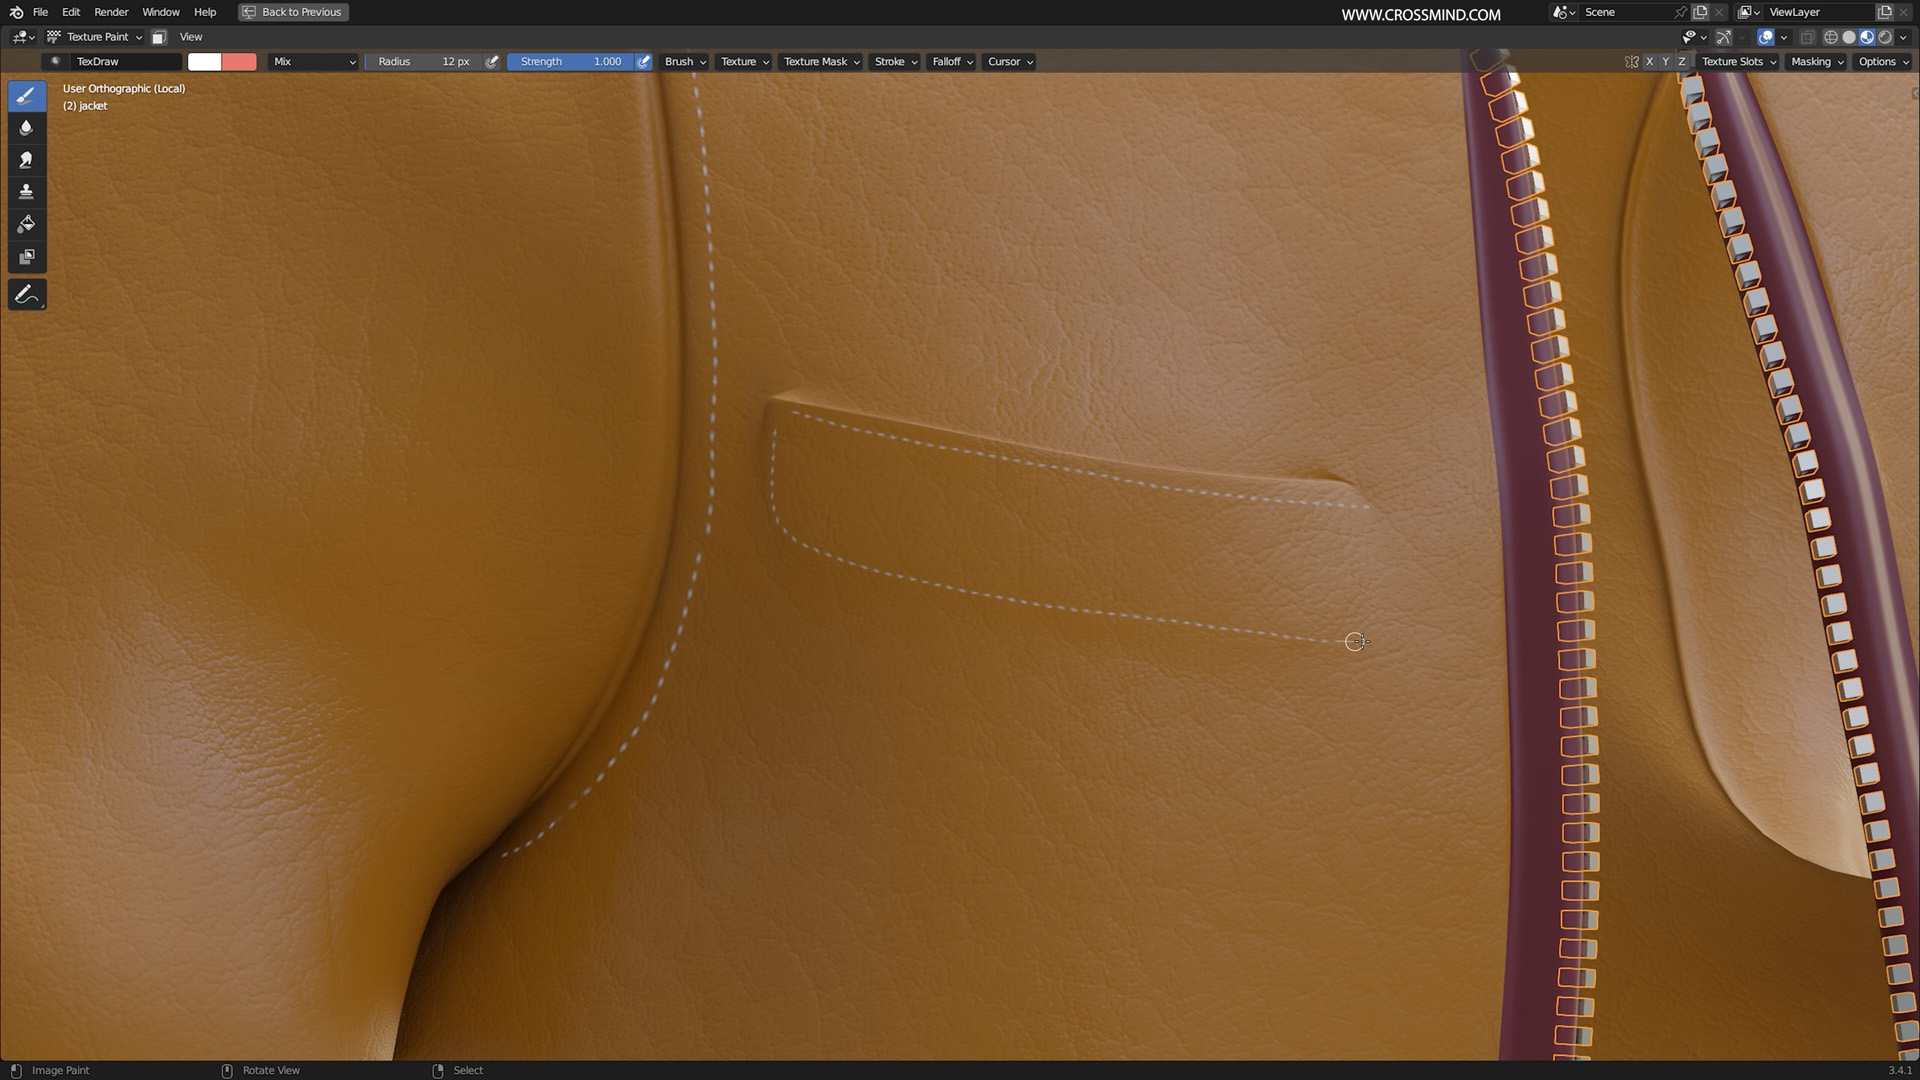
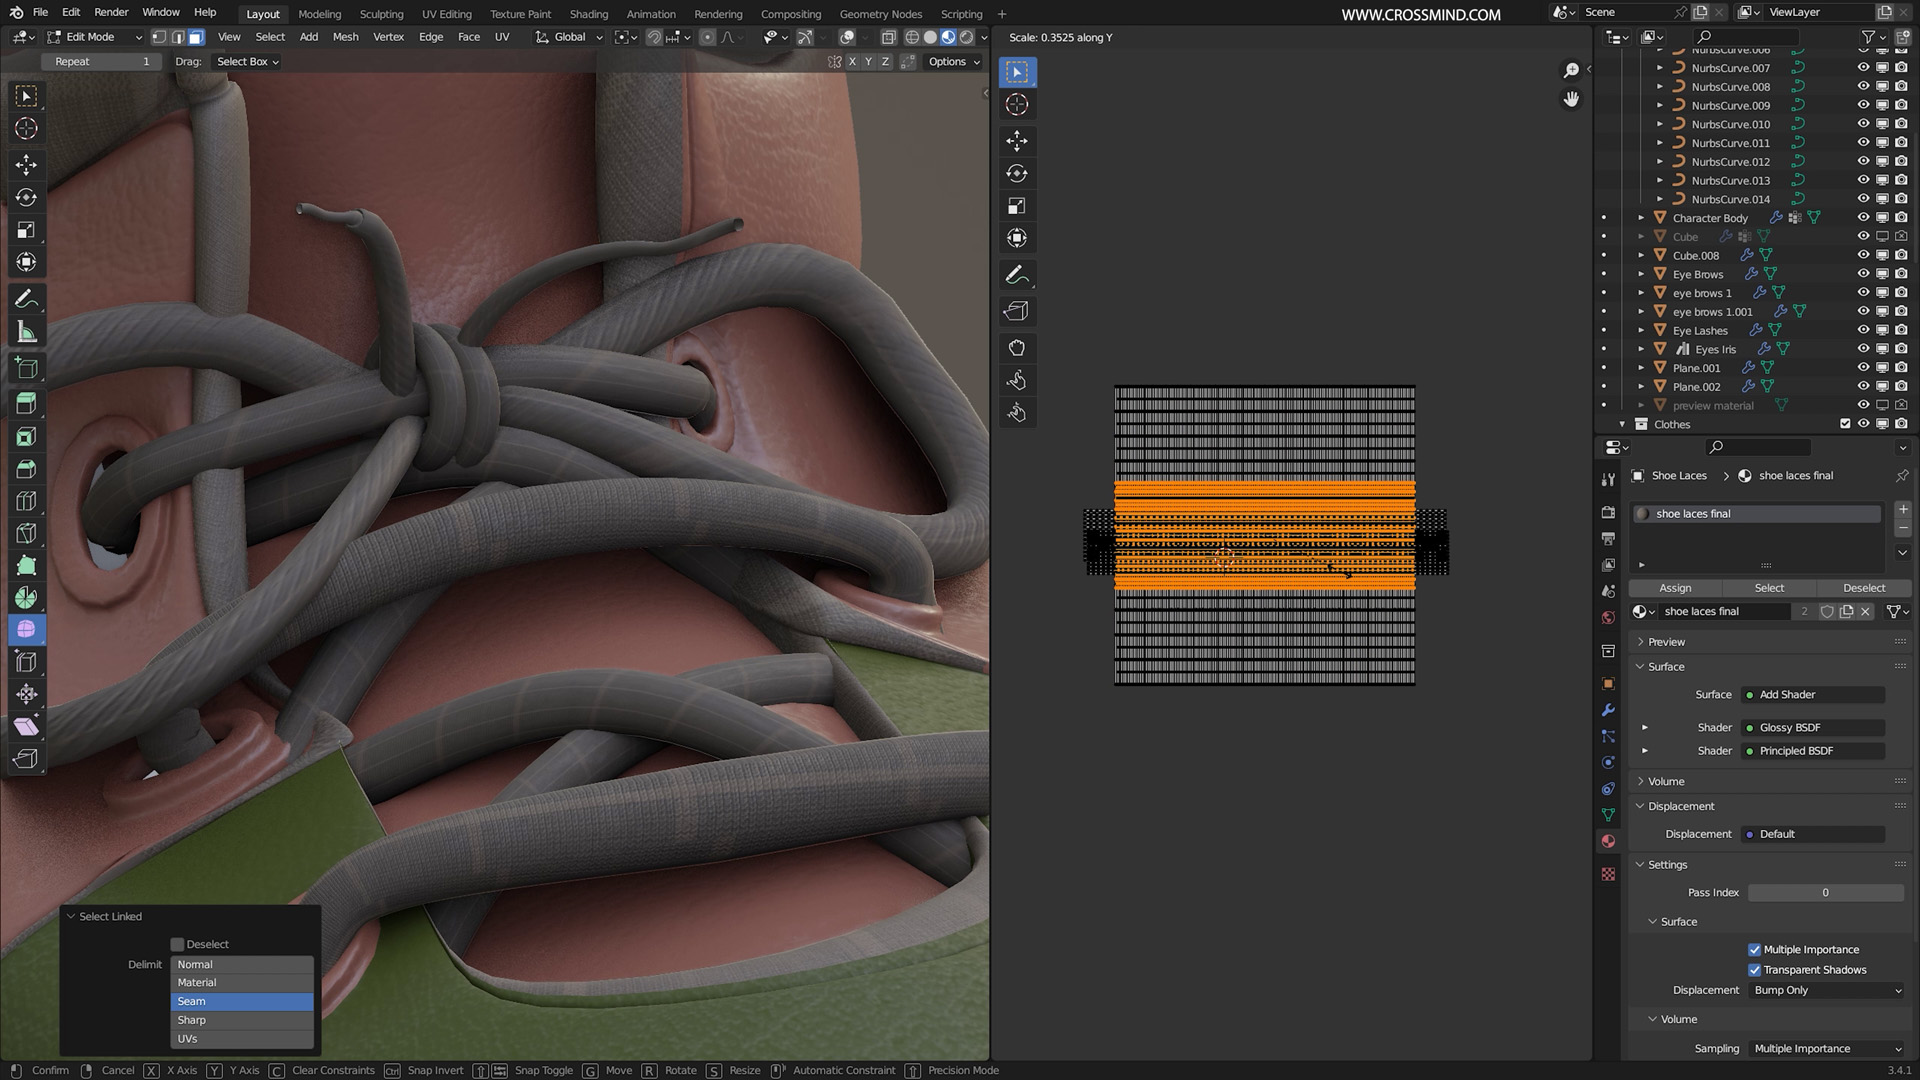
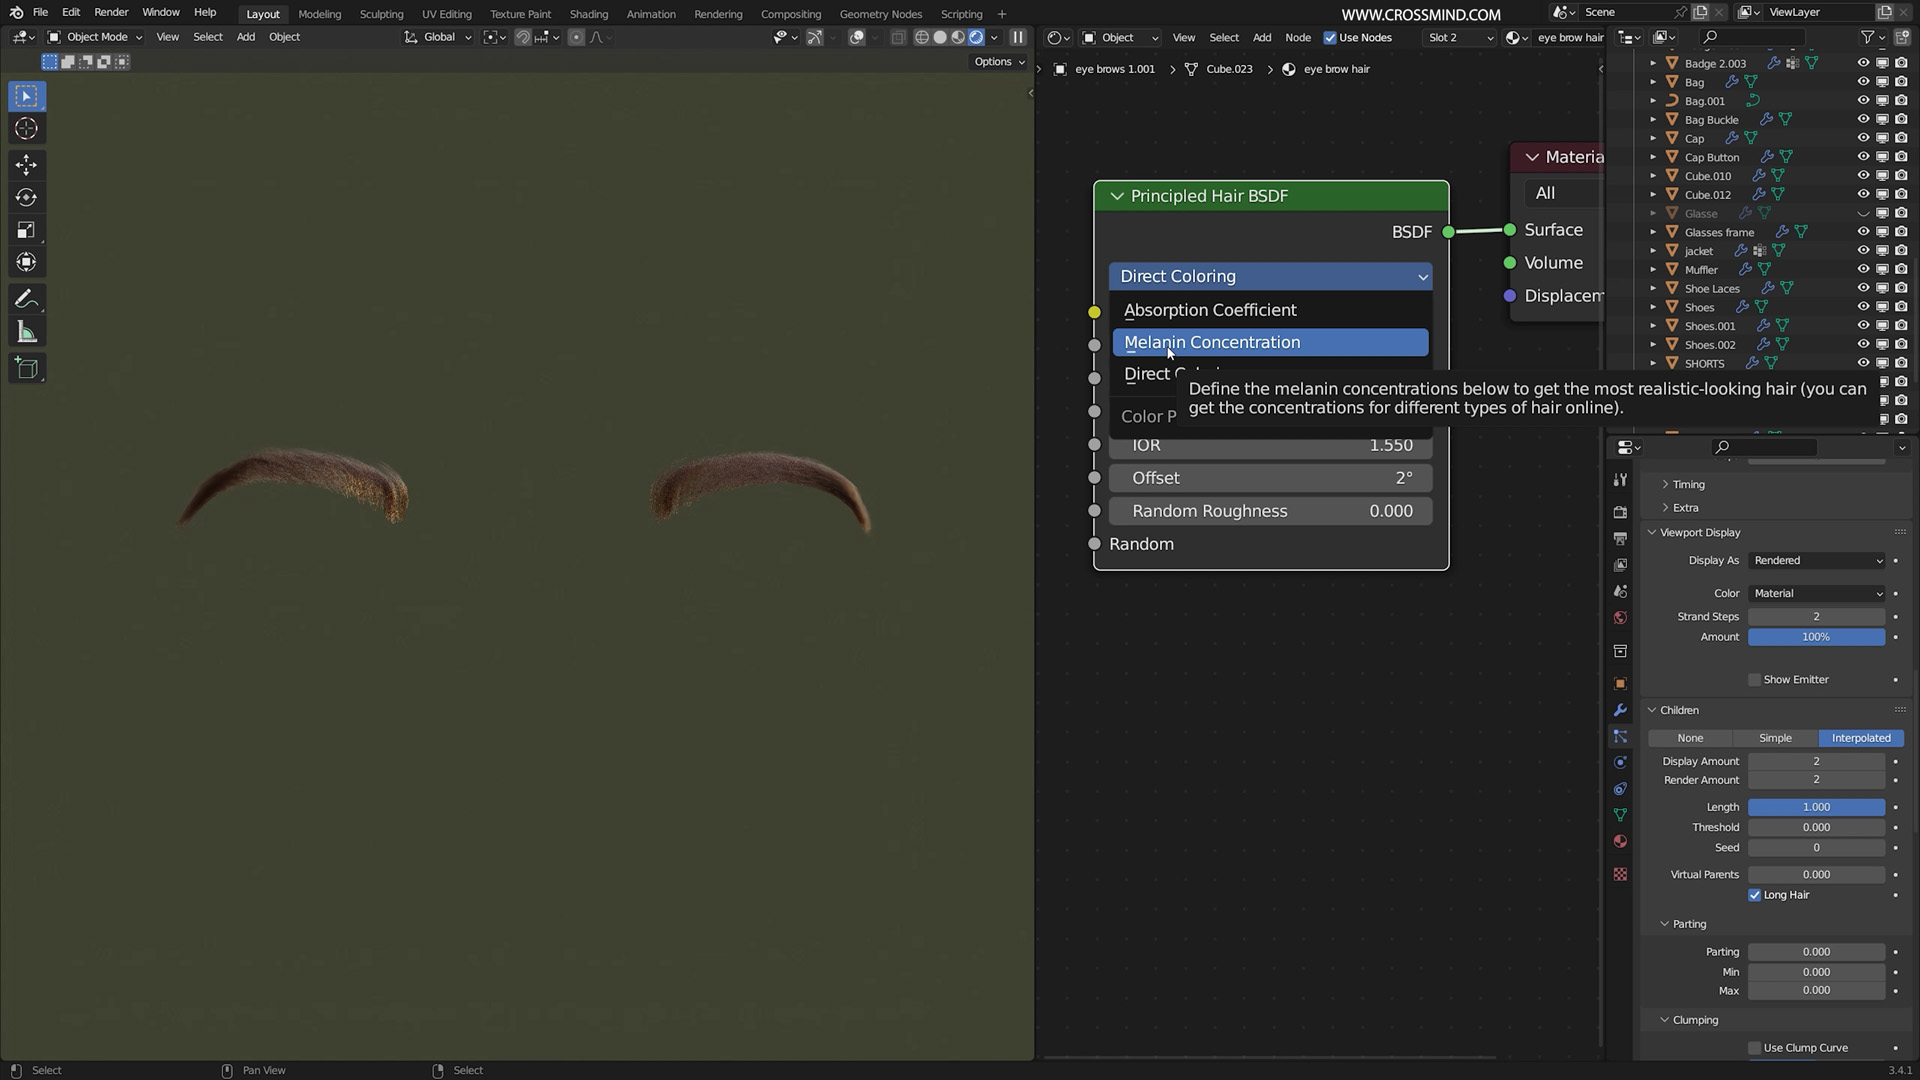
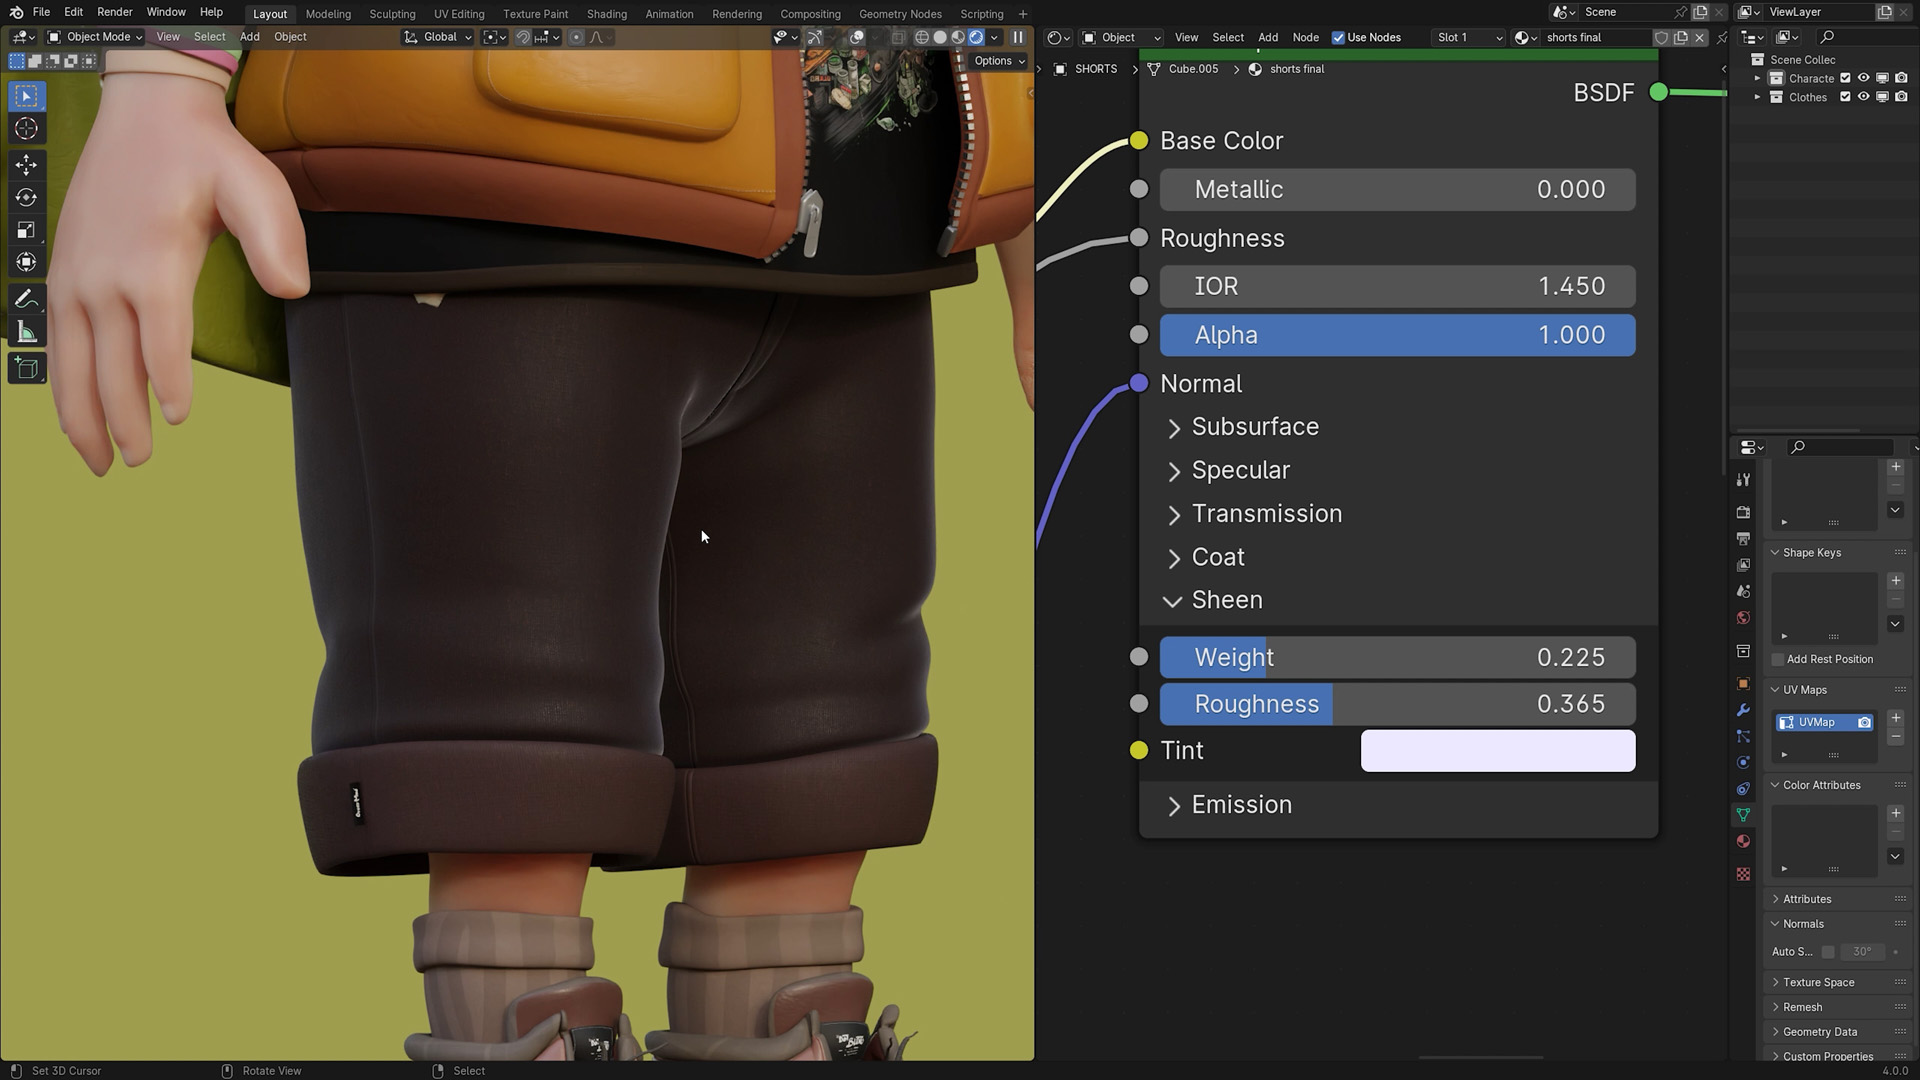
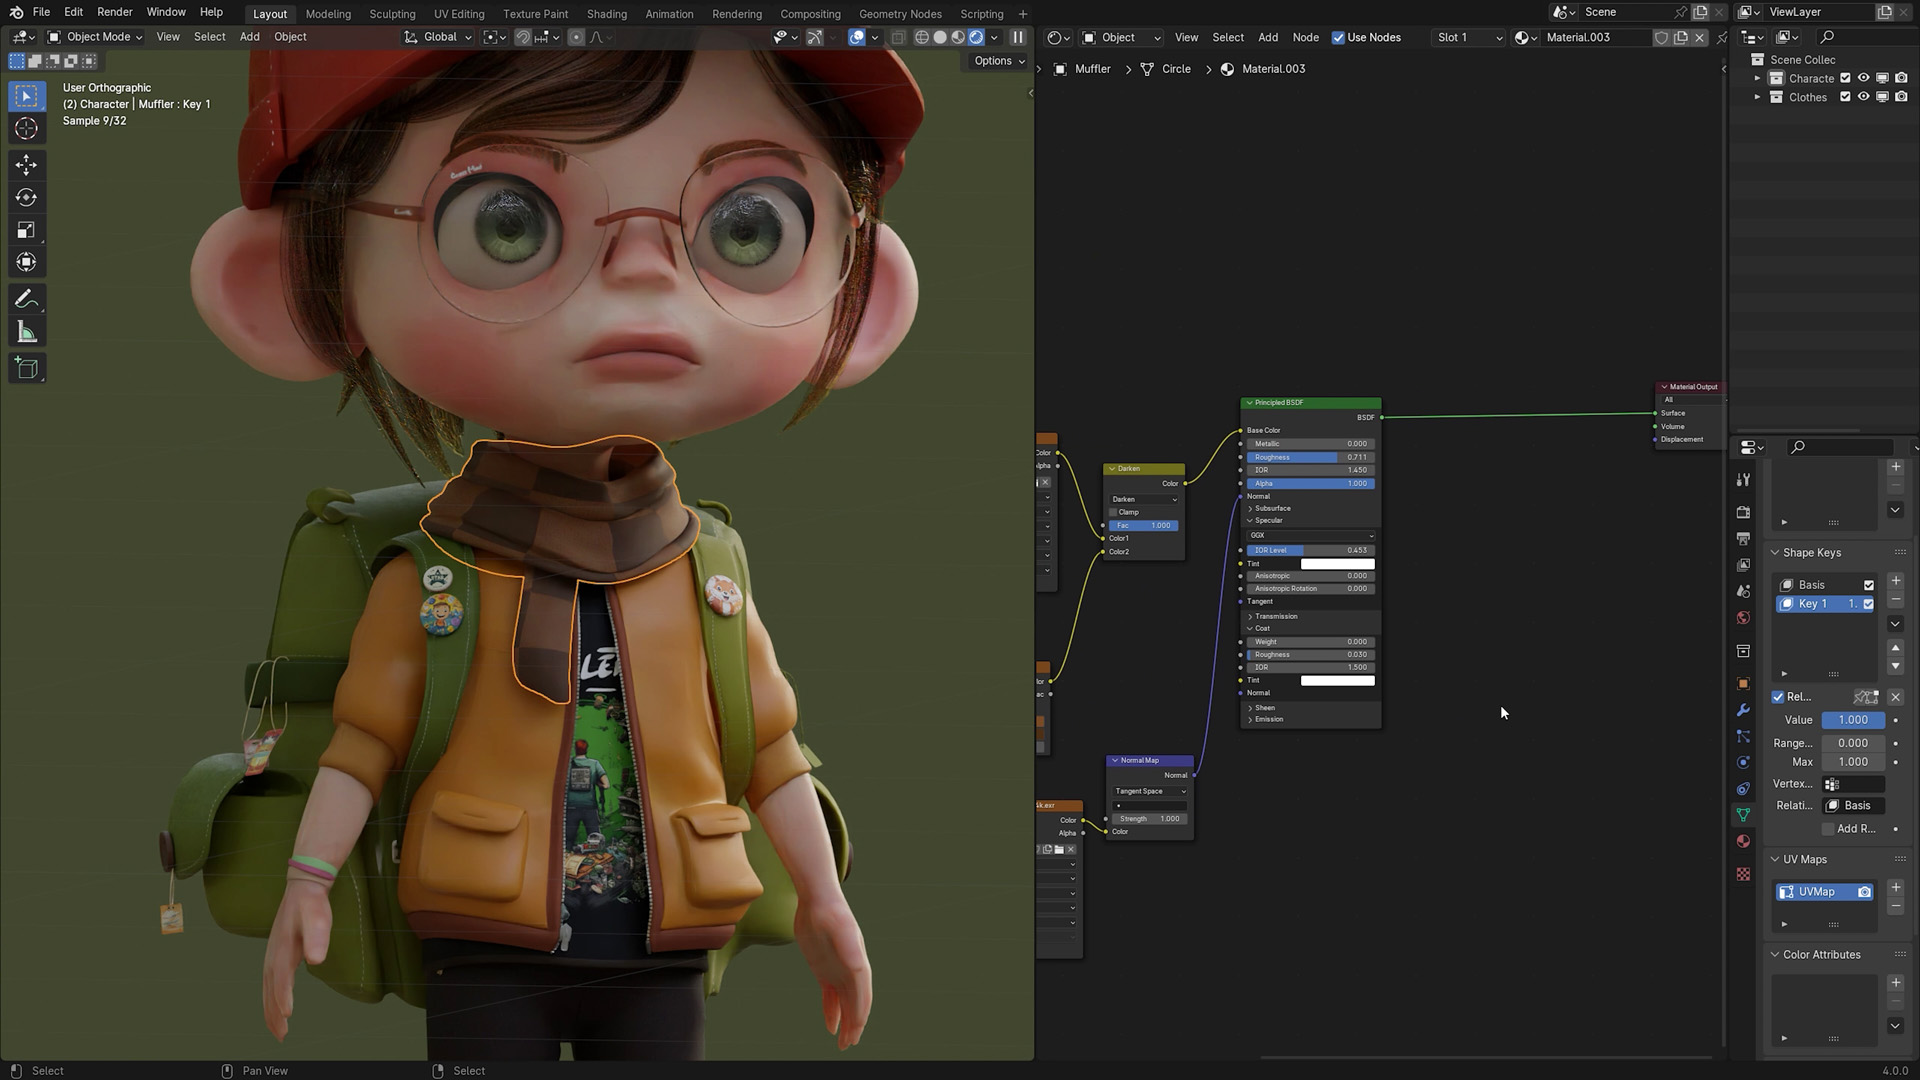
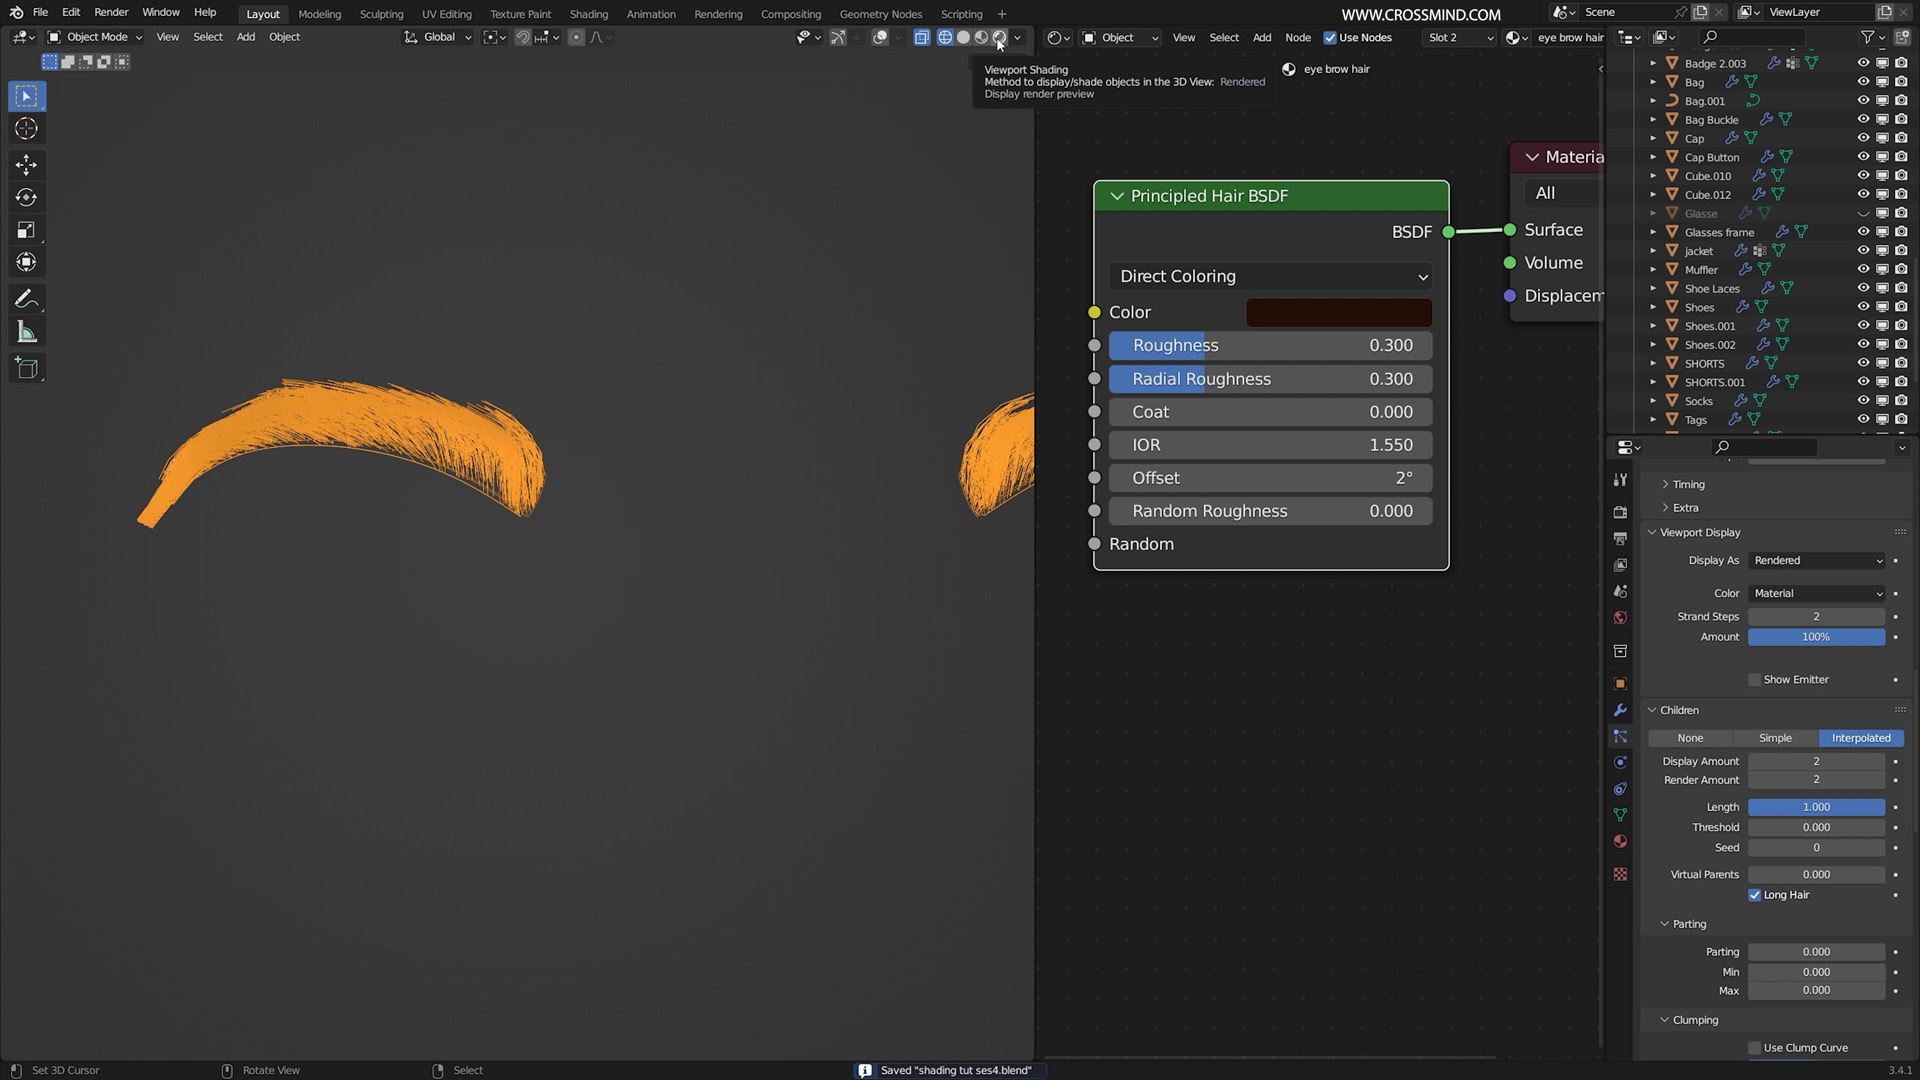
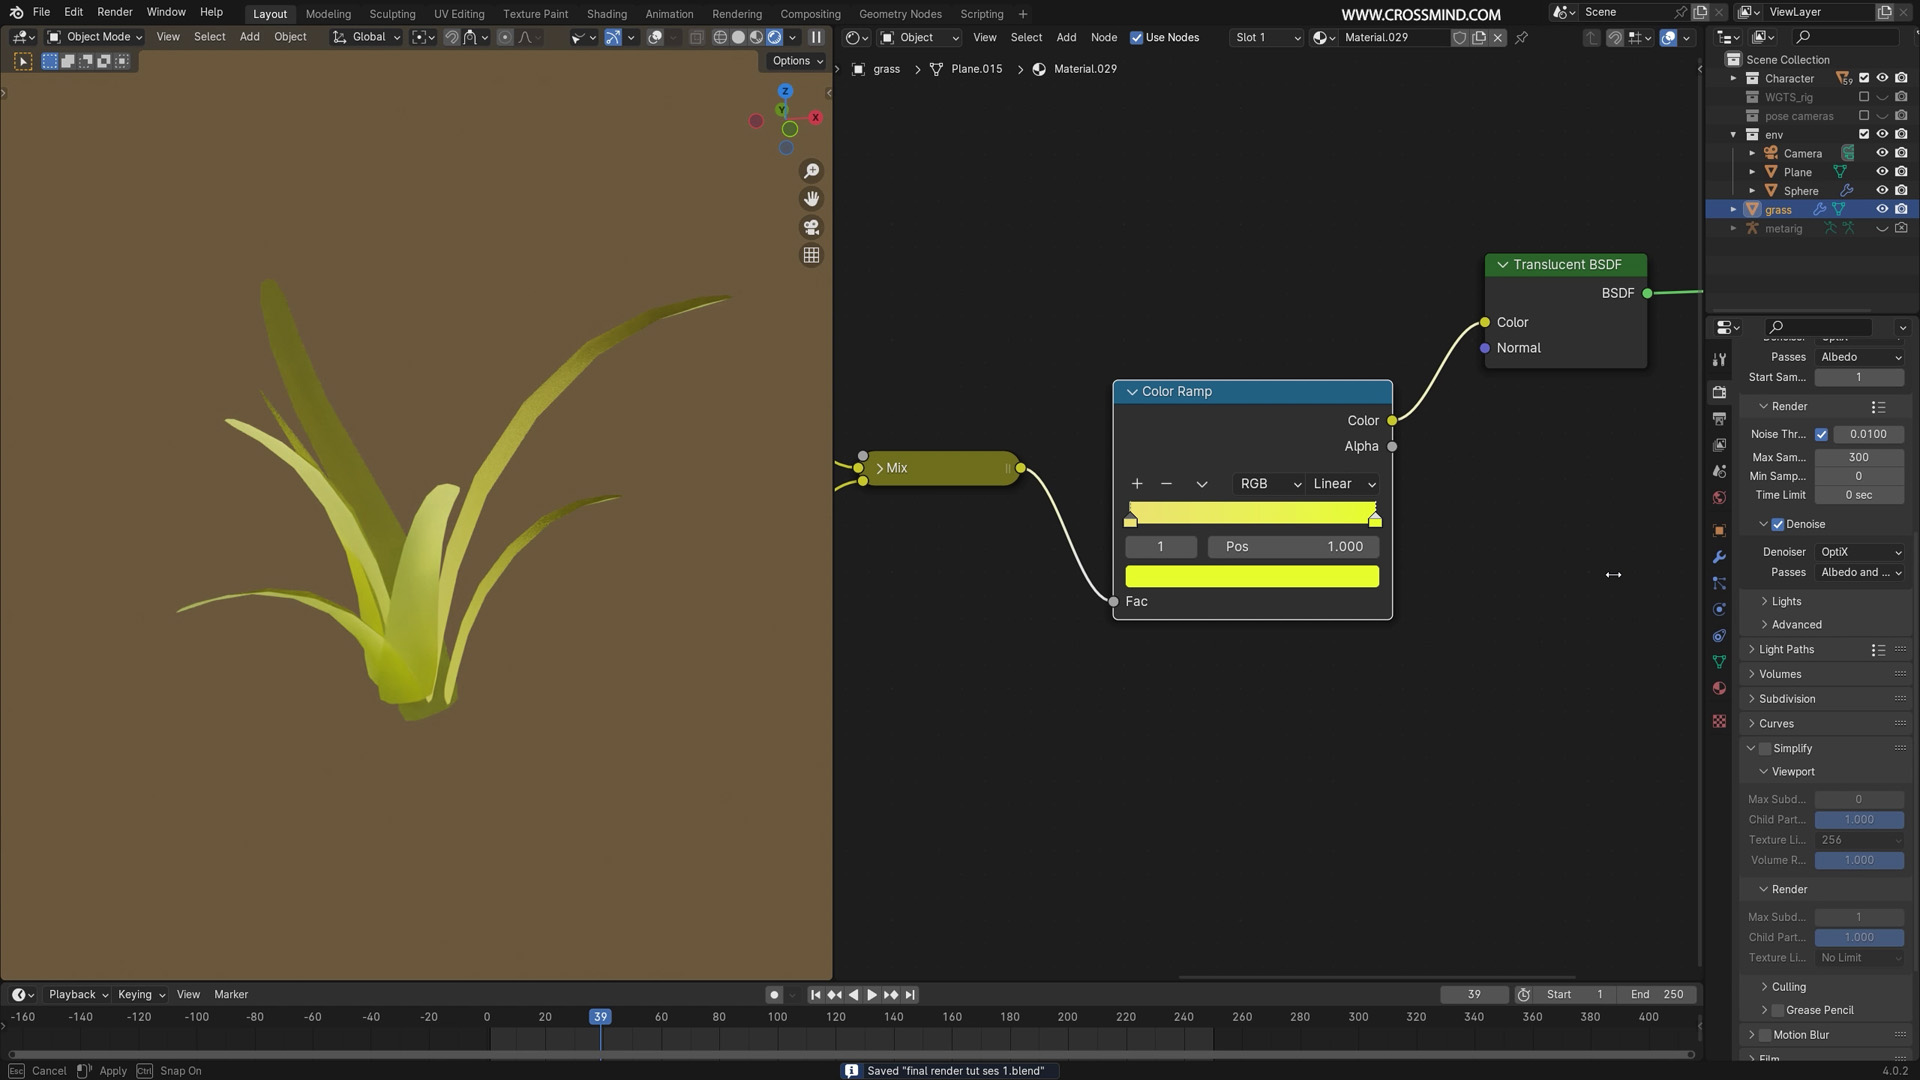
Following that, we'll delve into cleaning up and preparing the UVs of the character for the texturing process. We'll create a simple hand-painted texture for the character and enhance it with eyes and hair shaders. The subsequent chapter will focus on clothes and props, combining simple shaders with downloaded PBR textures and a few hand-painted details. The last chapter of the first segment involves creating a turnaround presentation of the character with lighting and a simple background, rendered using Cycles.
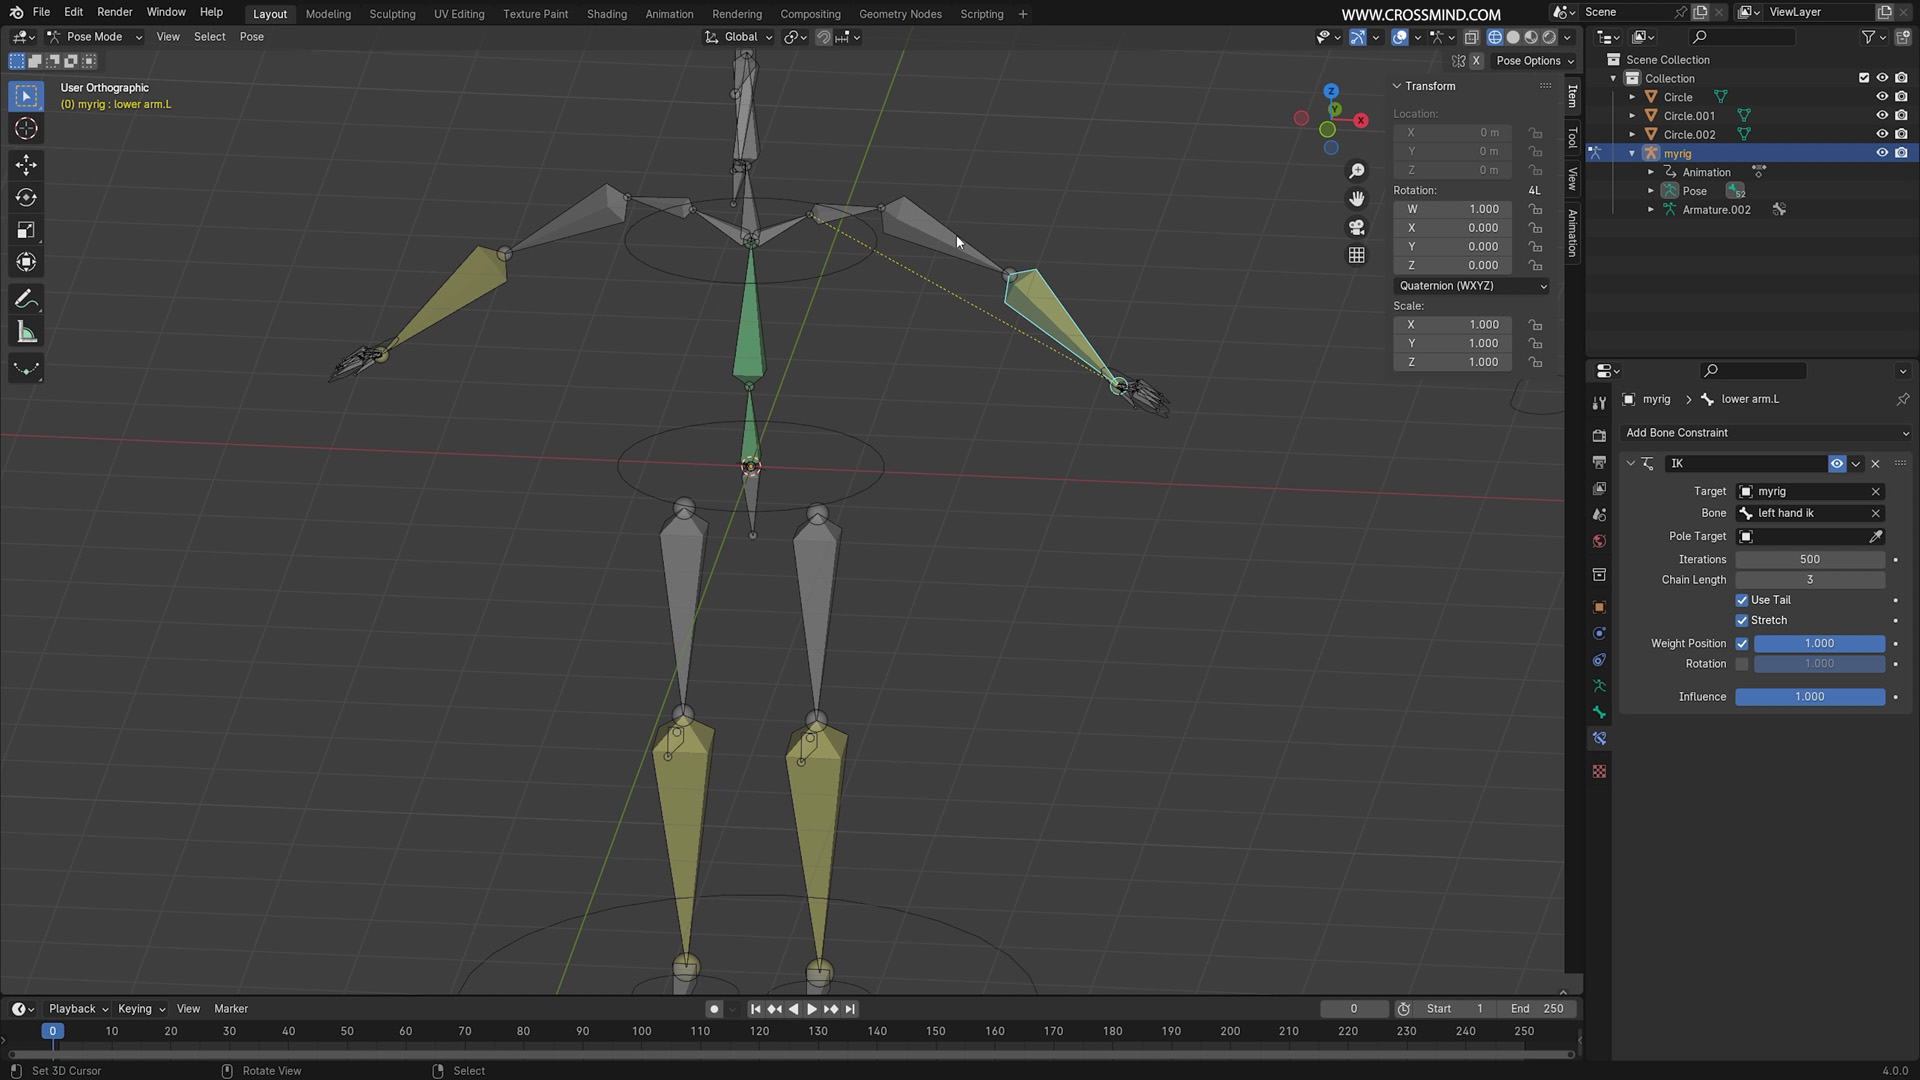
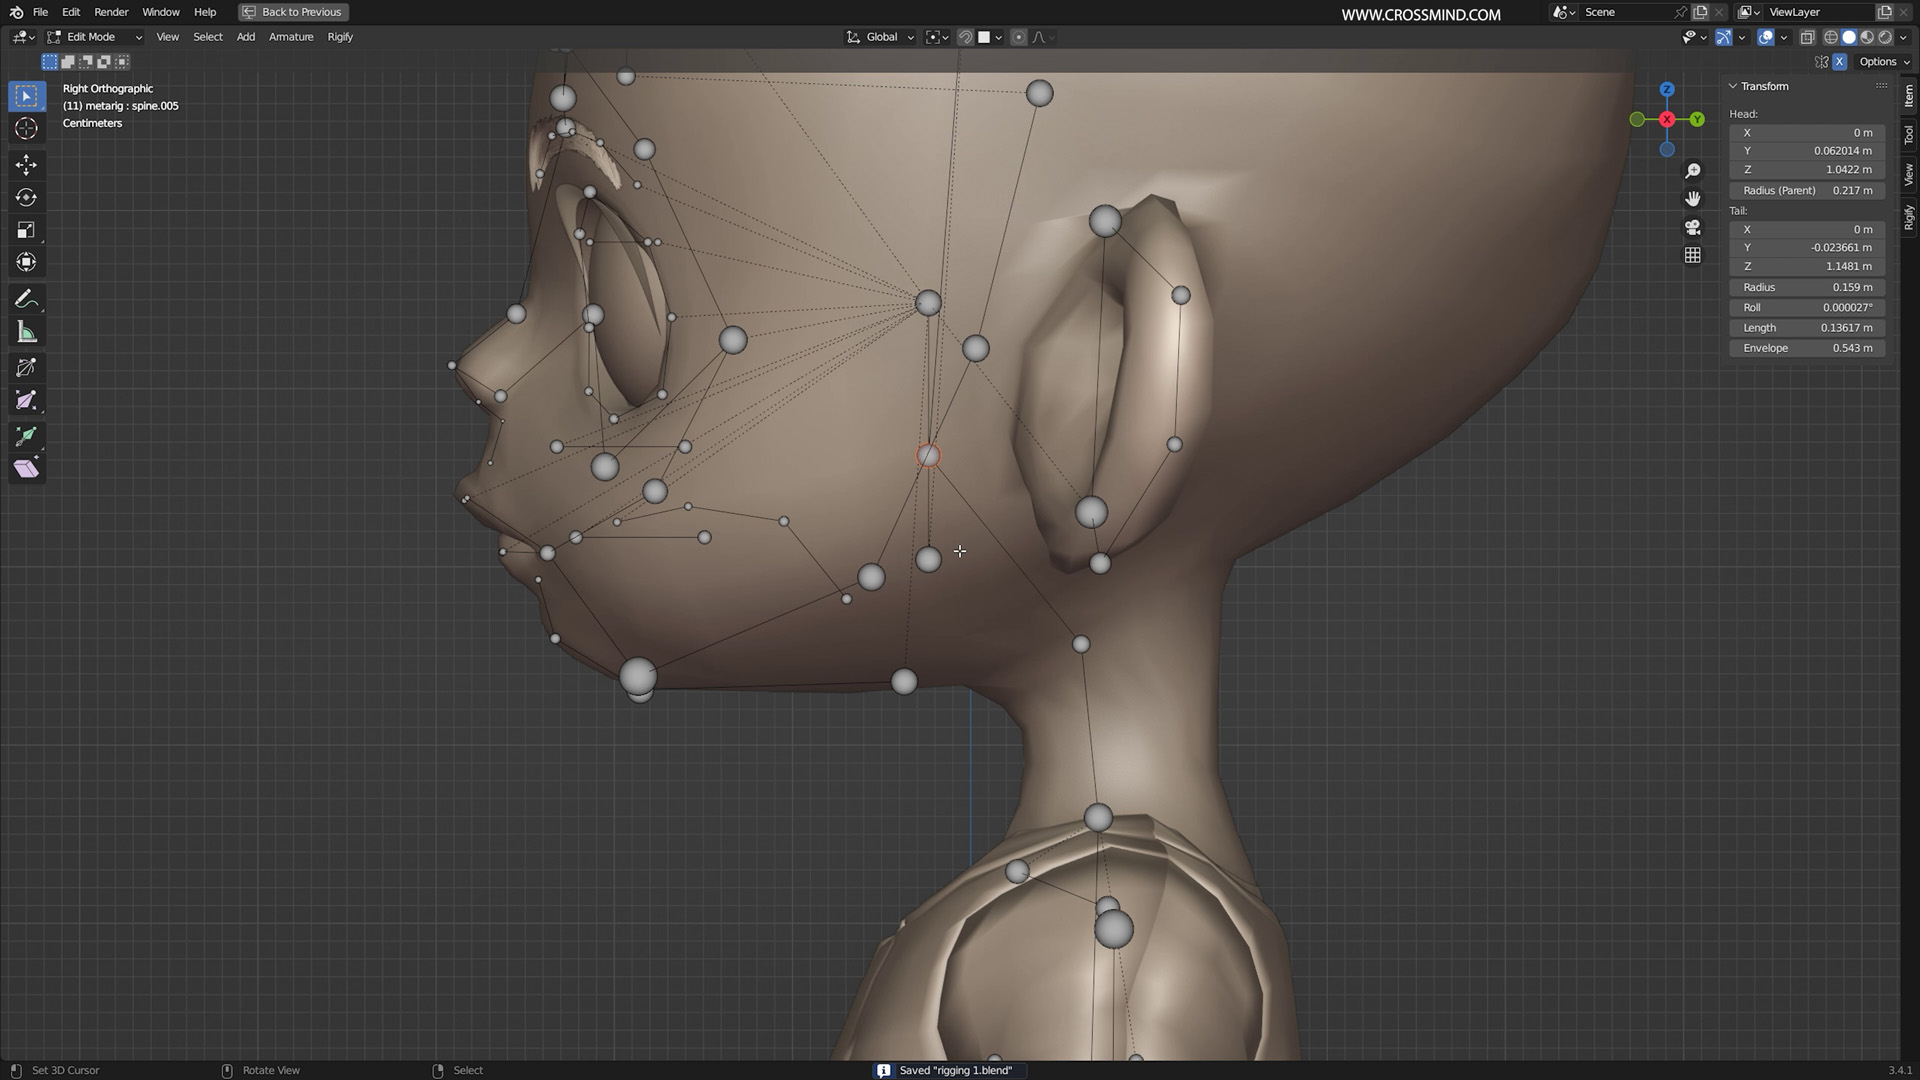
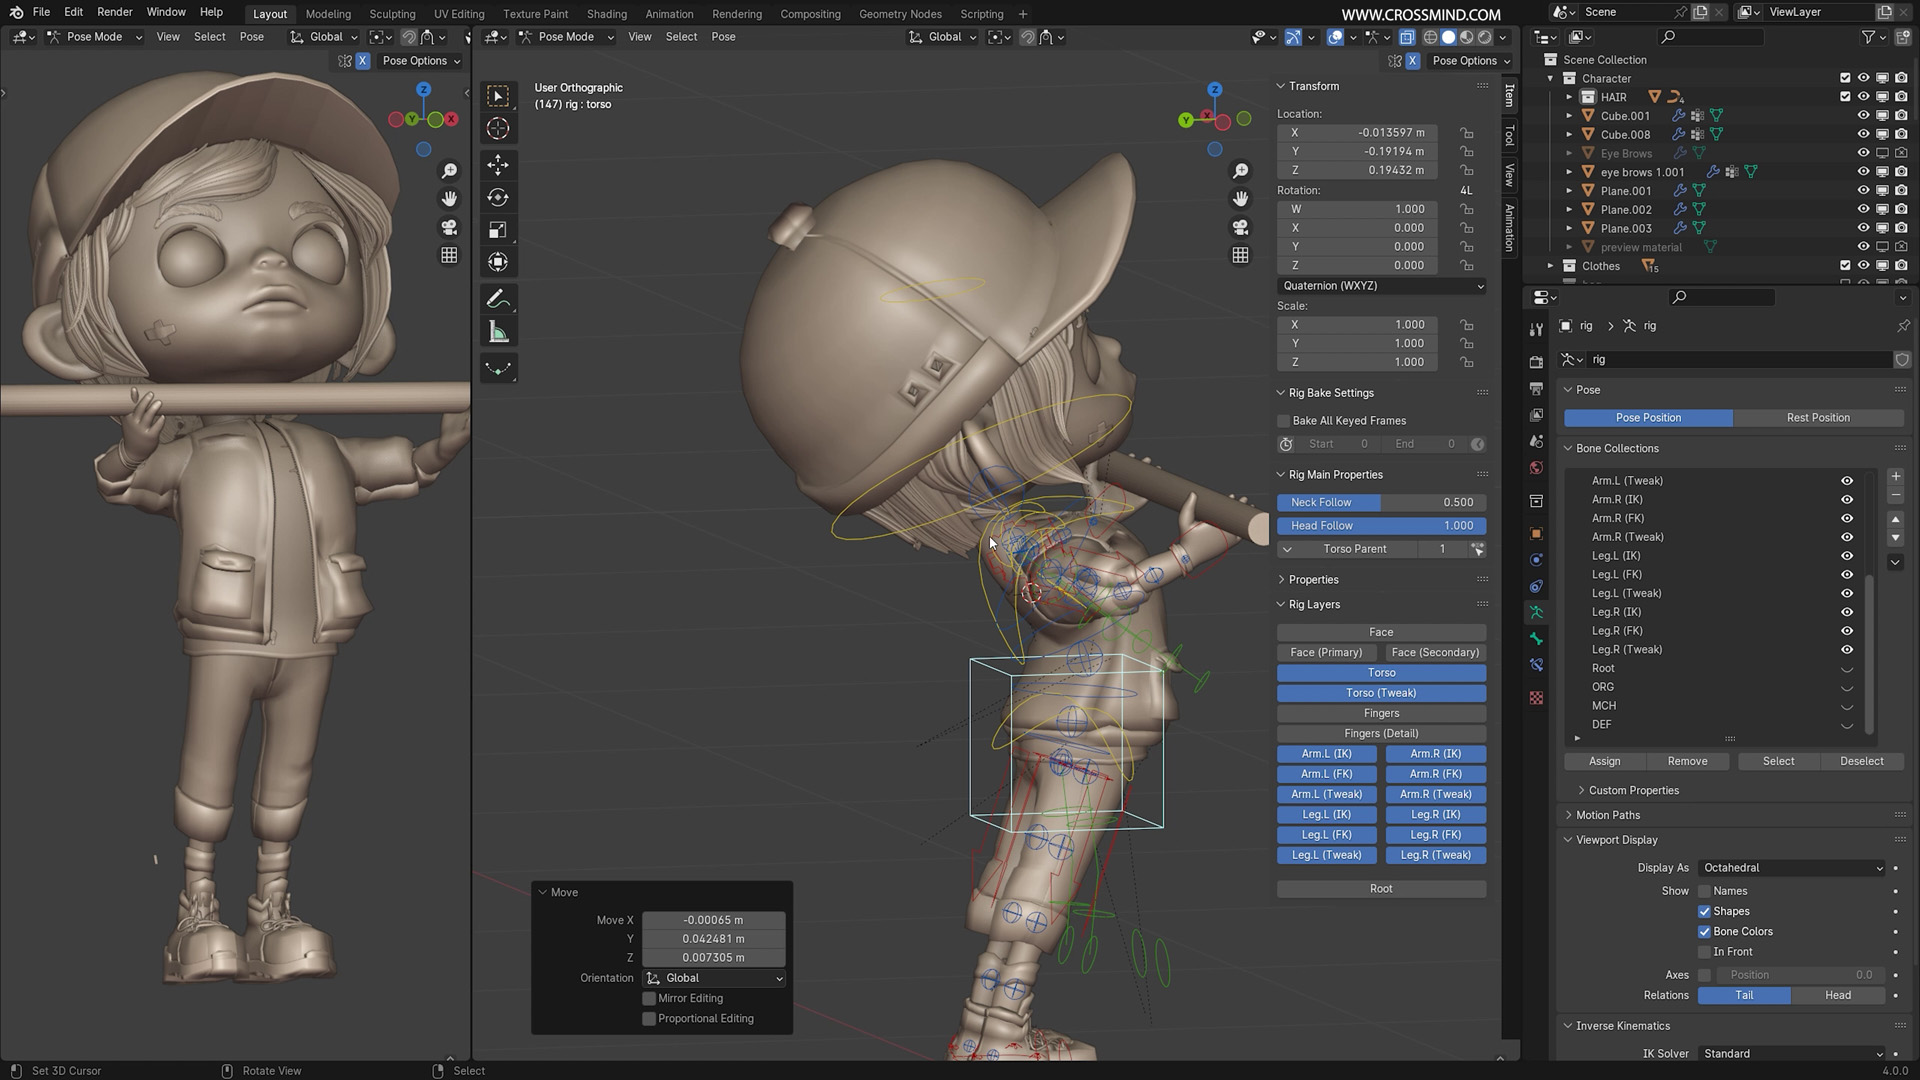
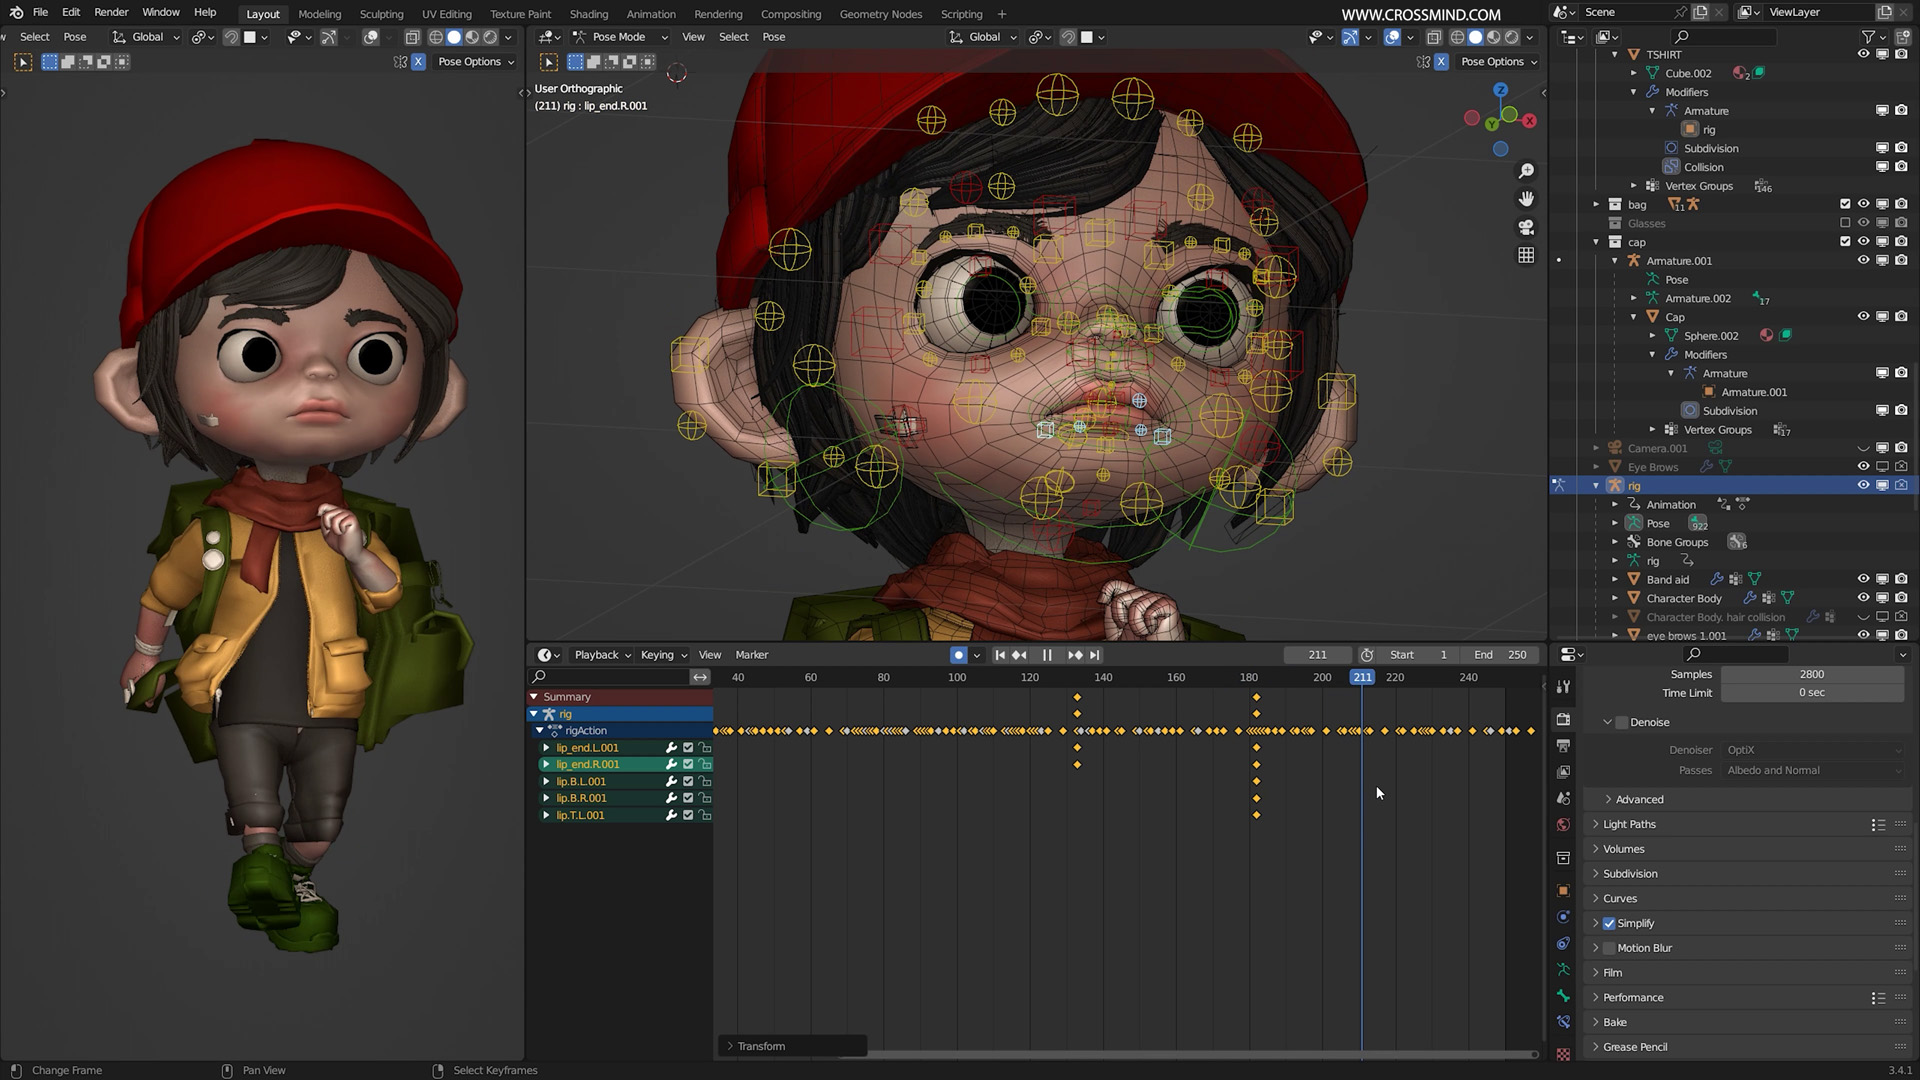
Now, onto the exciting second part! We'll advance the character by creating a rig for future animation. Beginning with a basic overview to rigging, we'll utilize Blender's Rigify to create an armature. Chapter 14 involves generating the rig and working with automatic weights to set up the entire character. Chapter 15 provides a brief introduction to operating a rig, covering concepts such as IK, FK, controllers generated by Rigify, customization, and control during animation.
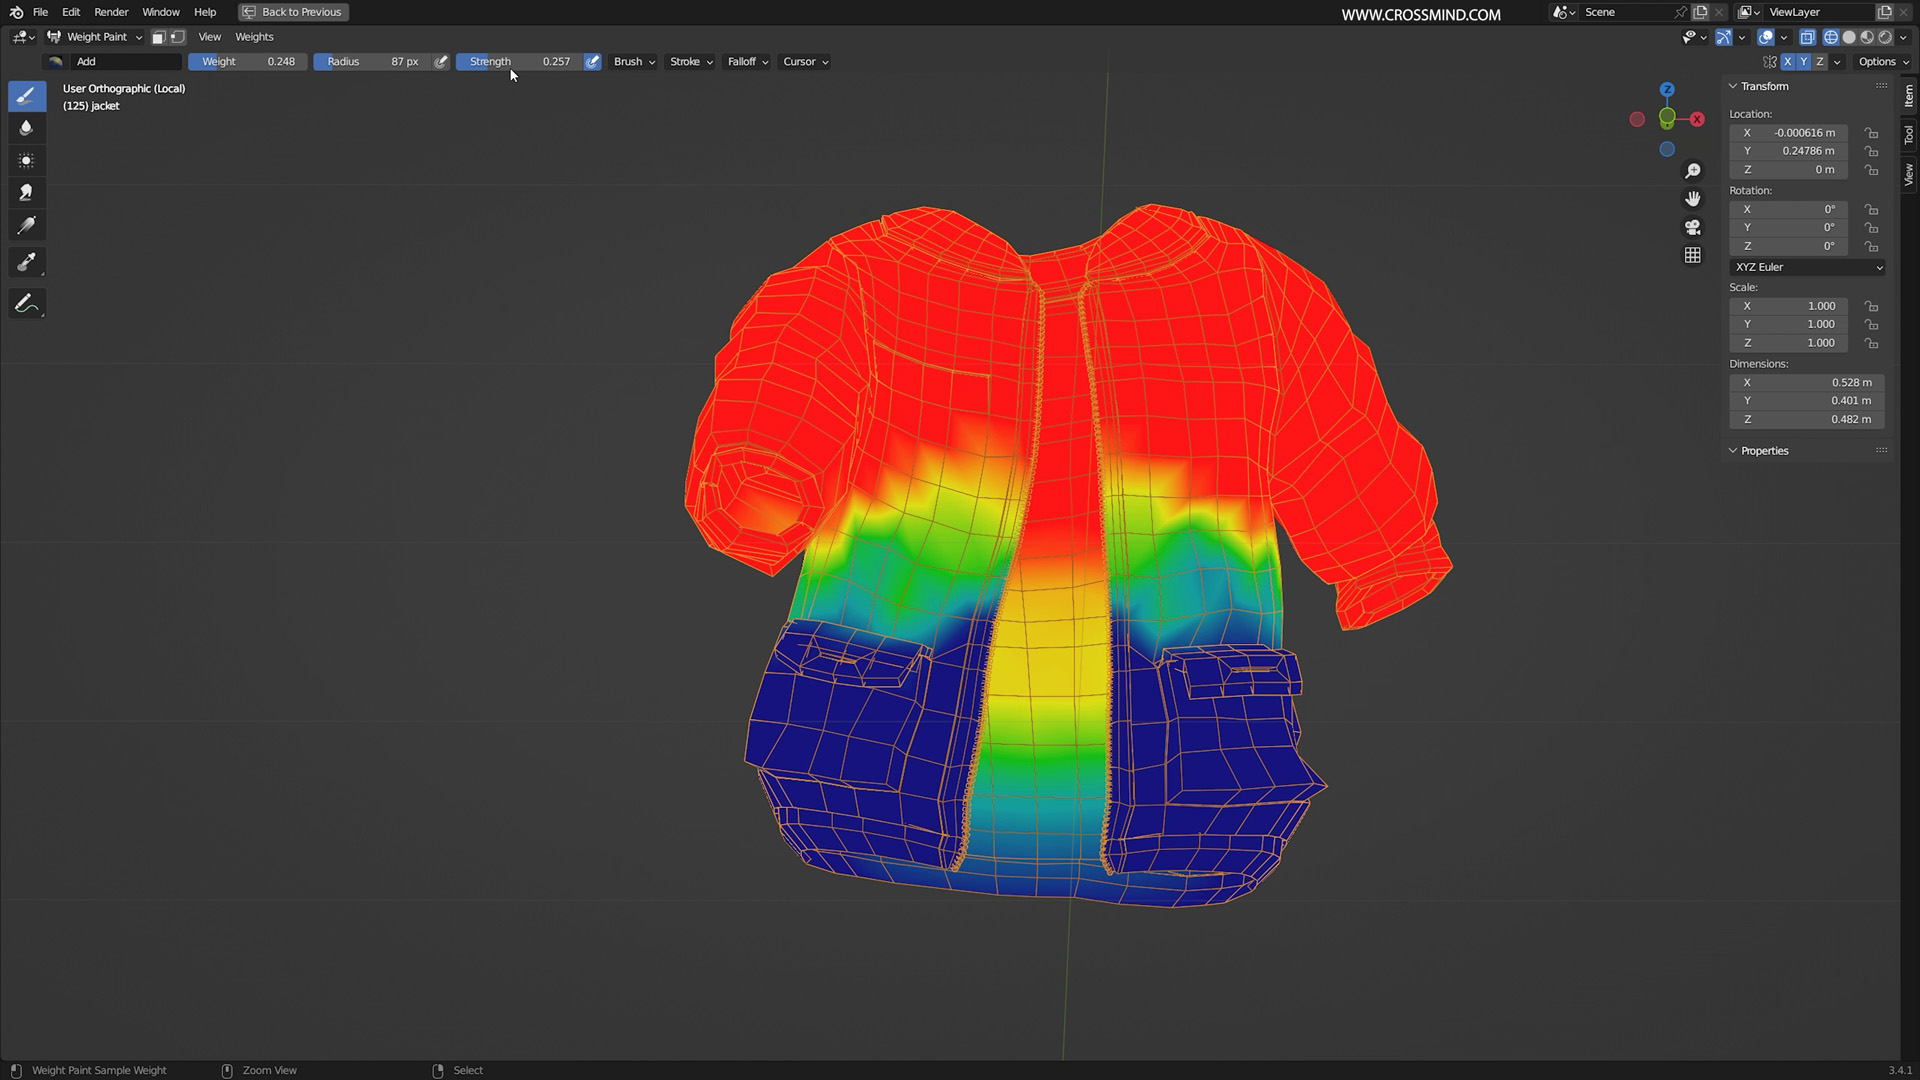
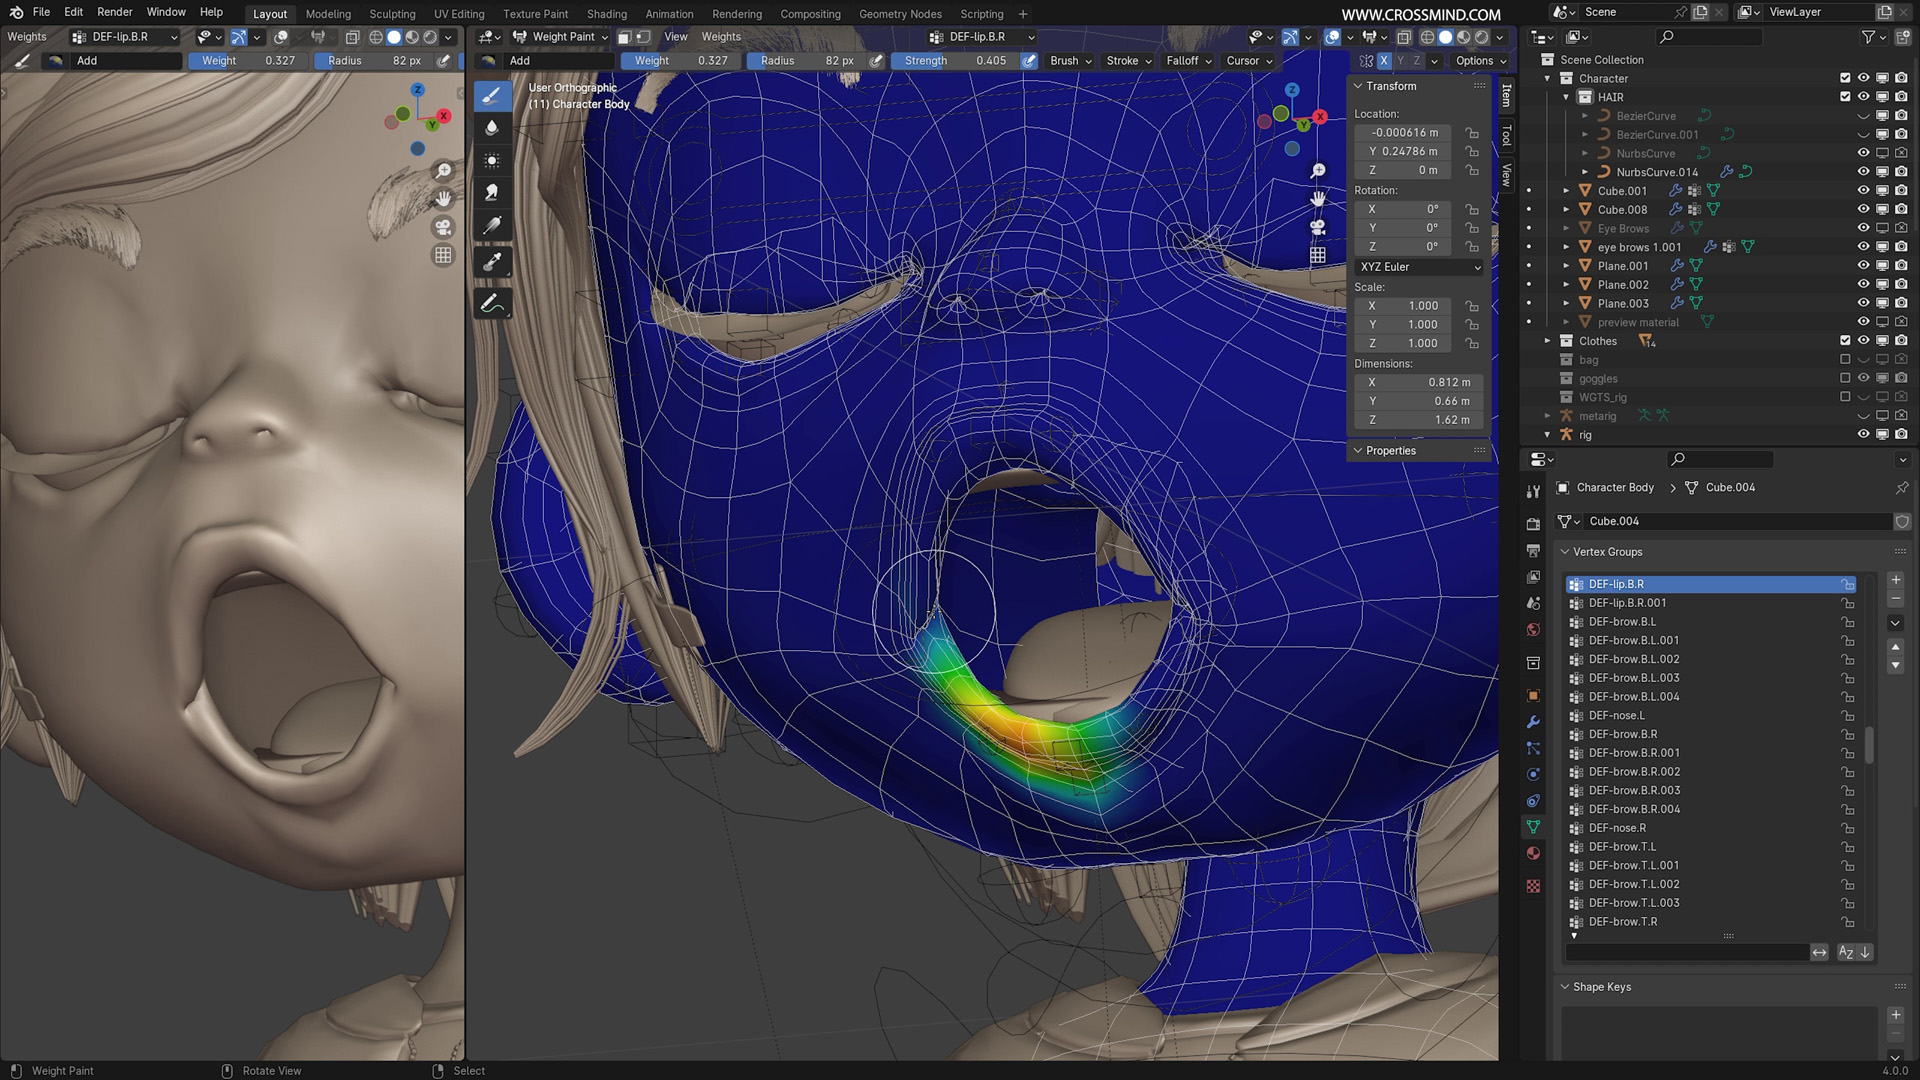
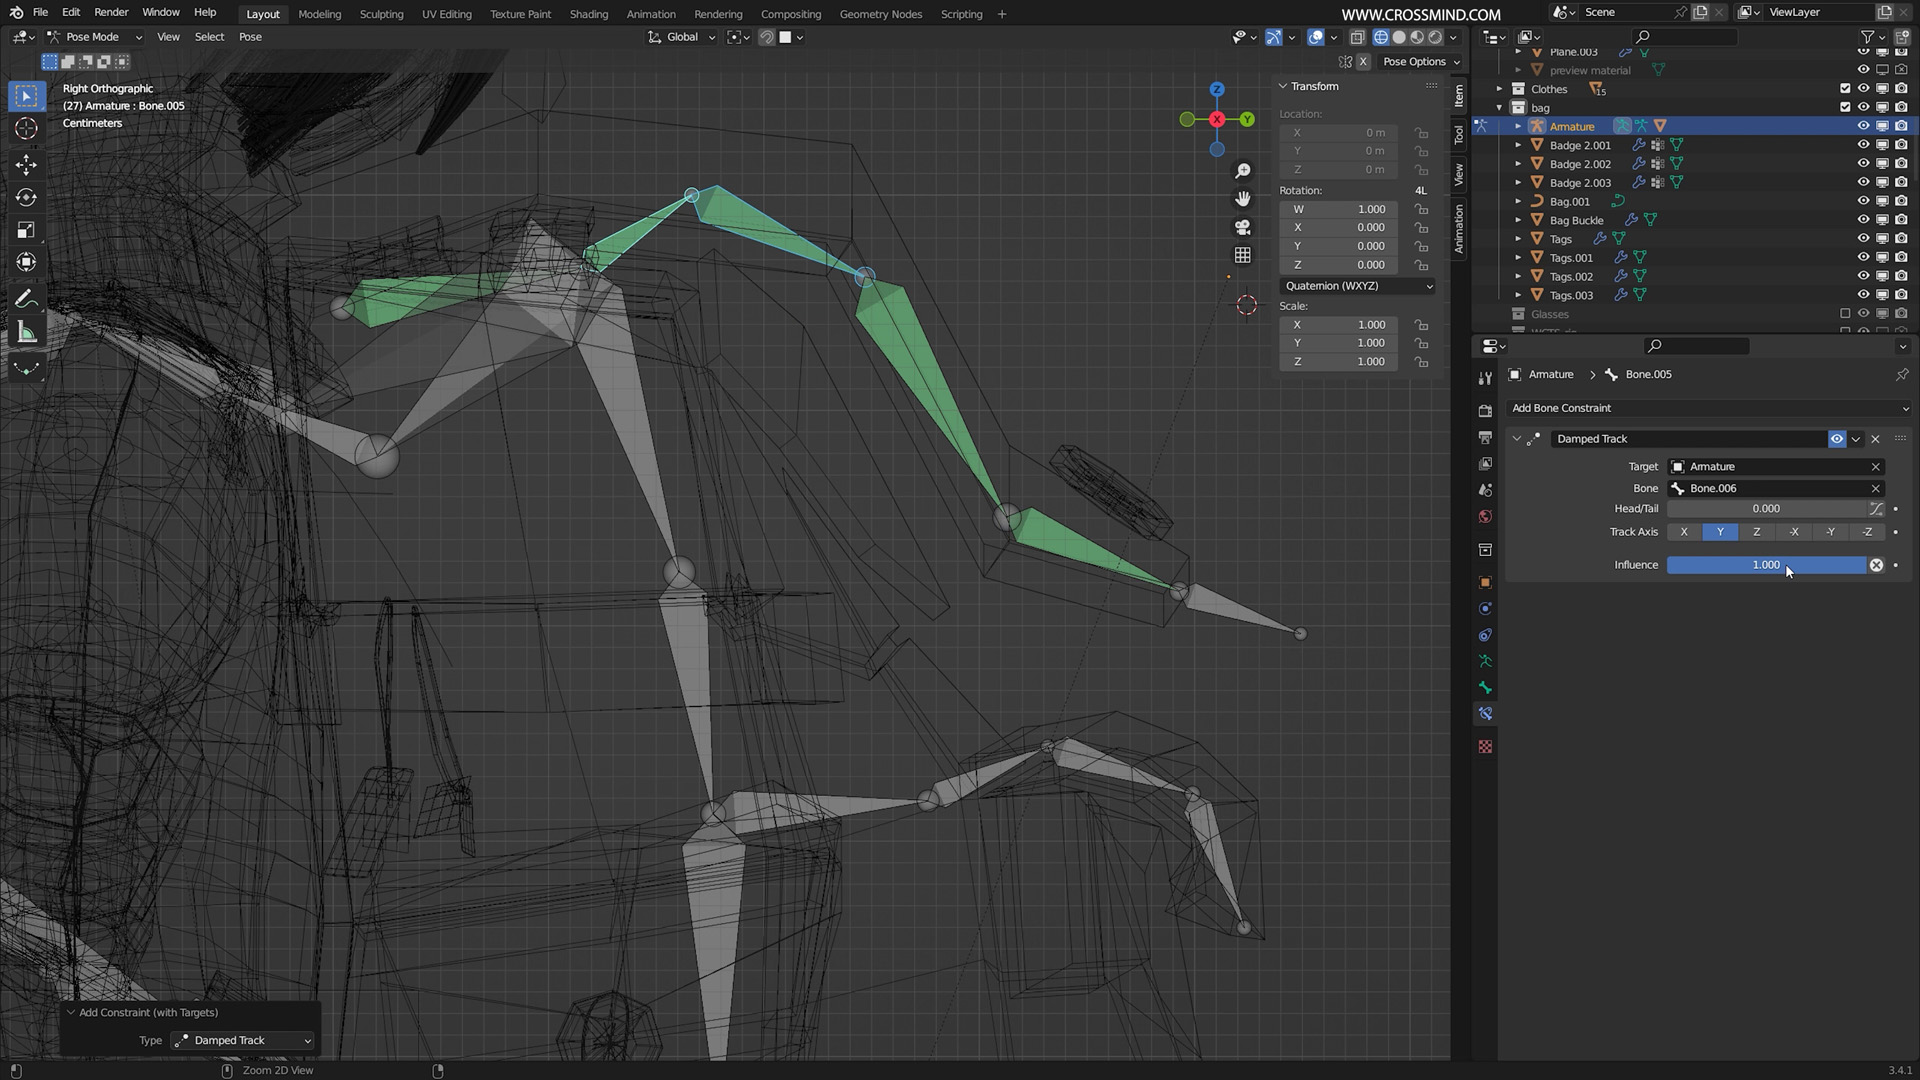
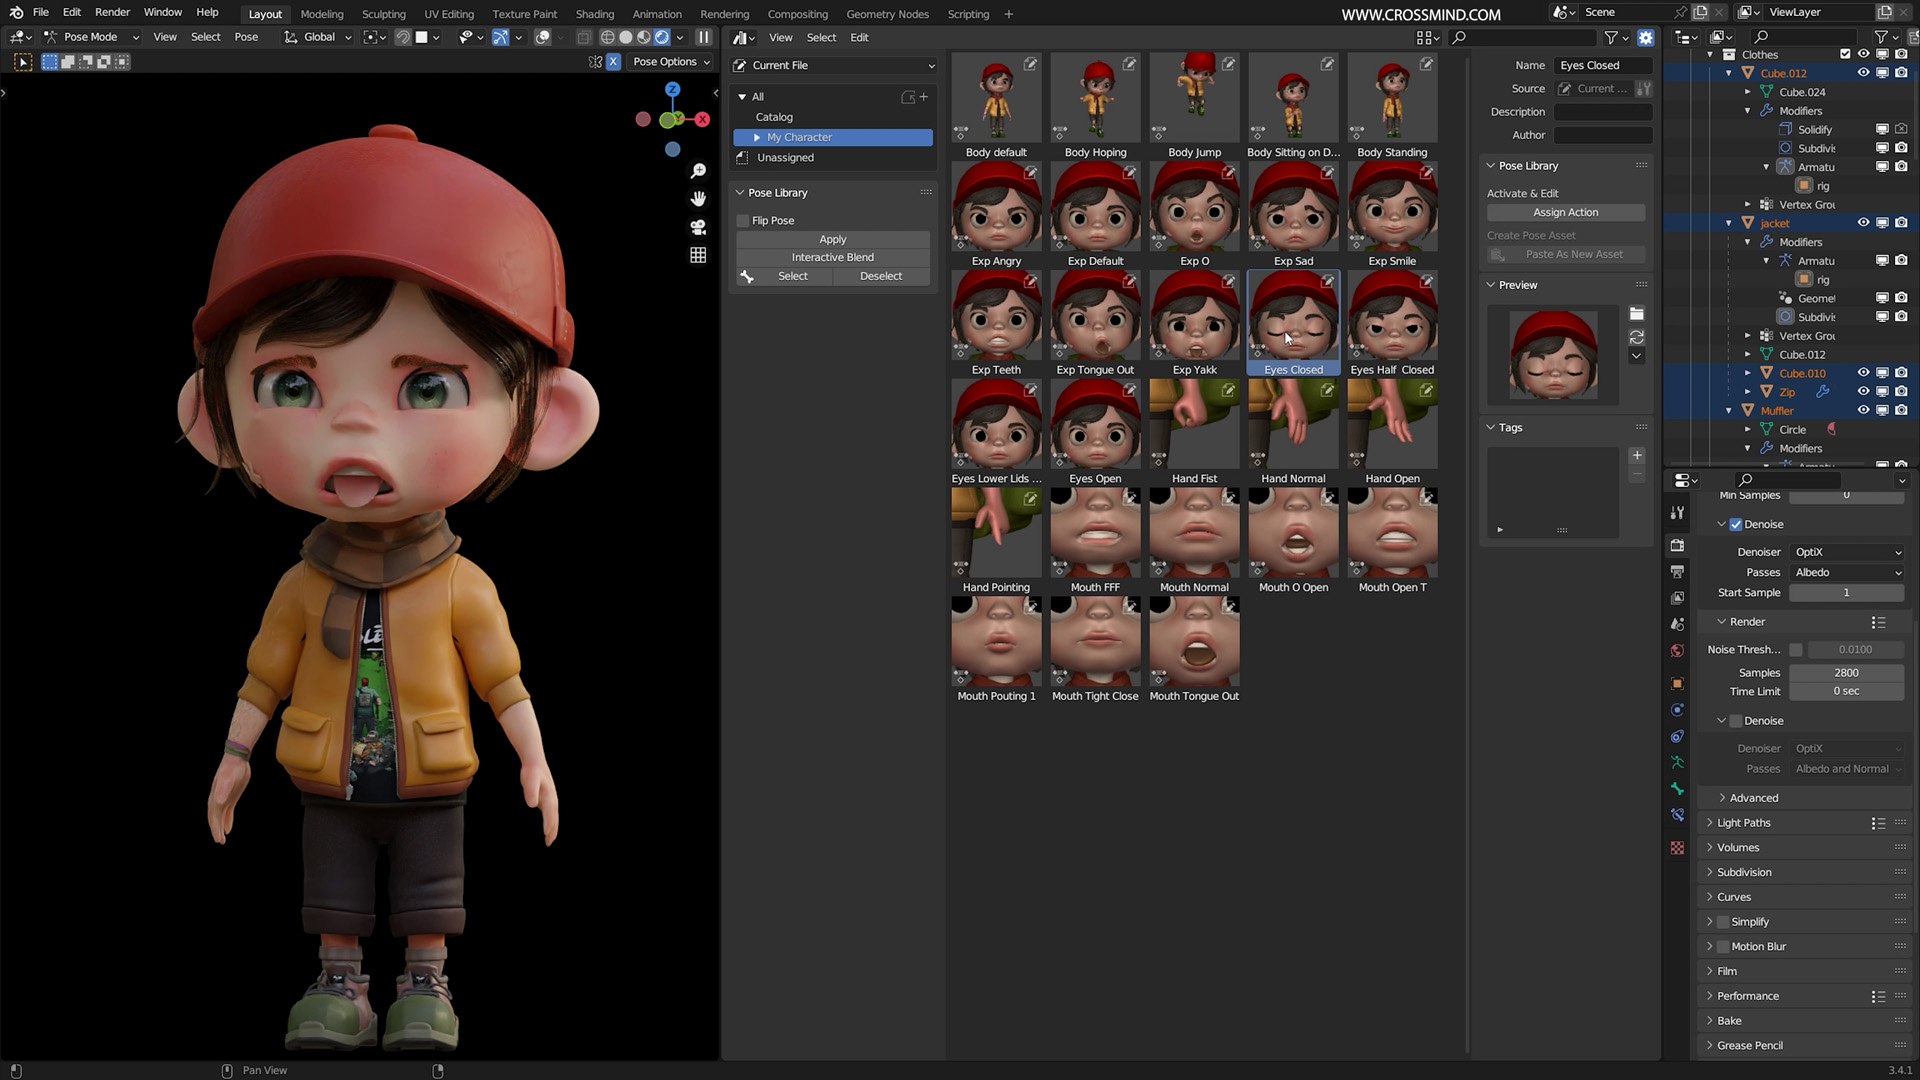
In the final rigging chapter, we'll address skinning issues using weight painting tools for smooth skinning. Next, we'll create a custom rig for props like a bag and cap, employing constraints for automatic follow-through animations based on the character's motion. We'll then explore various poses and expressions to understand how the pose library works.
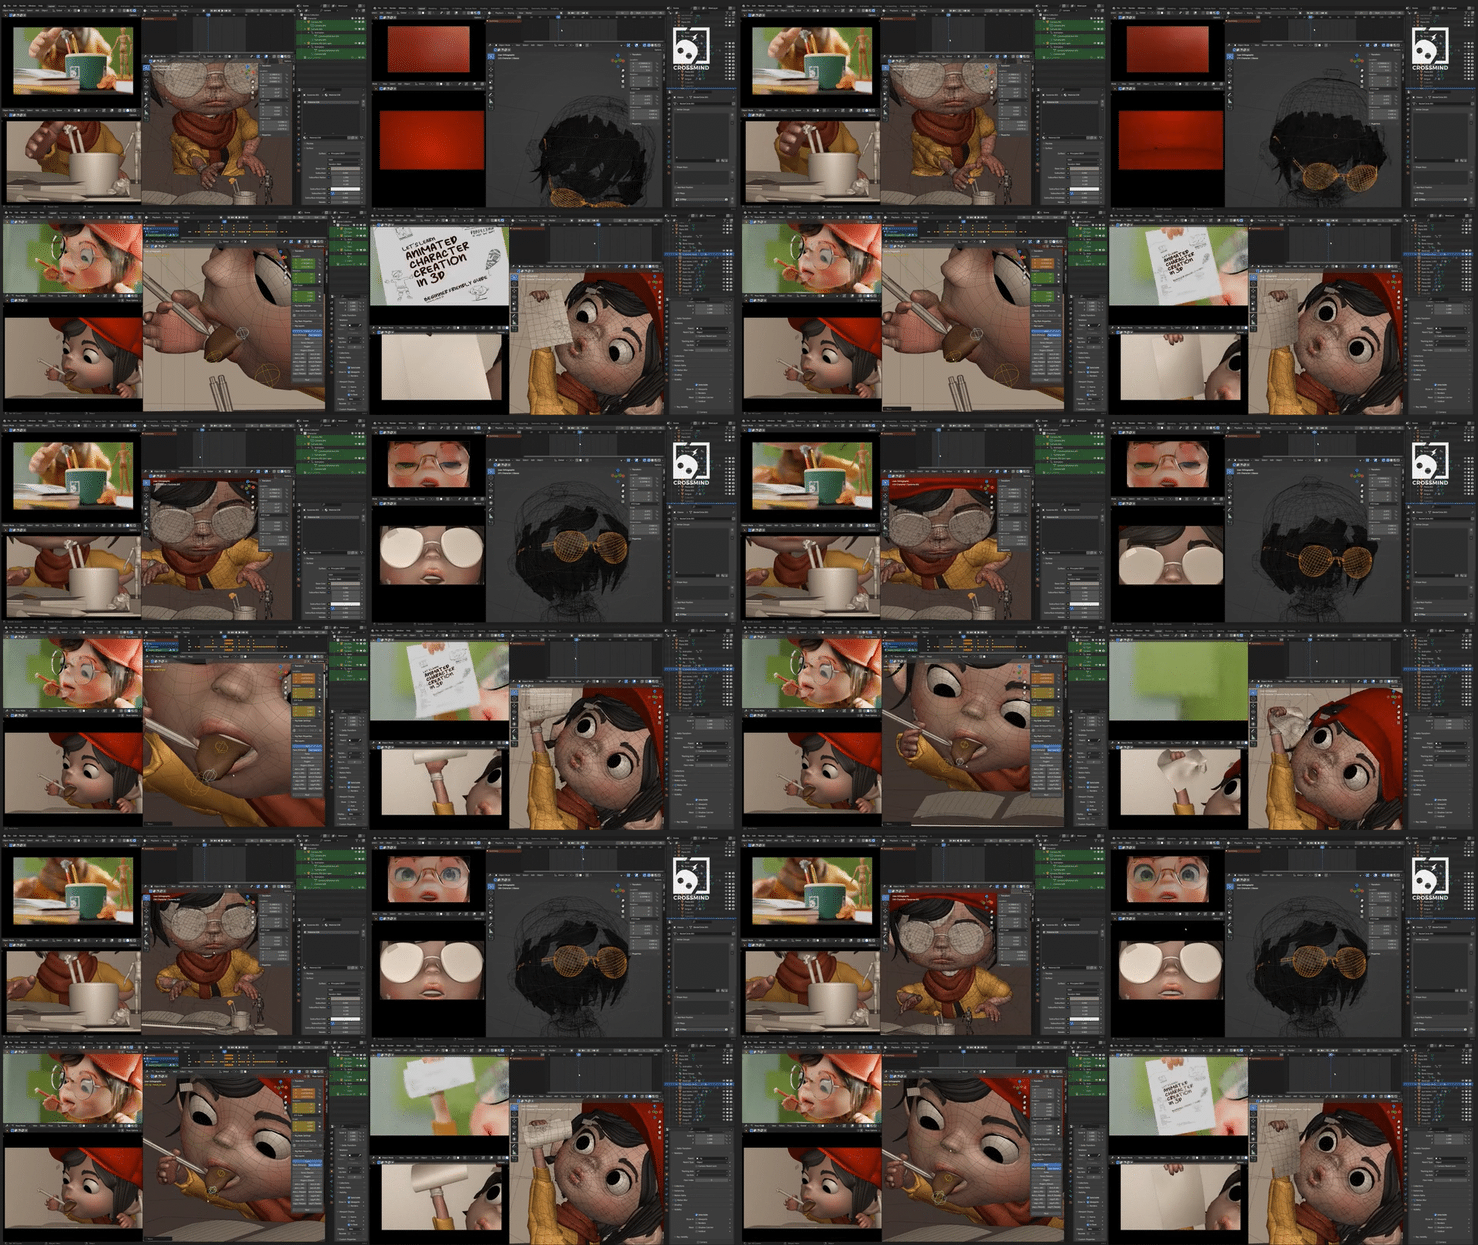
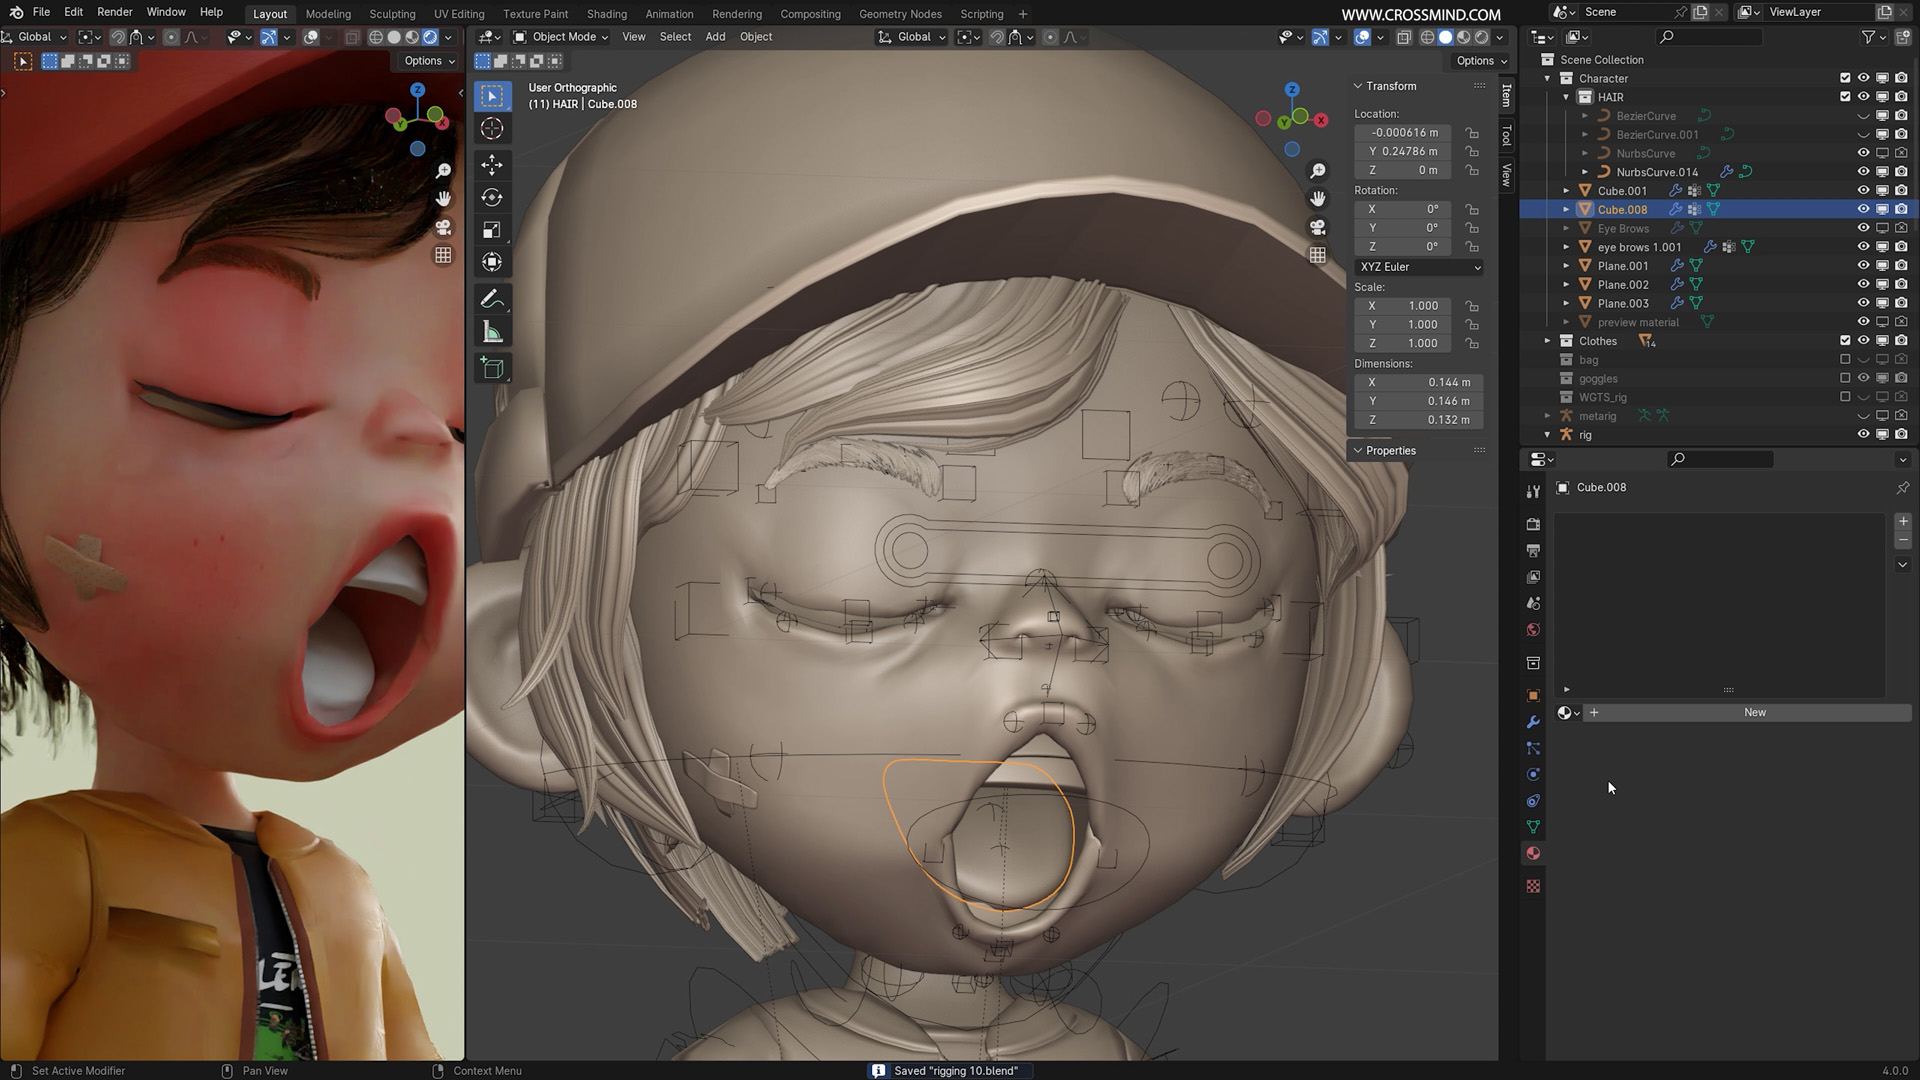
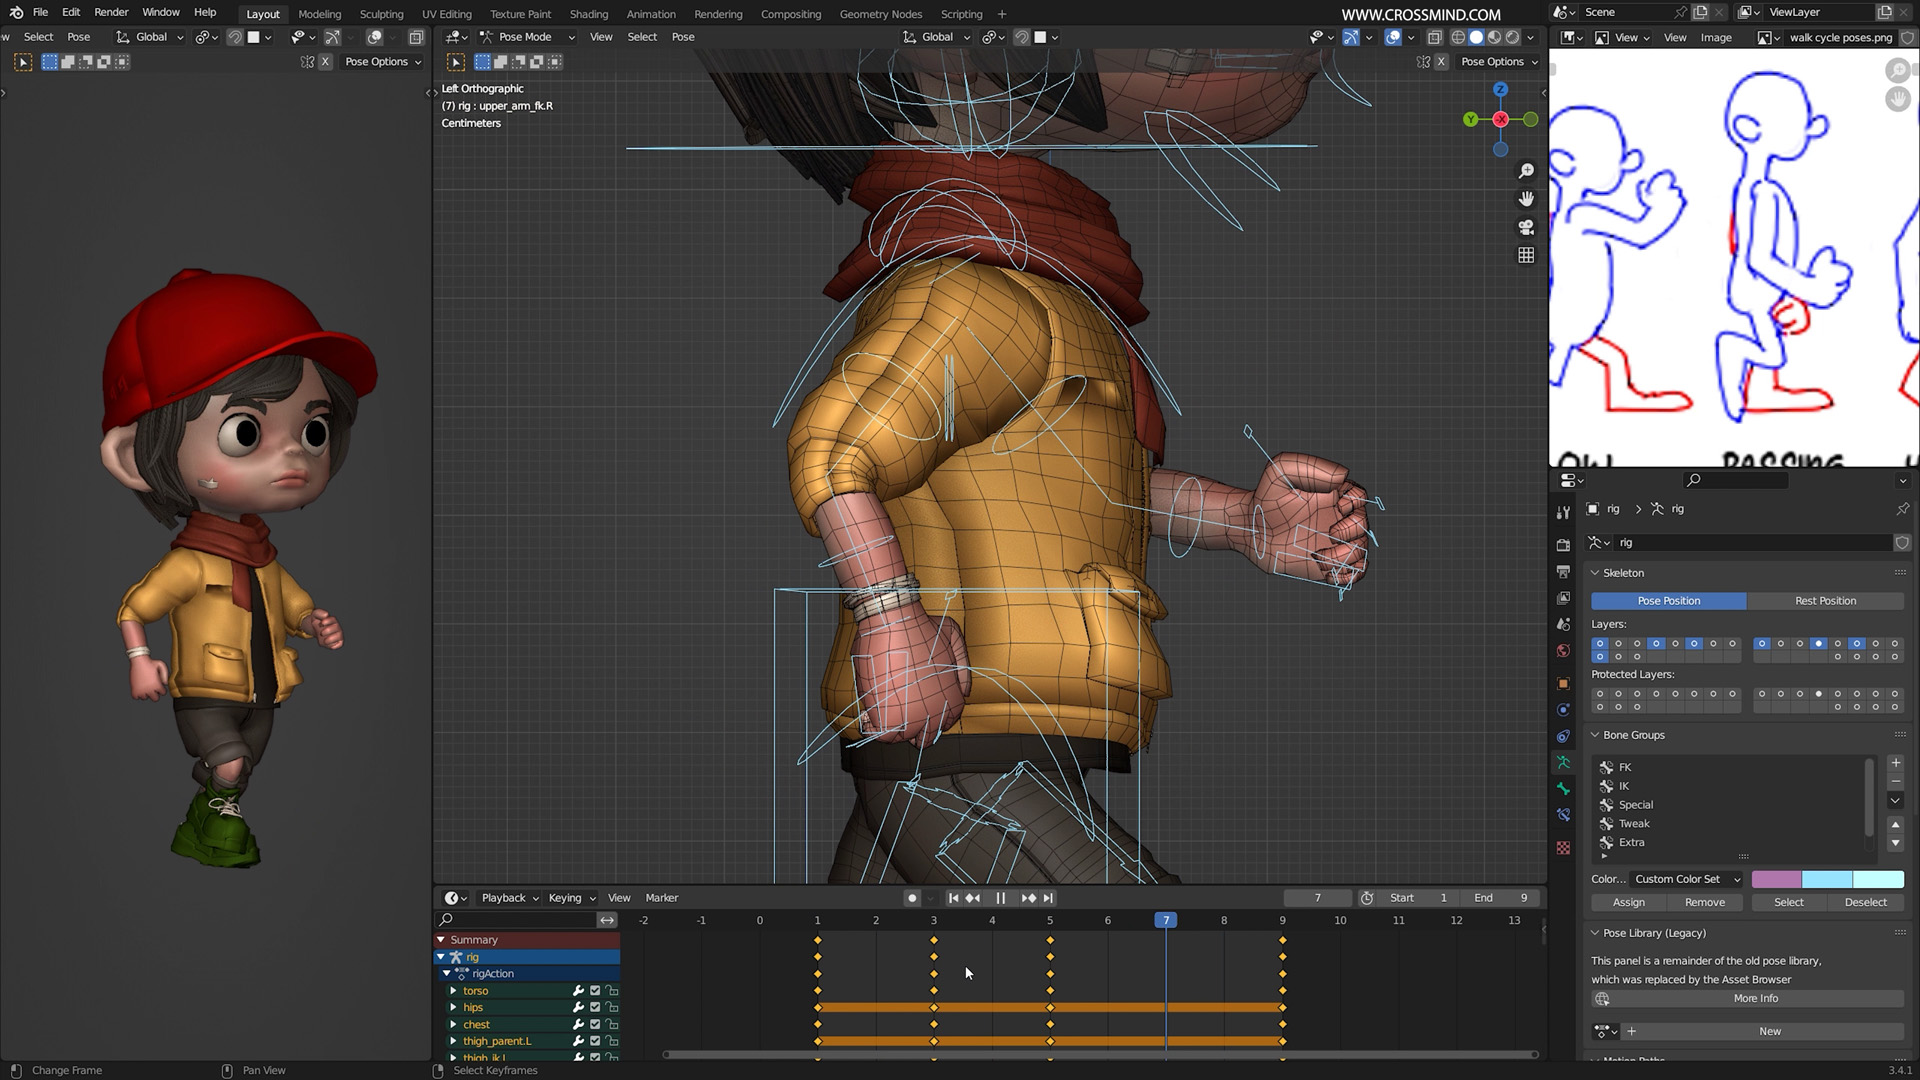
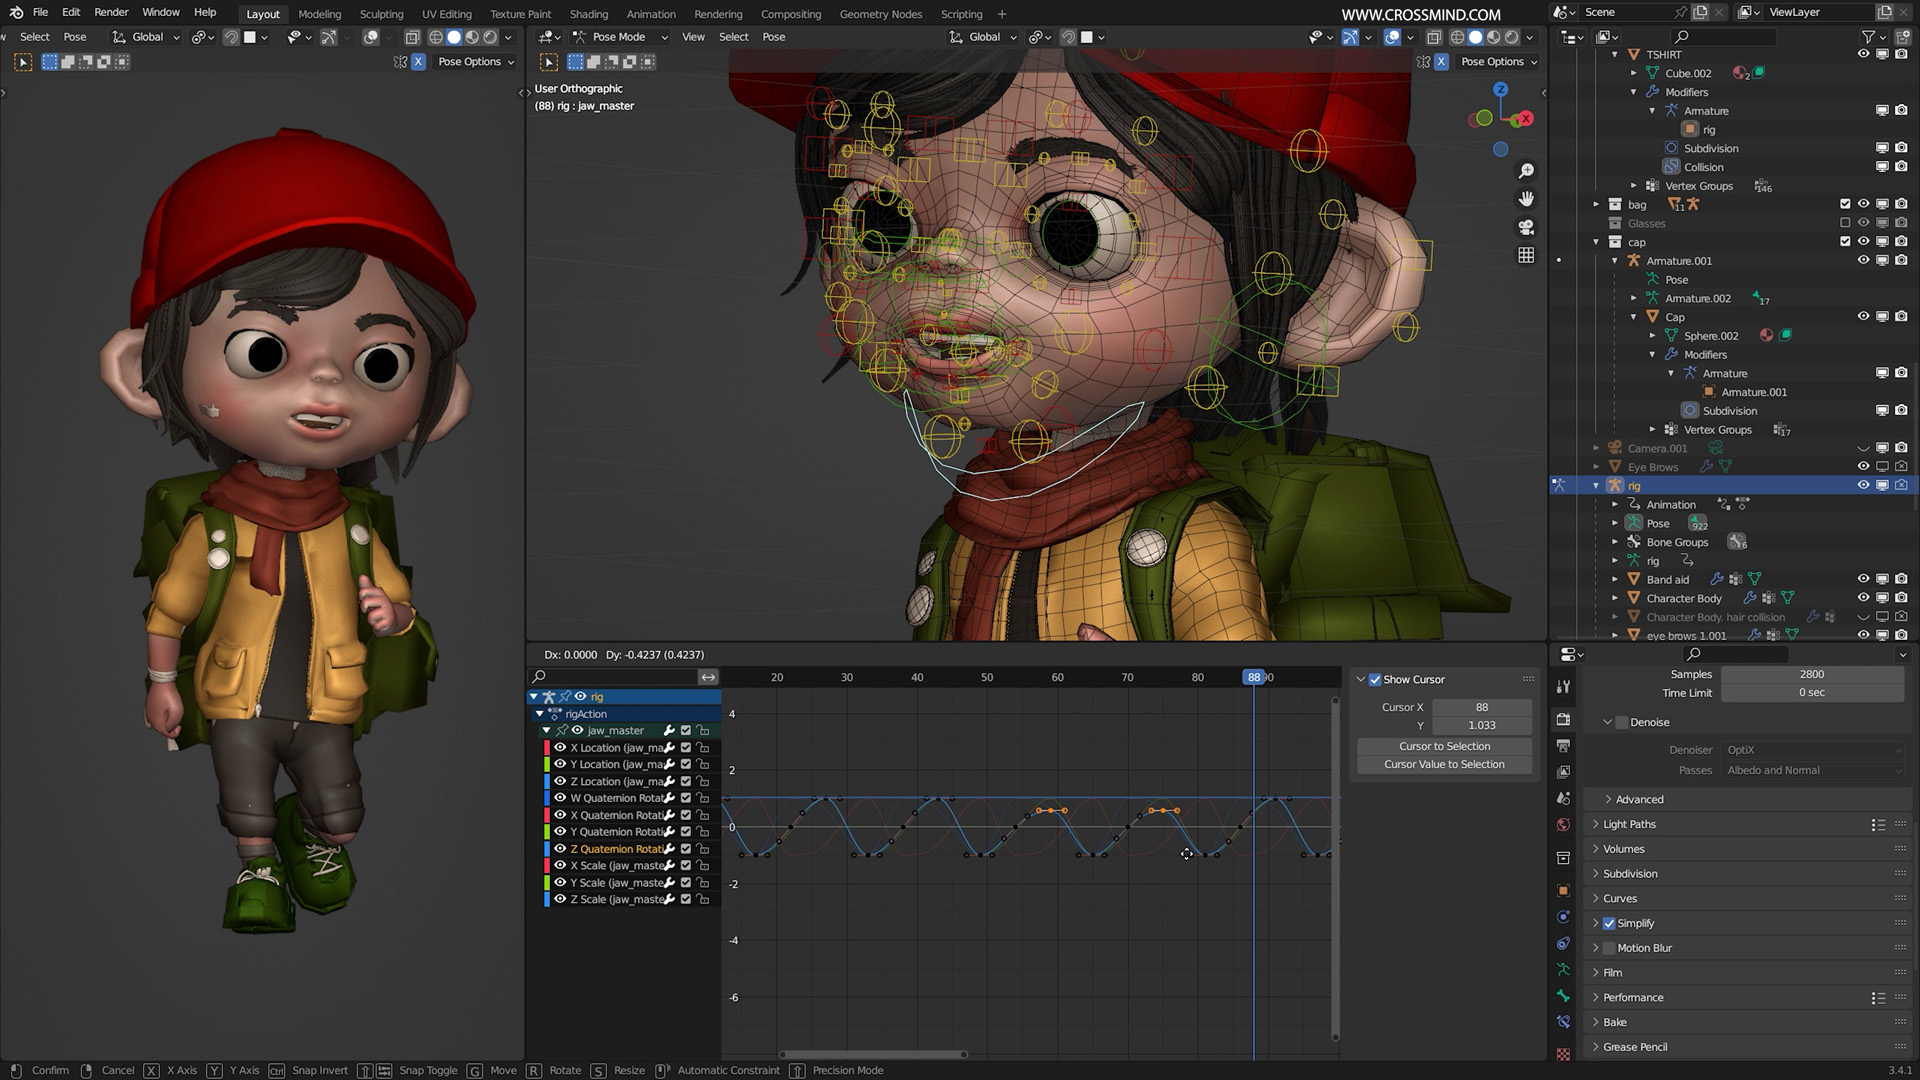
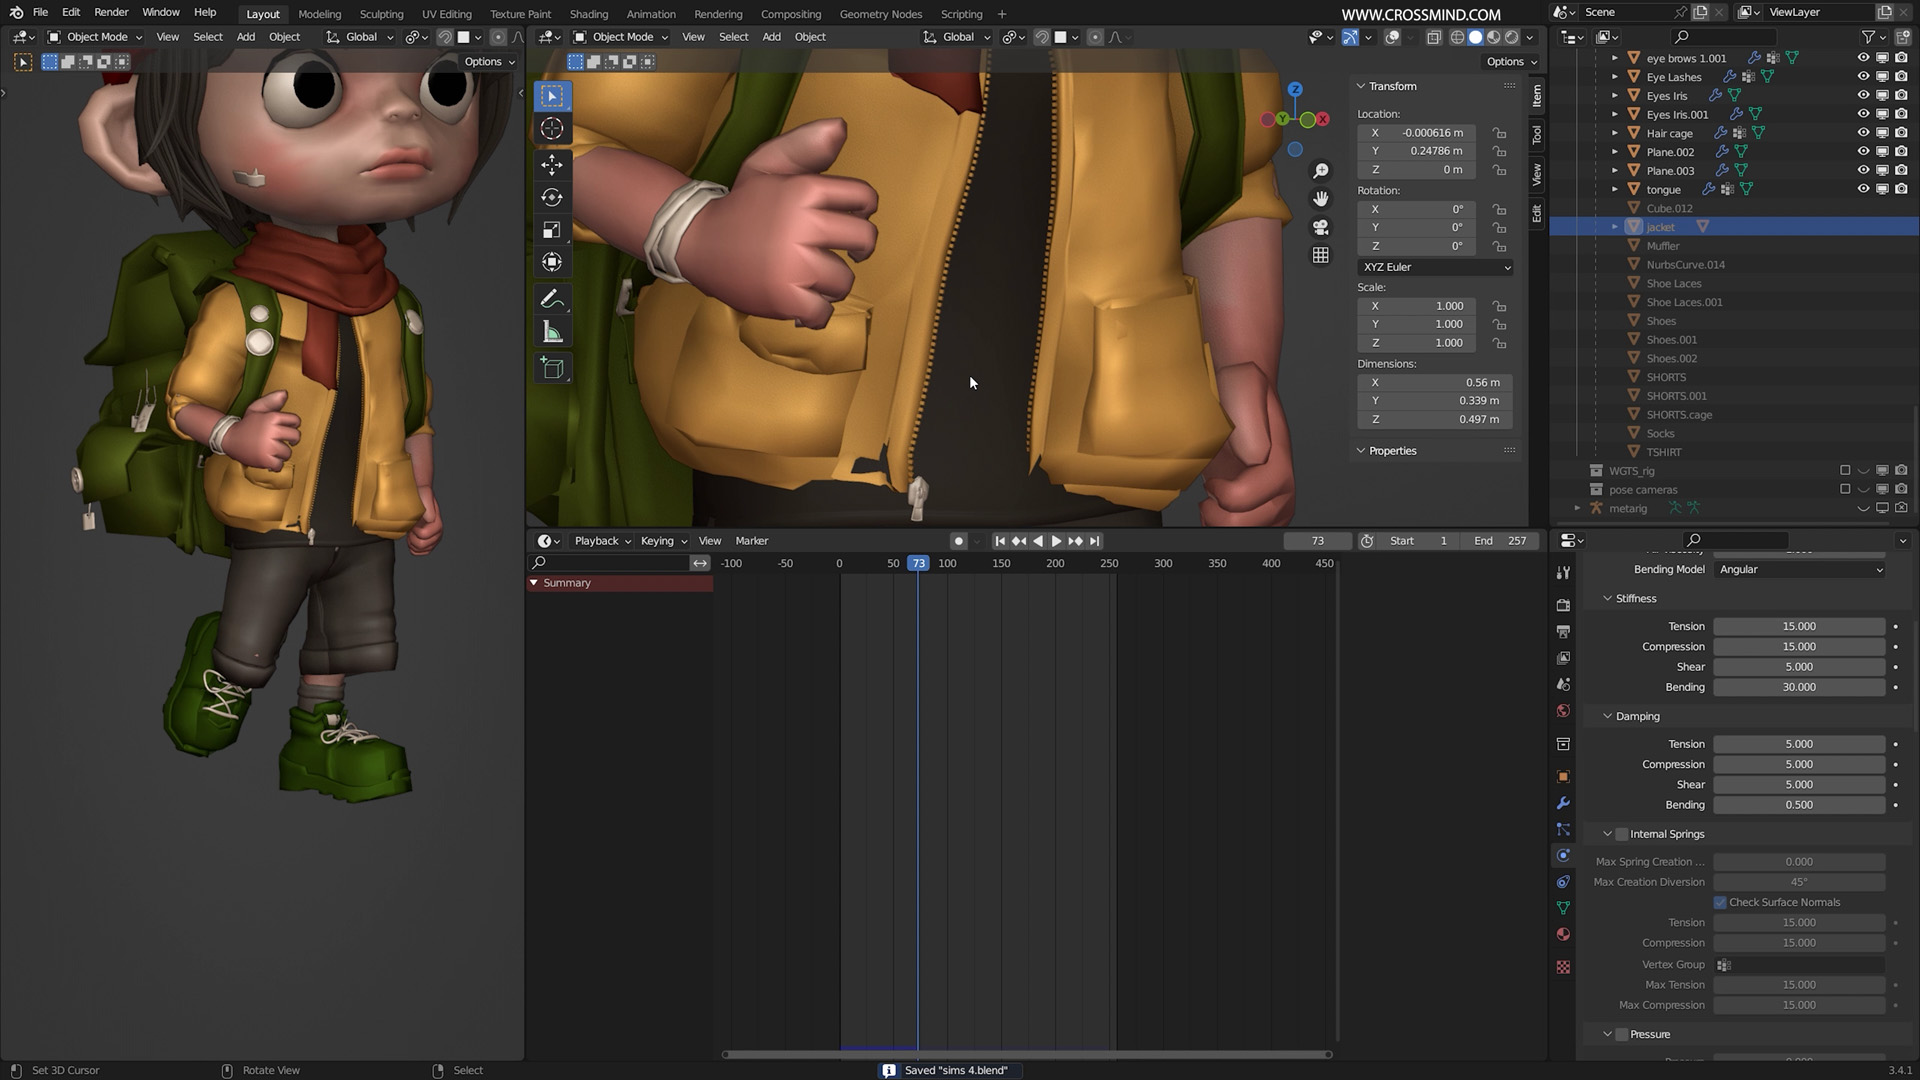
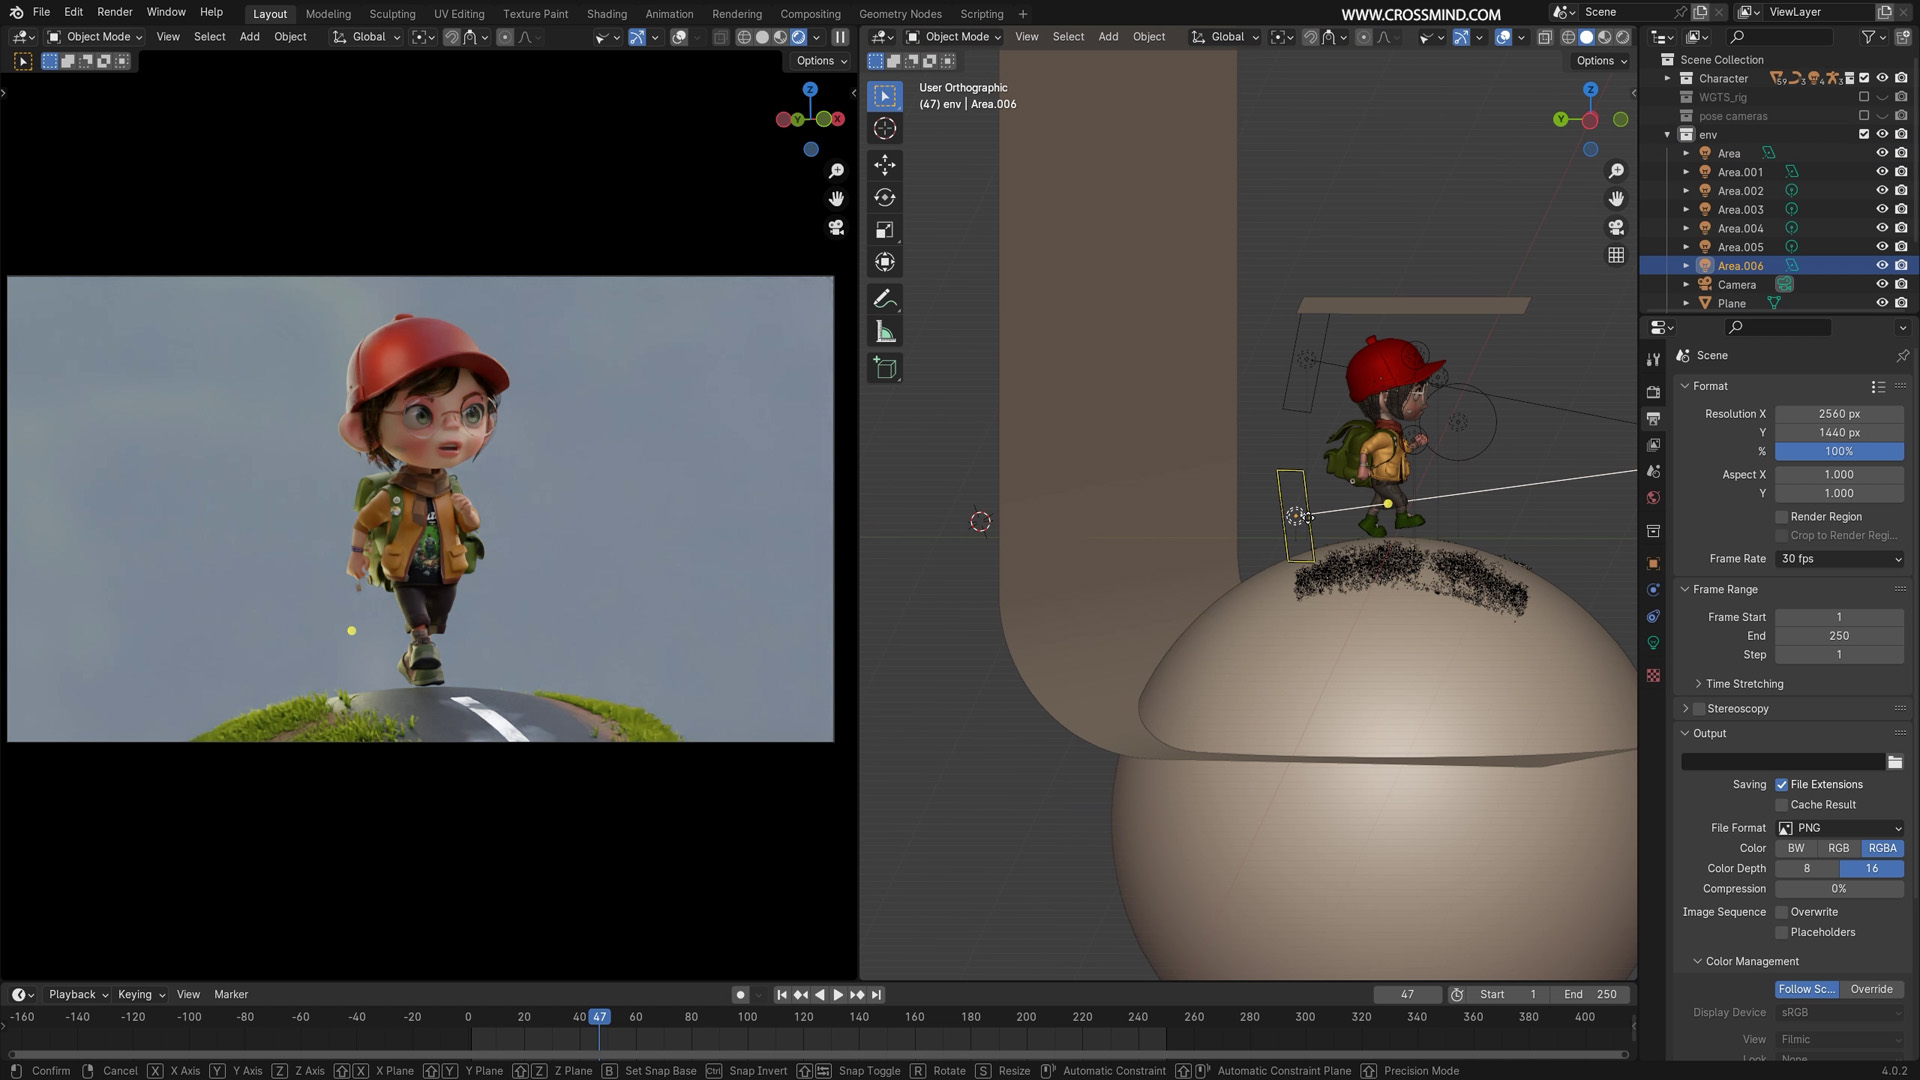
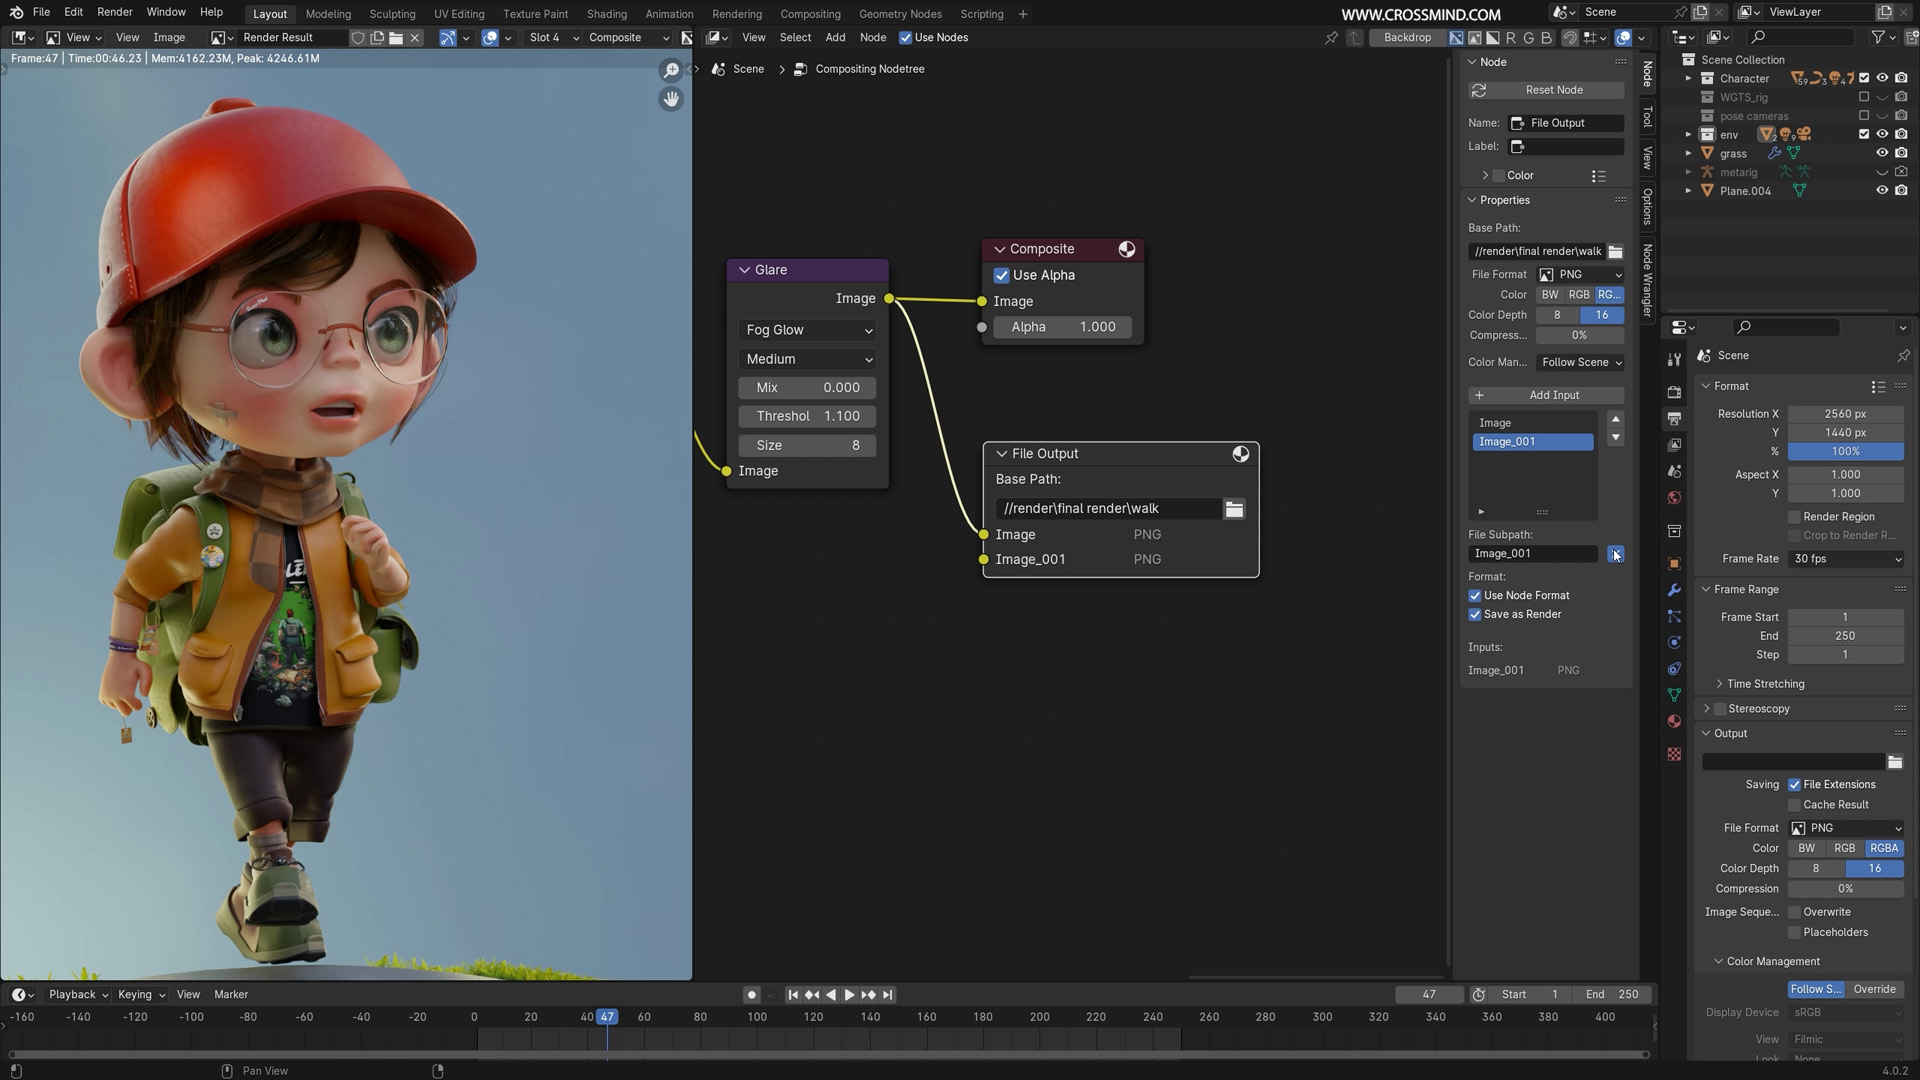
Towards the course's end, we'll craft a walk cycle for our character, discuss walk cycle basics, and add expressions, eye blinks, secondary motions to props, and clothes with physics. The last chapter involves setting up a simple rendering setup for the animation, followed by concluding remarks.
Disclaimer
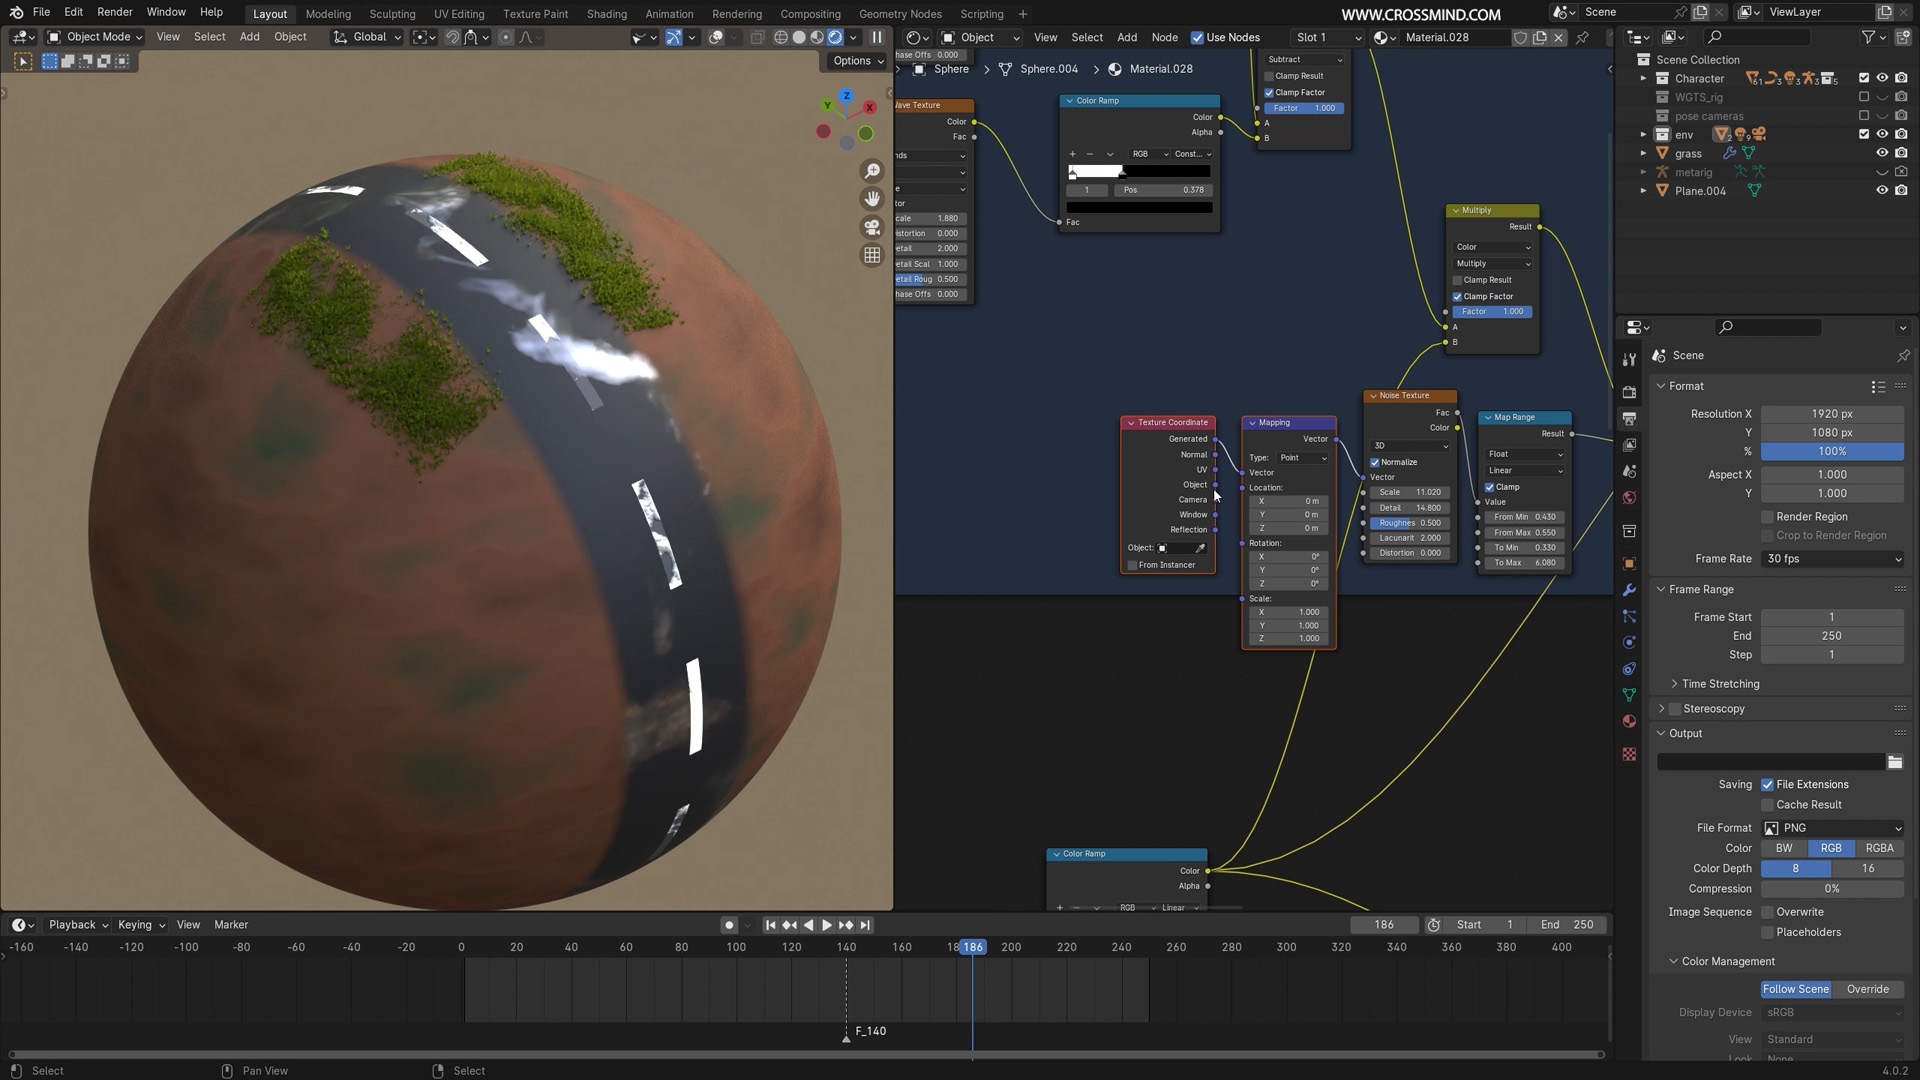
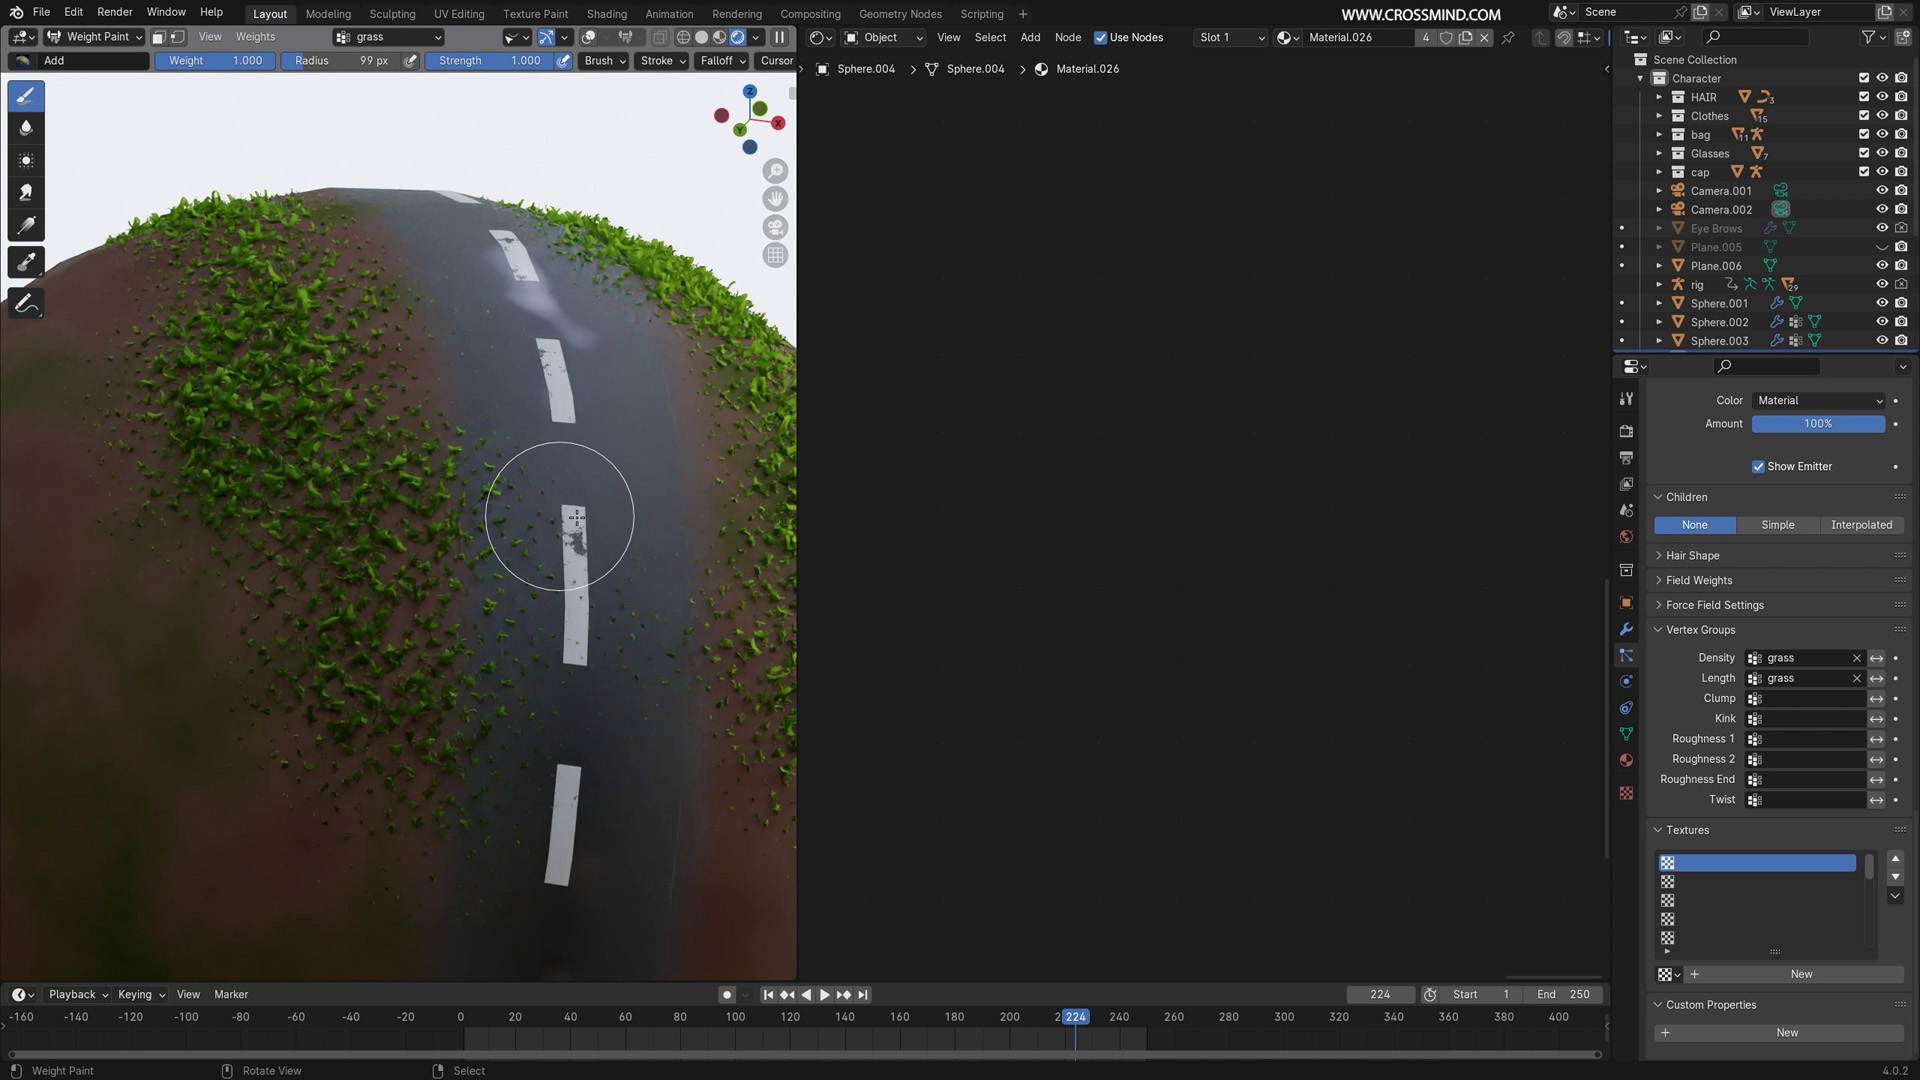
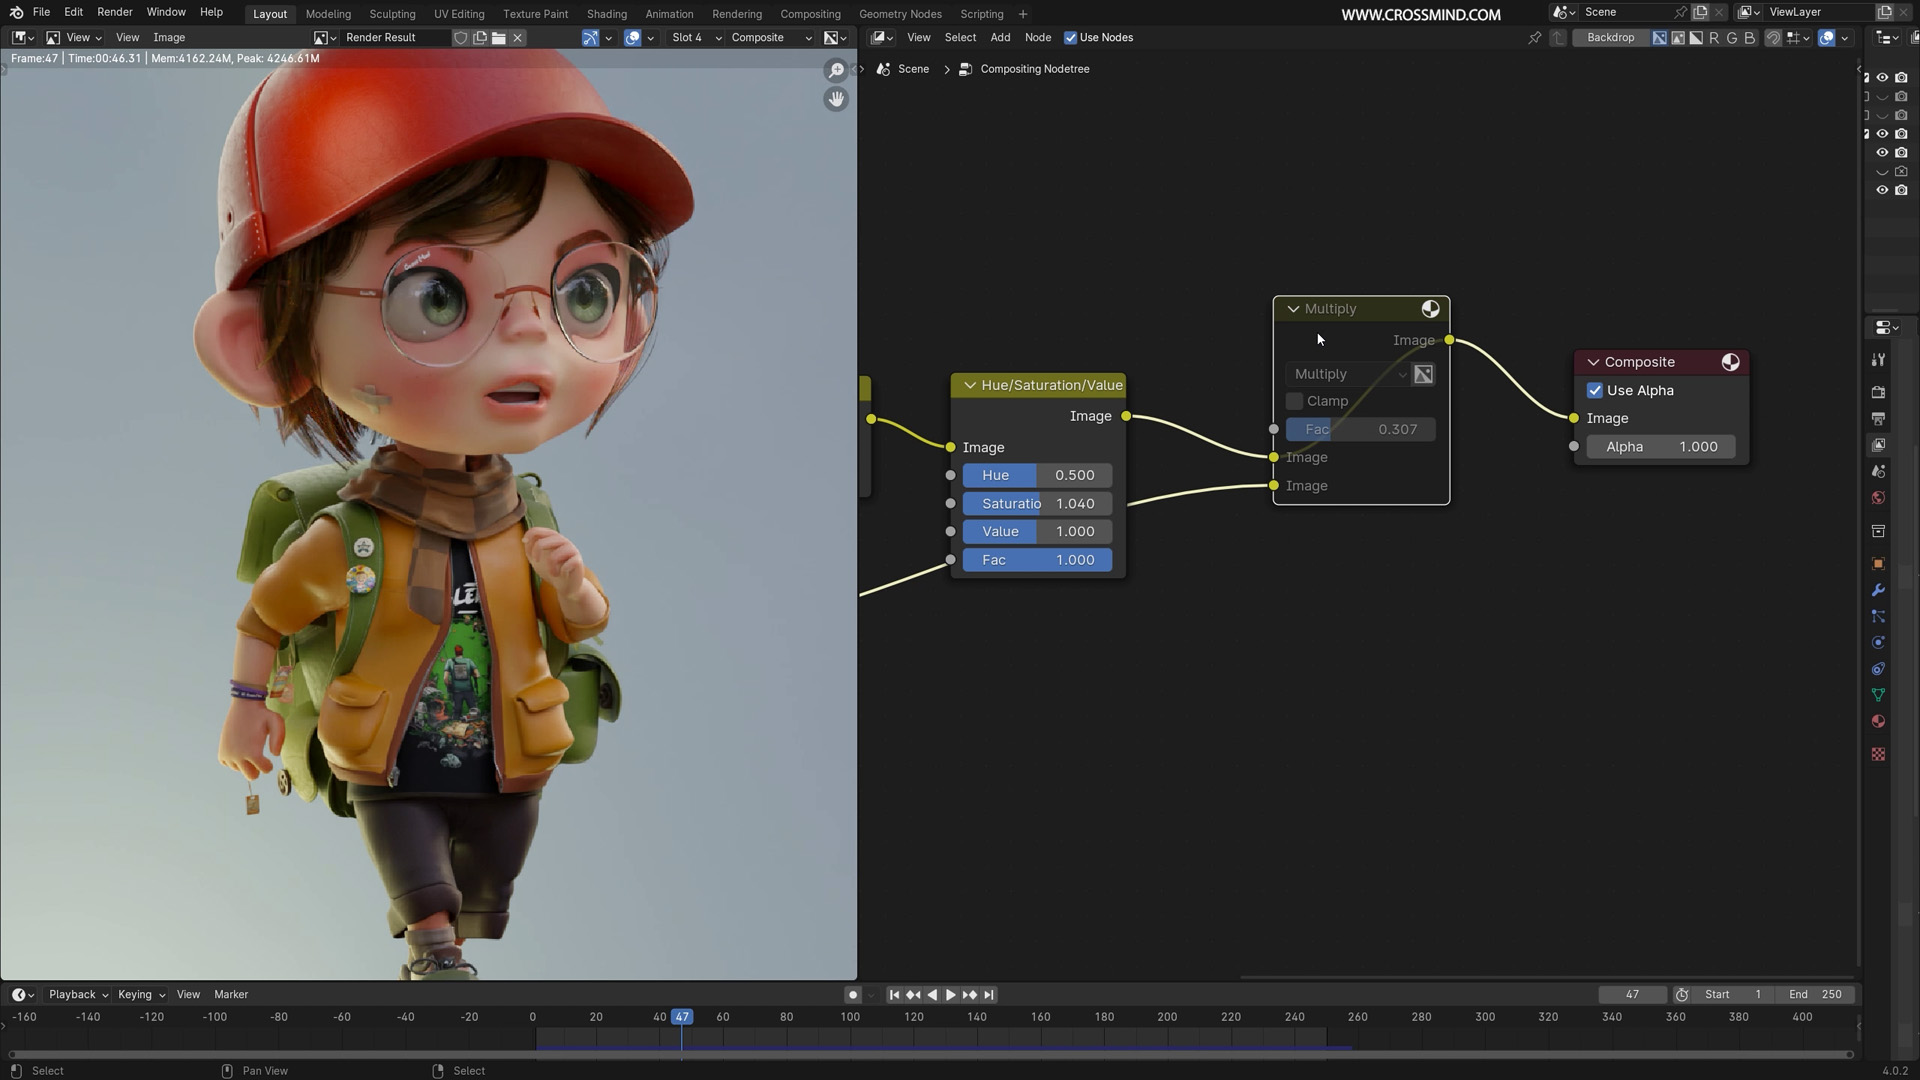
You can watch online version on YouTube where few chapters will be available to watch for everyone and it will cover modeling and shading process. This Premium edition on unlocks the full course, including the complete process from modeling, UV, shading, rigging overview, rigging with riggify, weight painting, props manual rigs, pose library setup, animating walk cycles, adding secondary animations and expressions, cloth and props simulations with physics and custom rigs, creating a background with geometry nodes and procedural shaders, lighting, final rendering, and compositing. In addition to bonus content, it also comes with project files, animated bonus scenes, and other benefits.
Entire course breakdown is given here: https://youtu.be/AZrOhXdOUCI
List of Chapters
Topology
Head
Torso
Limbs
-
Clothes
T-shirt and Shorts
Jacket and Shoes
Props
Cleanup and UVs for Clothes
Texturing and Shading Body
Texturing and Shading Clothes and Props
Rendering Still Character
Rigging Introduction
Riggify - Bones
Riggify - Generating, Auto Weights
Understanding Rig Interface, Overview, Customization
Weight Painting
Rigging Bag and Cap
Understanding Pose Library and Character Linking
Creating an Animation - Walk Cycle
Creating Secondary Animations - Clothes and Props
Creating a Final Render
Who Can Benefit:
Ideal for individuals who have mastered the fundamentals of Blender or successfully finished our continuous 7-day Blender introduction series, this course beckons you to surpass the basics and utilize your acquired knowledge to handle progressively intricate projects.
About Author
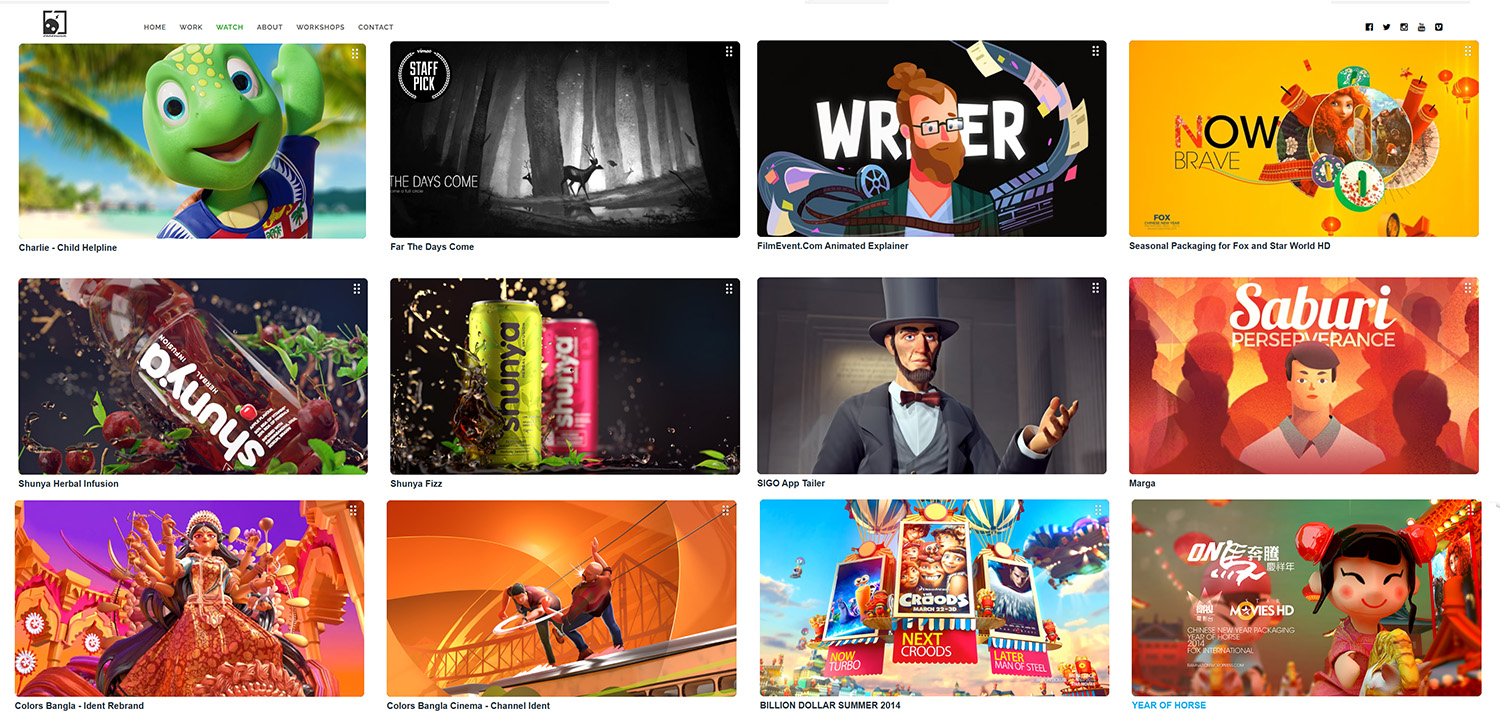
Ram, currently leading Crossmind Studios, is an Animation Film Designer with 20 years of experience. Throughout his career, he has collaborated with clients such as National Geographic, From Software, Per Blue, Star Networks, Samsung, Fox Channels, POGO, Viacom18, Sony, Smithsonians, Vistara, and Royal Enfield, among others. In addition to handling commercial projects, Ram is passionate about teaching animation film design to aspiring artists. Notably, he has achieved several accolades, including the recent recognition of winning the Promax Asia award for the best ident design.To learn more about what our audience has to say, explore our continuously thriving Blender Introduction Series.
Blender Introduction Series Chapter 1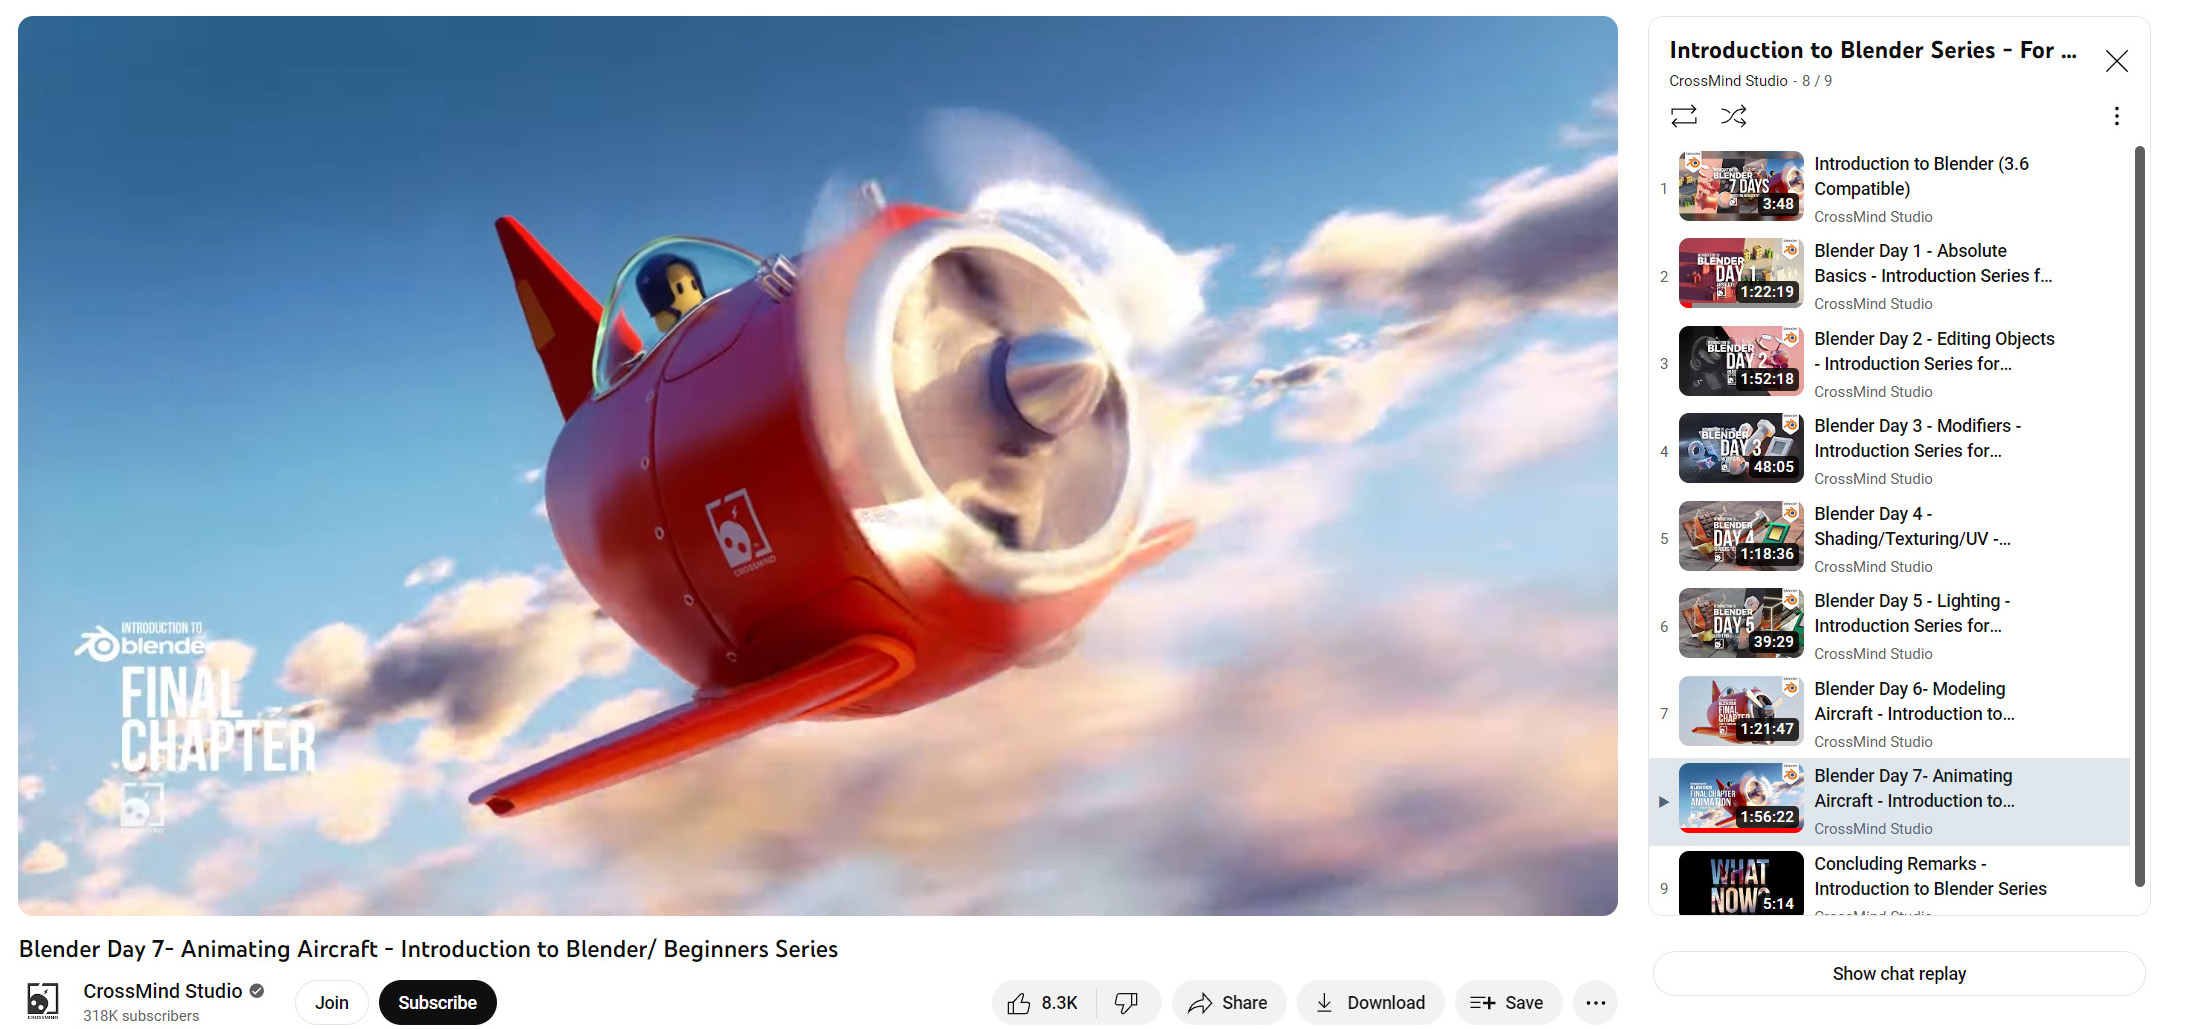
Followers work :
👥 Community Support:
Join our dedicated Discord channel for direct access to the instructor and a community of learners. Get assistance, share your progress, and enhance your learning experience.
Discover more products like this
animation character 3d-animated-character #Character Modeling 3d-cartoon-character
