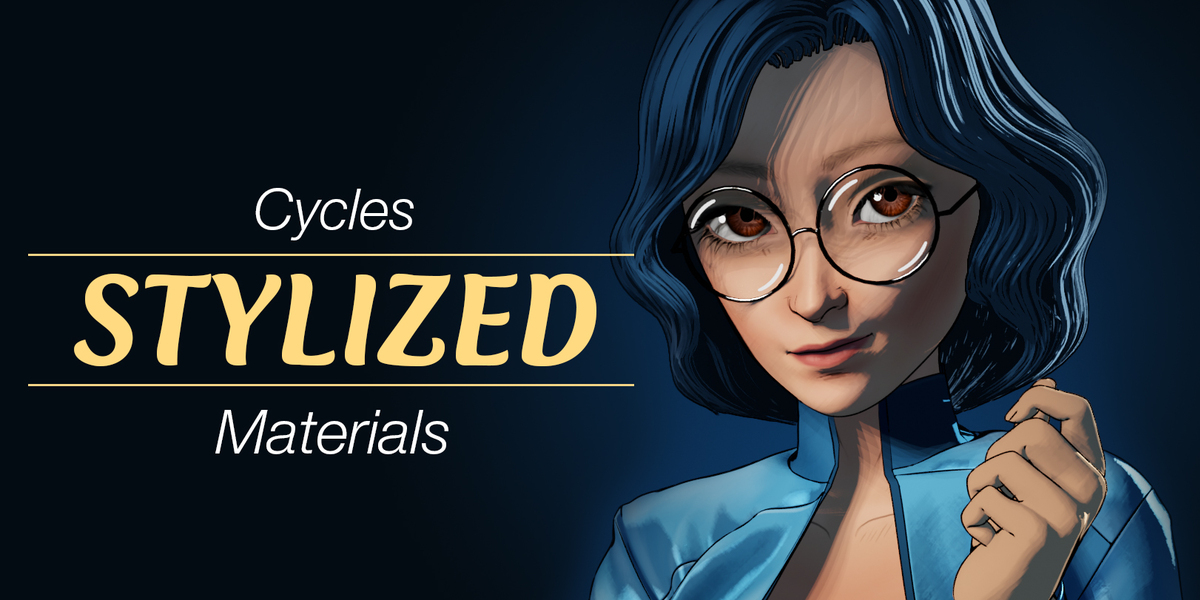
Cycles Stylized Material
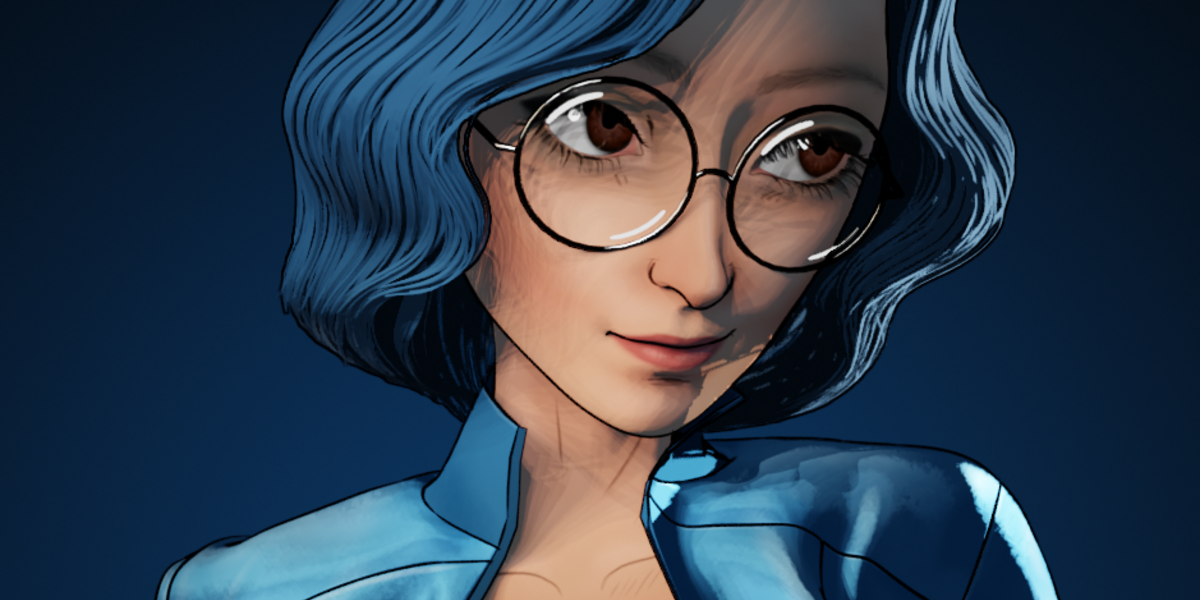
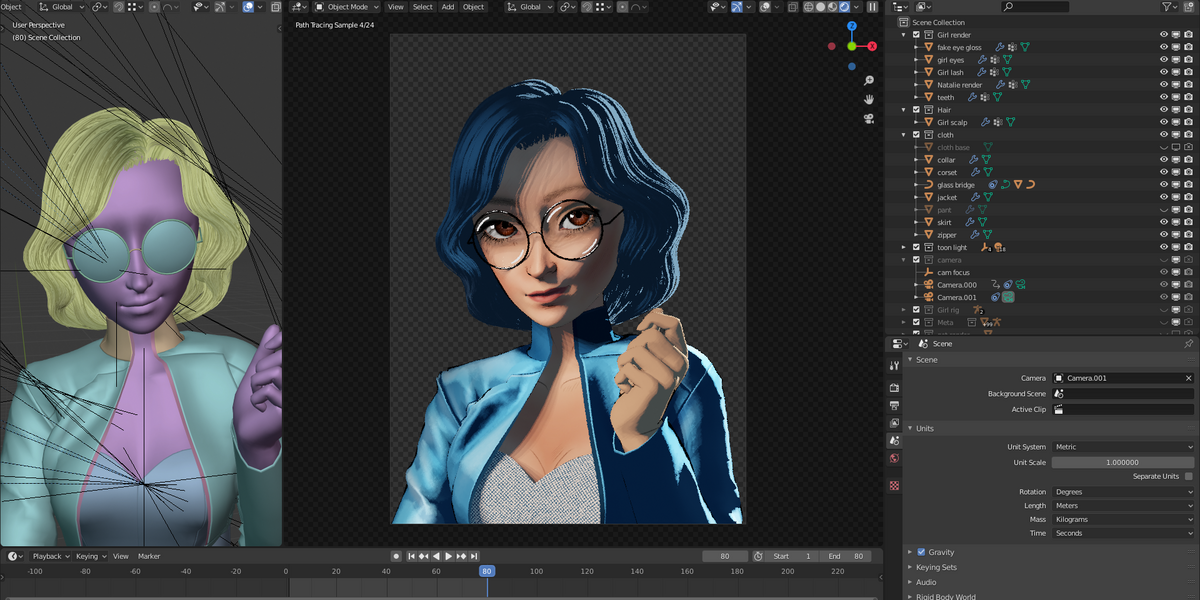
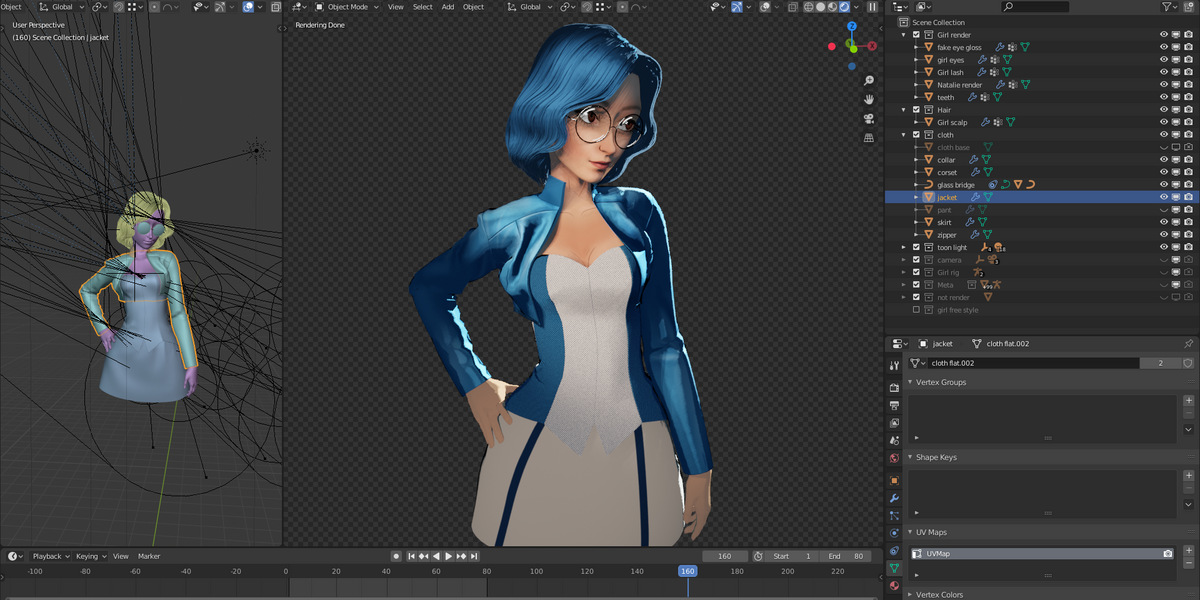
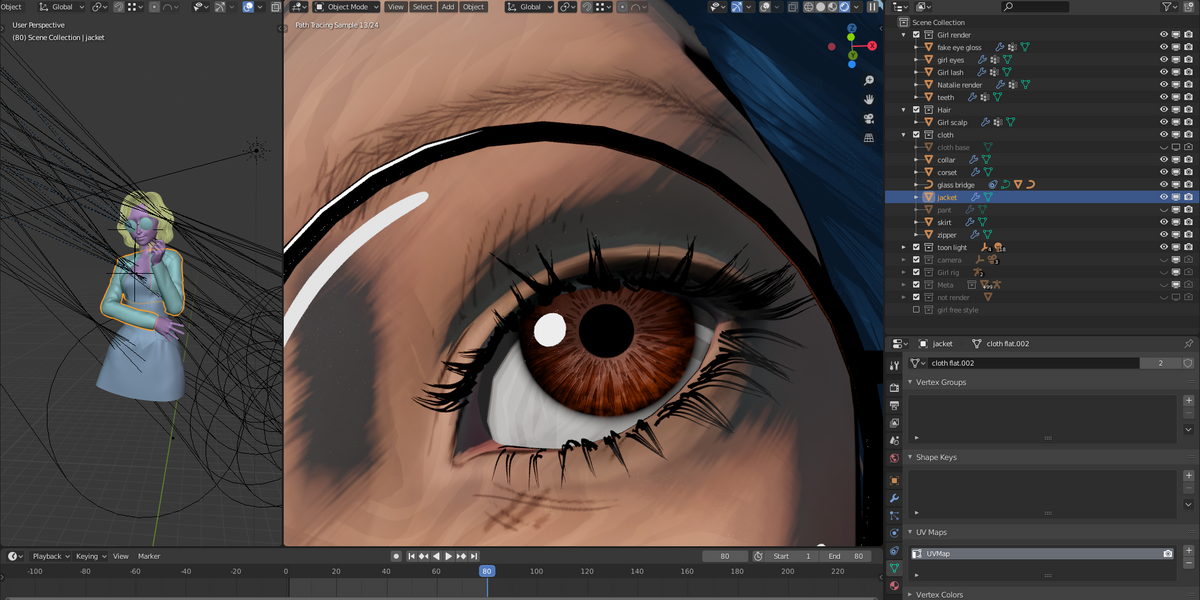
This is a set of shader node groups that allow you to achieve a nice digital painting style using Blender's Cycles engine. This style renders very fast so you can use this for your comic or animation.
The set include 3 main node groups:
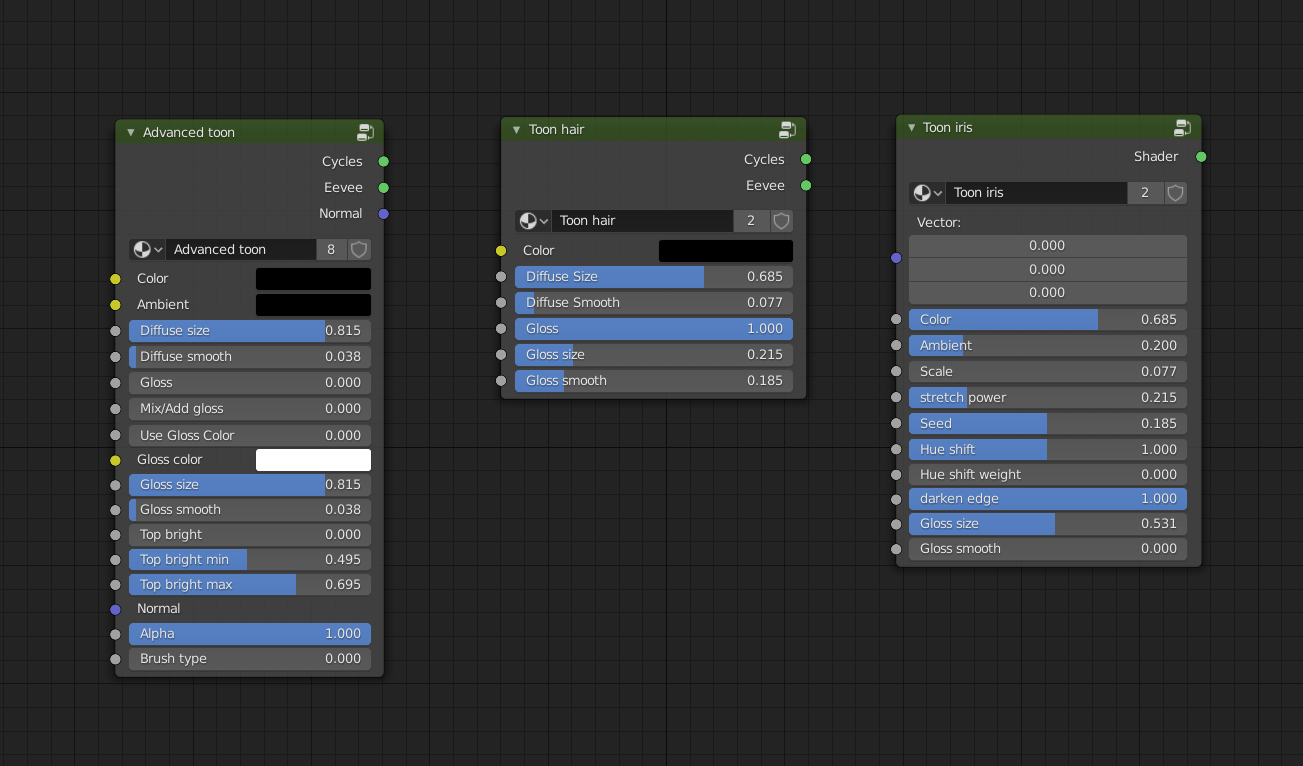
- Advanced Toon - Use for skin, cloth and anything you can think of. The shader produces a dirty brush transition between light and shadows, you can tweak the parameters to achieve different effects..
- Toon hair - Combine with Ribbon hair type, this shader gives you a nice 2D style for the hair. If you sculpt polygon hair, then it's better to use the Advanced Toon shader group.
- Toon Iris - Generate a toon iris, this group includes the eye generator which generate the eye texture.
Usage
Simply link or append the node groups from the downloaded Blend file into your scene.
Advanced Toon shader
- Color: main color of the material
- Ambient Color: The color of the shadows, cartoony style usually don't have pitch black shadows, use this color to control the shadows to your liking.
- Diffuse size: the size of the illuminated part of the model.
- Diffuse smooth: The smoothness of the transition between the bright and dark parts.
- Gloss: The amount of specular reflection of the material.
- Mix/Add Gloss: Choose between the 2 methods of specularity. 0 will mix the gloss and diffuse toon shaders based on the Gloss value, 1 will add the add them together.
- Use Gloss Color: By default, the gloss color is the same as the main color, increase this value to 1 to use the custom color in the Gloss Color input.
- Gloss Color: Custom color for the gloss layer, Use Gloss Color must be set above 0 for this color to have effect.
- Gloss Size: The size of the gloss high light.
- Gloss Smooth: The smoothness of the gloss high light.
- Top bright: Control the brightness of the surface facing upward.
- Top bright min/max: Control the sharpness of the top bright.
- Brush Type: mix between crosshatch or dirty brush stroke. The brush stroke only appear in the transition between light and dark.
Toon Hair
Use similar setting to the Advanced Toon shader, but this shader is optimized for hair.
Toon Iris
- Vector: Use a UV similar to the eye in the demo file for the eye generator to work.
- Color, Ambient, Gloss Size and Gloss smooth are similar to Advanced Toon shader.
- Scale: control the size of the eye texture.
- Stretch power: stretch the eye texture towards the center, lower value increases the stretch.
- Seed: Randomize the texture.
- Hue Shift: shift the hue (in degree) of the center of the iris.
- Hue Shift Weight: the intensity of the hue shift.
- Dark Edge: Darken the outside edge of the iris.
Scene set up
To maximize the painting effect, you should set diffuse bounce to 0 and set hair shape to Ribbon and hair Primitive to Curve Segments.
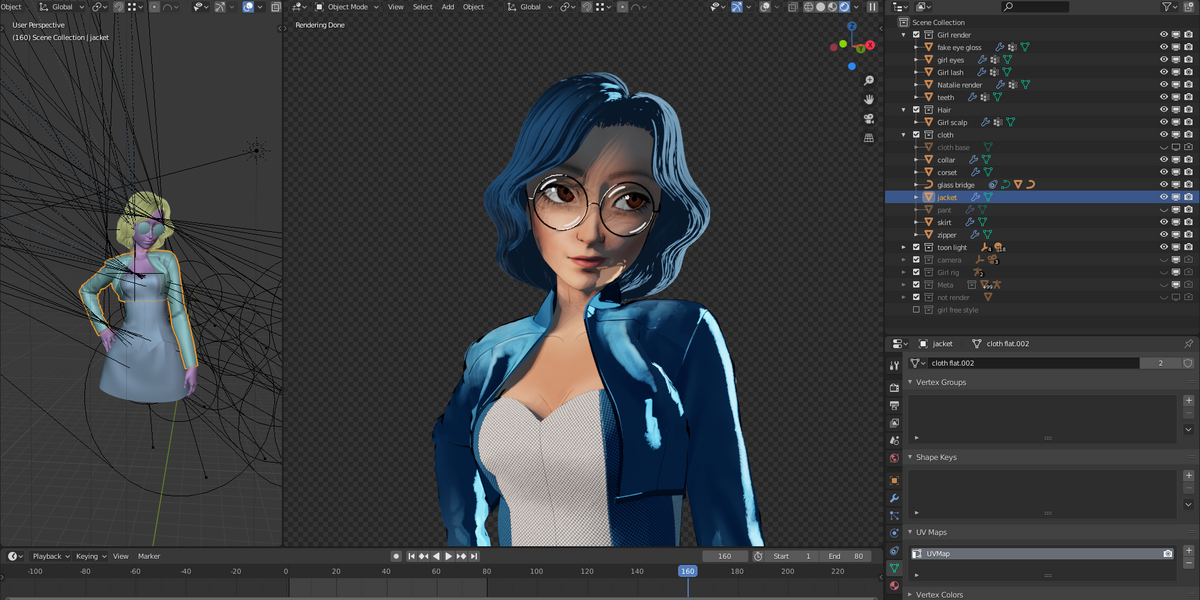
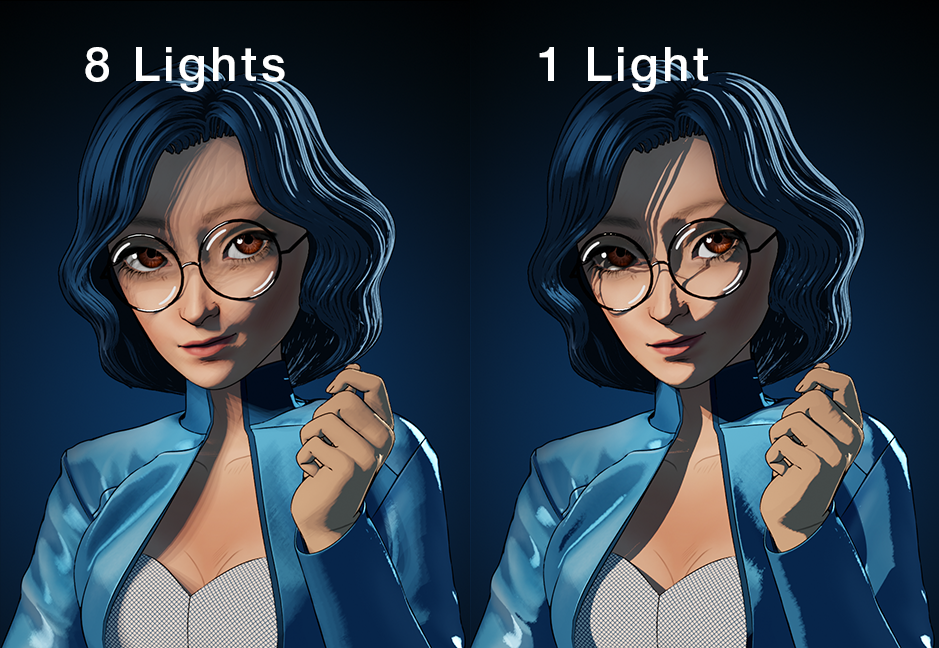
You can set up your own light, but I recommend you use the light rig provided in the demo file because the 8 light set up enhance the toon shader even further. Or use single light set up with 0 size to achieve the sharp cel shading effect.
Additional content
This product also includes:
- A camera facing shader node to make sprite objects always face the camera
- A full body demo character with clothing, hair, painted as well as procedurally generated textures.
