Curve To Mesh Pro - Uniform Uvmap Based On Radius
🐰Introduction
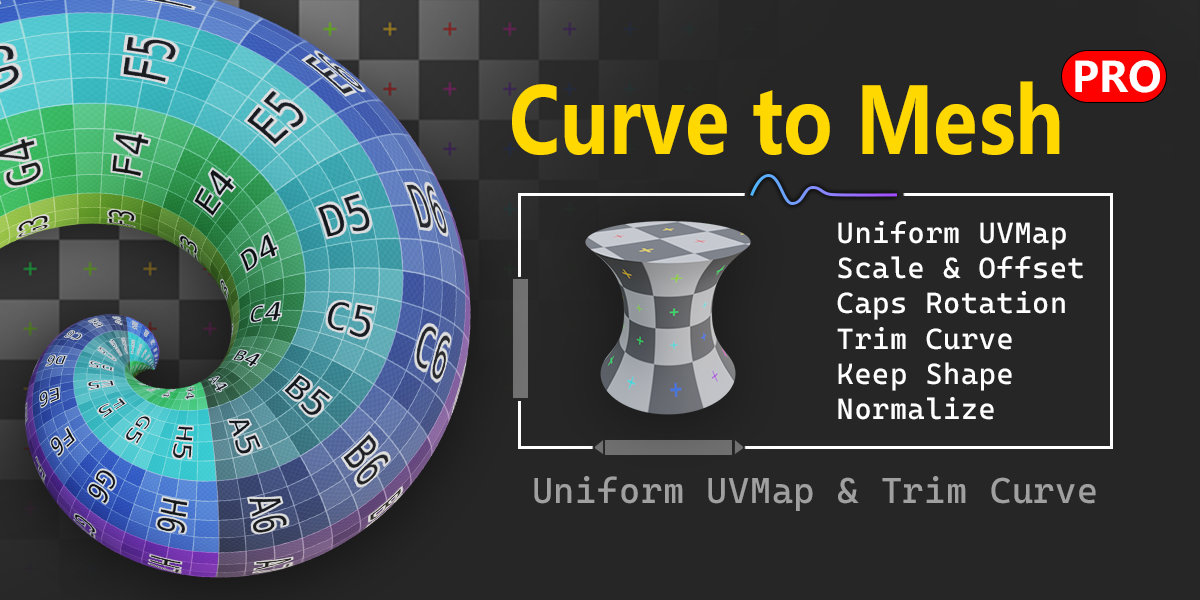
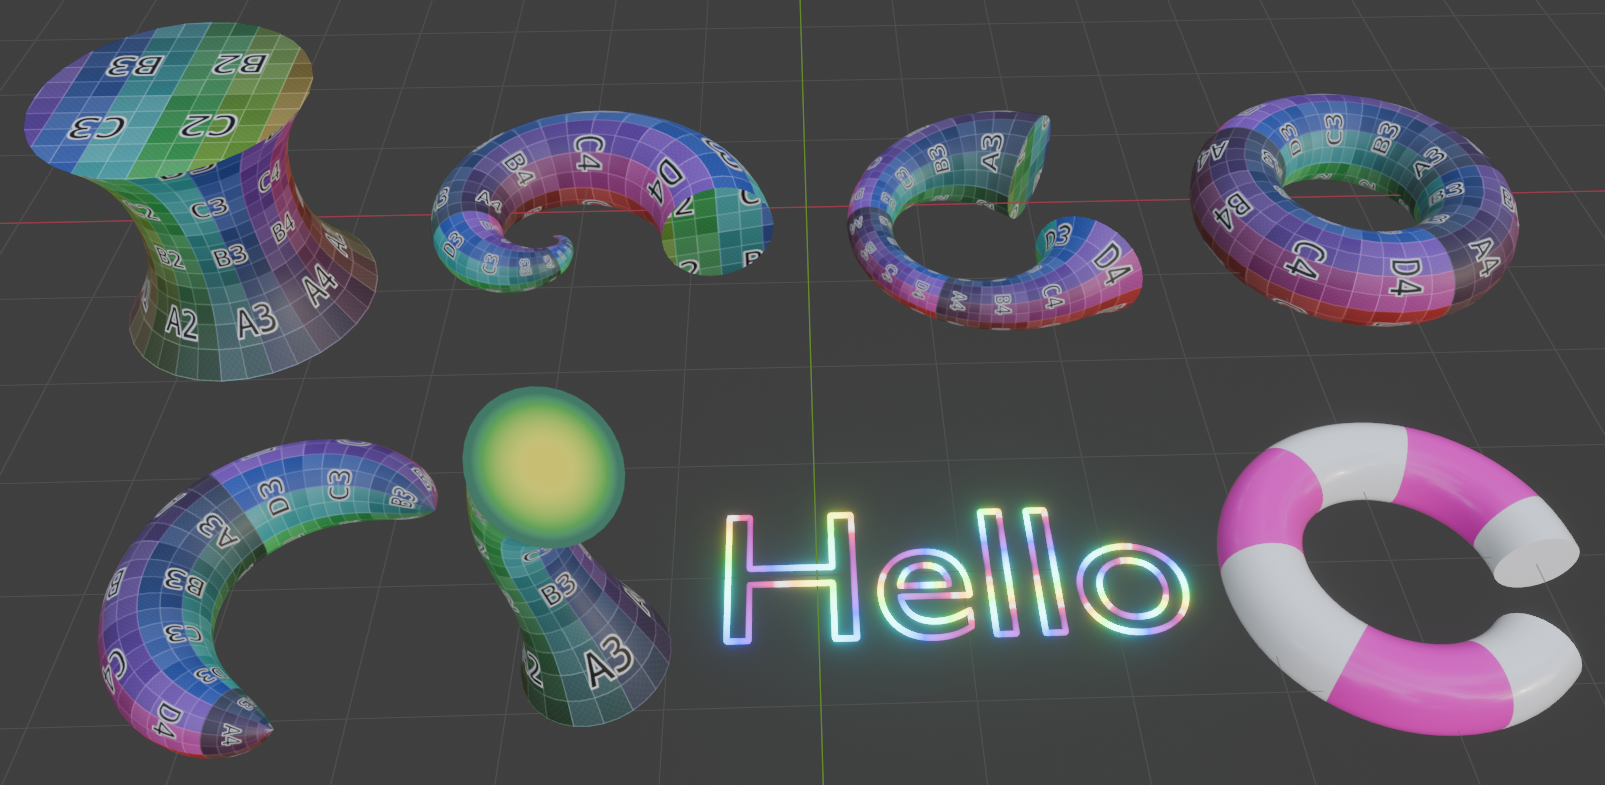
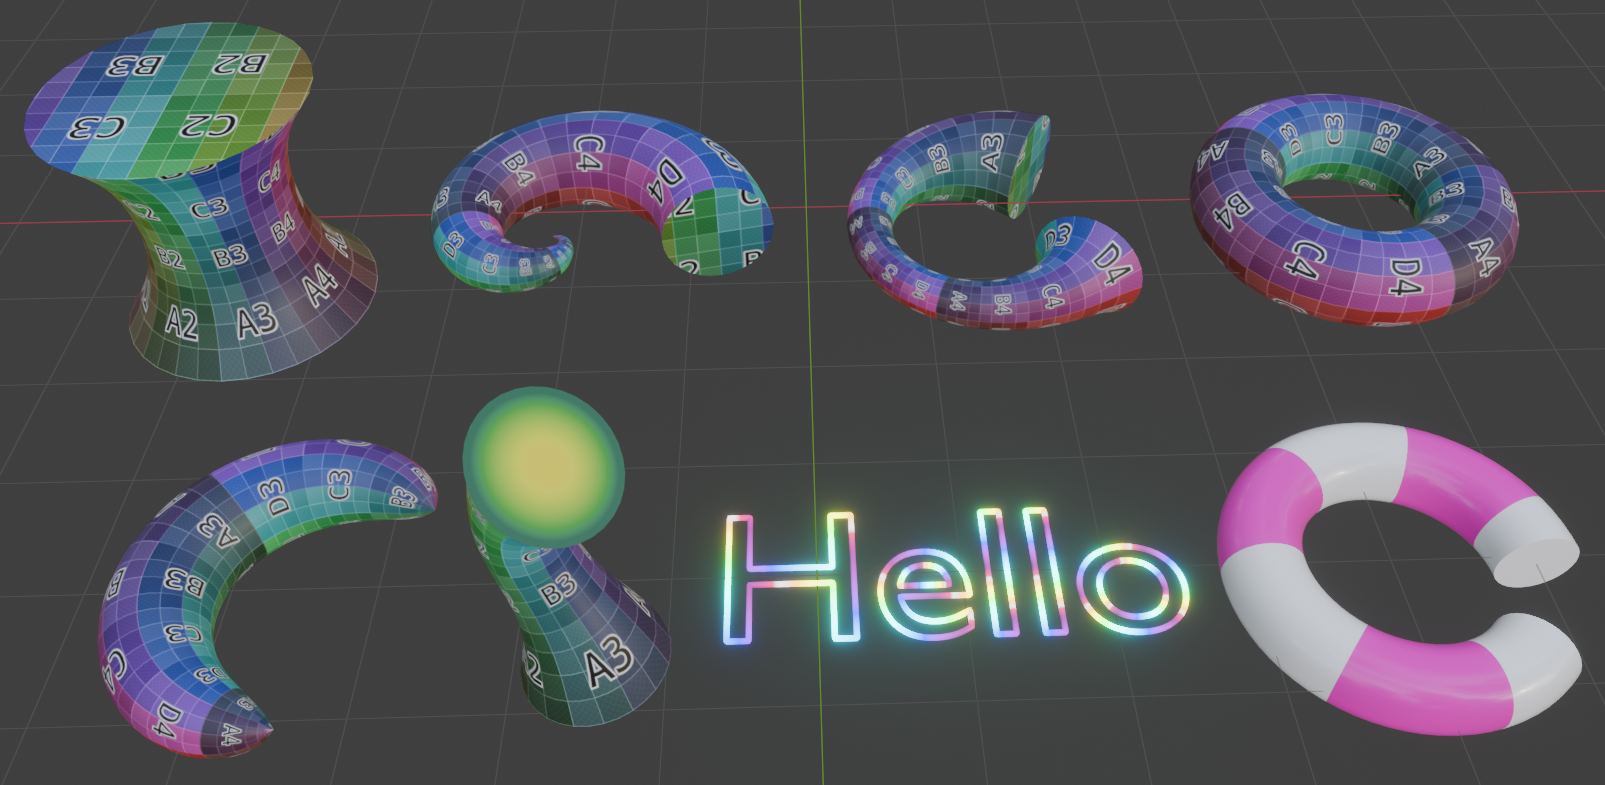
This is an enhanced version of Curve to Mesh. Compared to the original version, it comes with UV mapping and trim curves.
The obtained UV mapping is seamless, both vertically and horizontally. Additionally, the UV mapping can be distributed uniformly based on the radius of the curve, meaning that in thinner areas, the texture will be denser. This is particularly helpful for obtaining good texture mapping on curves of varying thickness.
🐧Installation
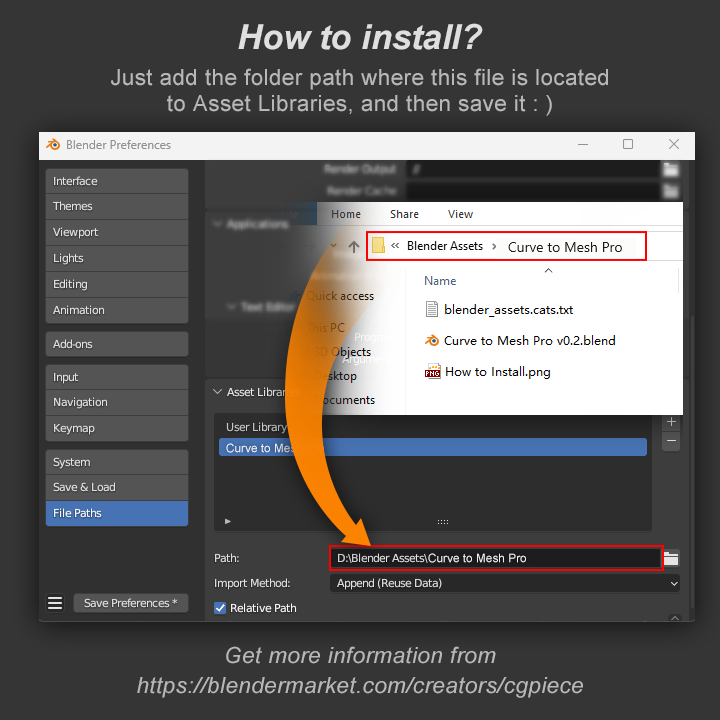
Since the Mesh to Curve Pro is a node group, you can put it in the asset path. After downloading, extract it to the path you want, usually you would store it with your other assets.
Open Edit - Preference - File Paths, add the path to Asset Libraries, and save it (automatically saved by default). By the way, you can also use it by appending the node tree. However, I would recommend using it as an asset.
Requires Blender version 4.0 or above.
🦄How to use
After installation, you can add Curve to Mesh Pro node from the Add menu by pressing Shift + A in the geometry node editor.
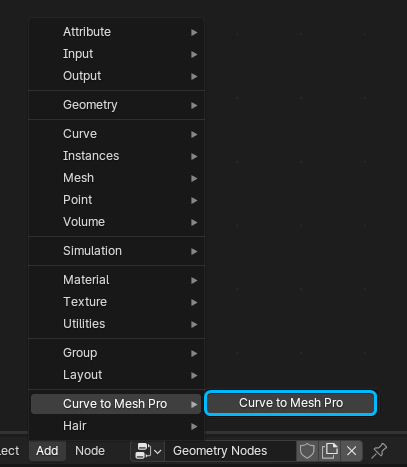
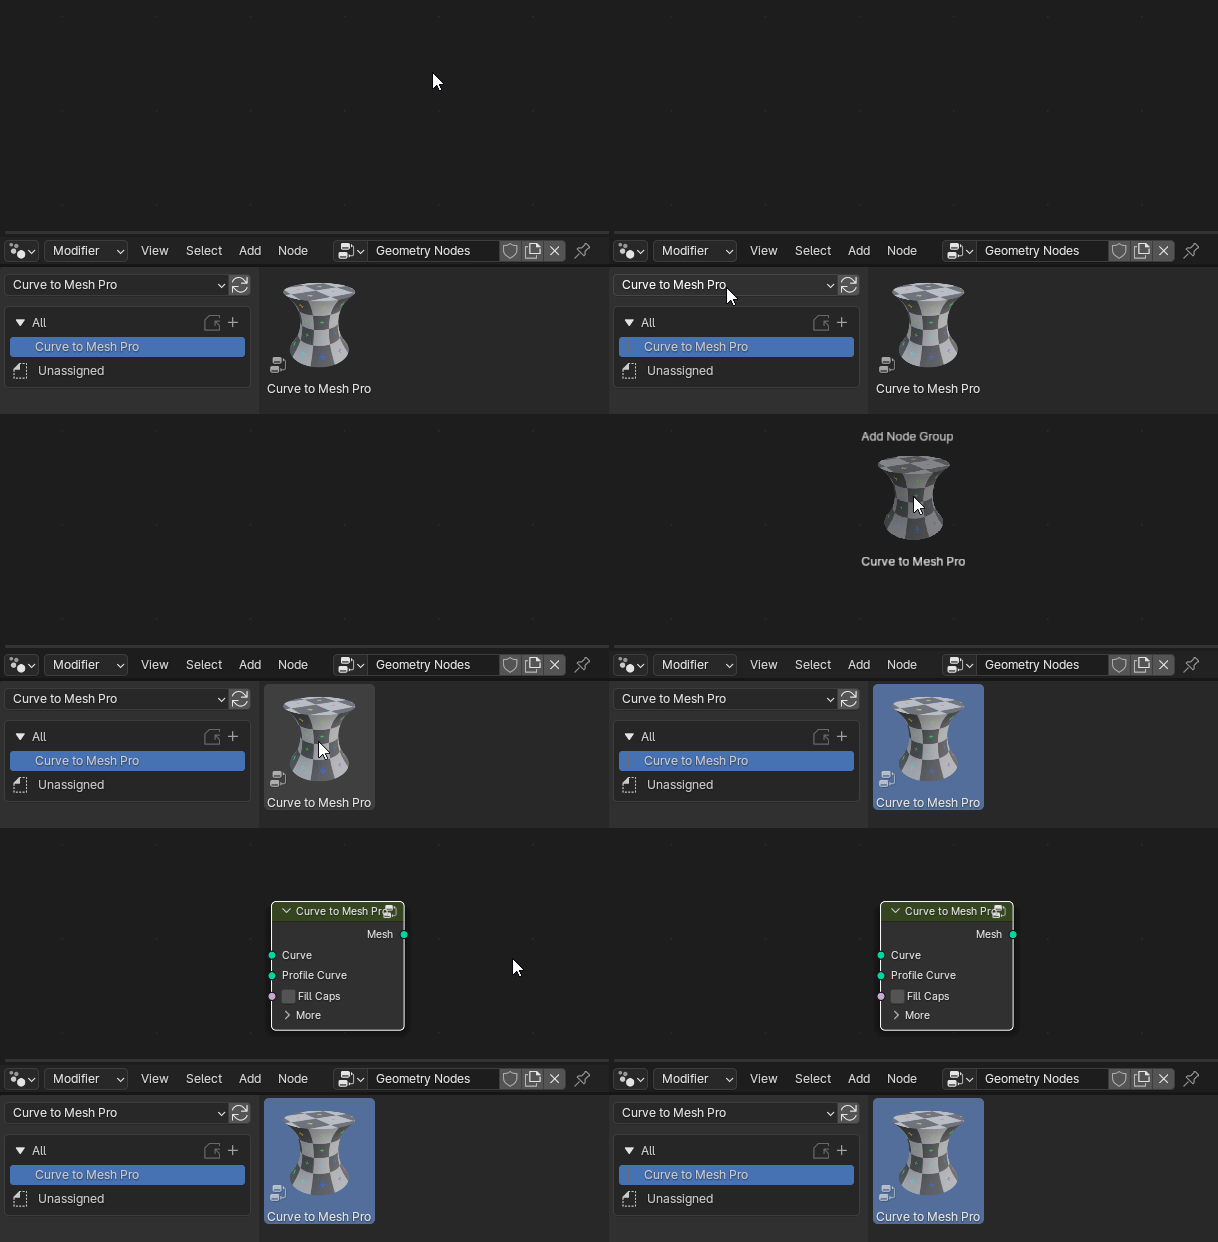
Or drag it from the Asset Browser to the Geometry Node Editor.
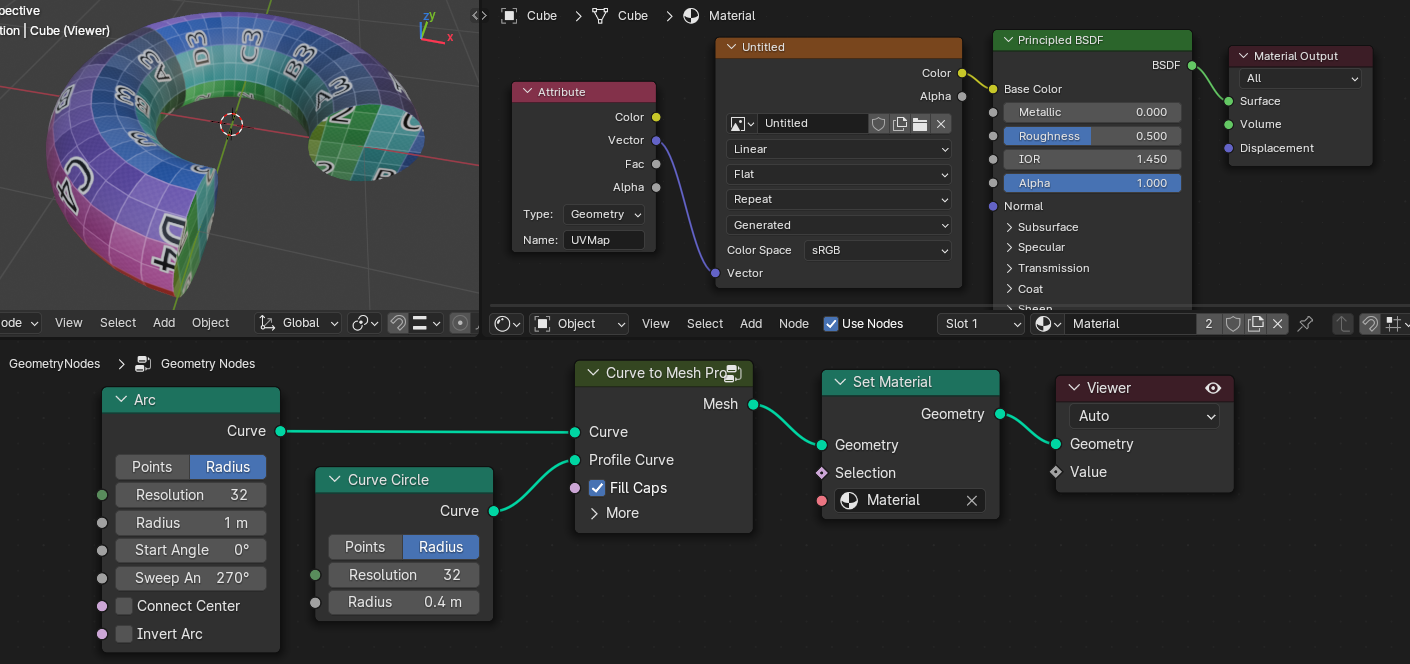
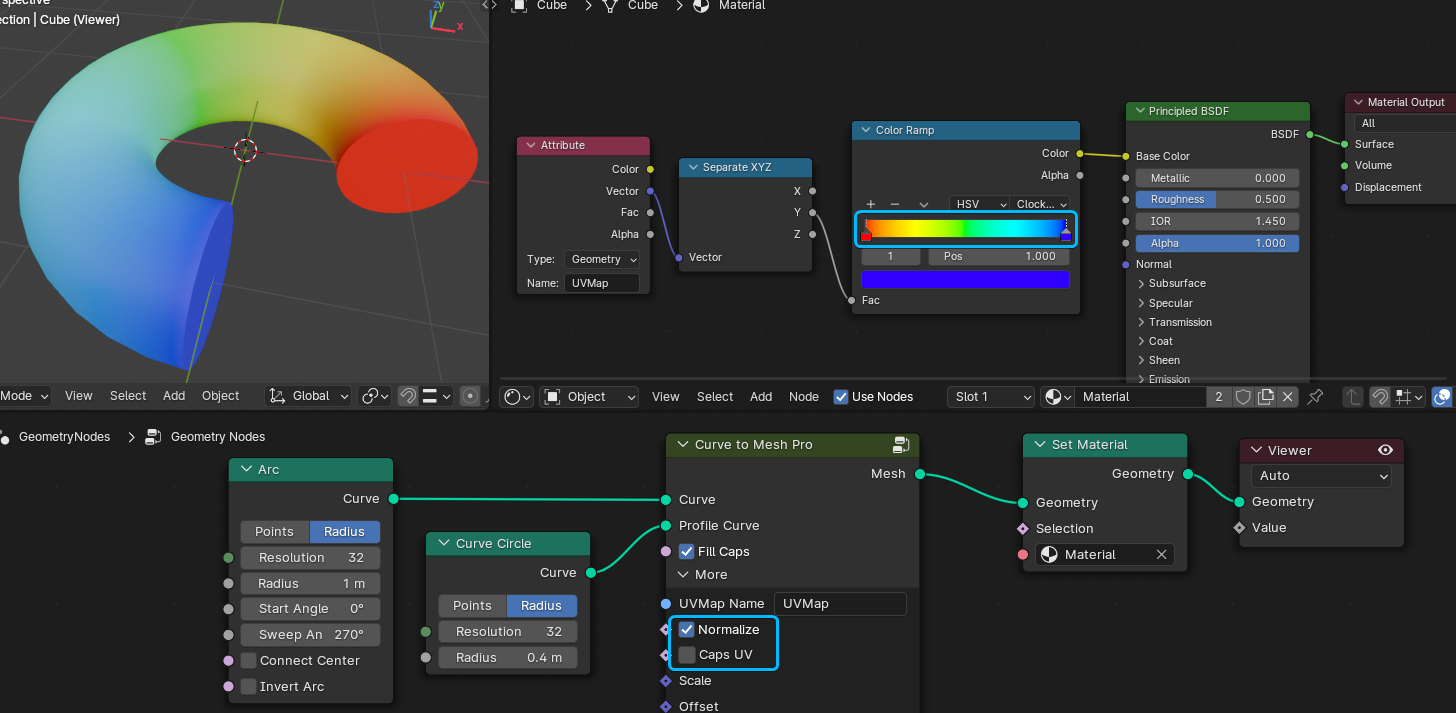
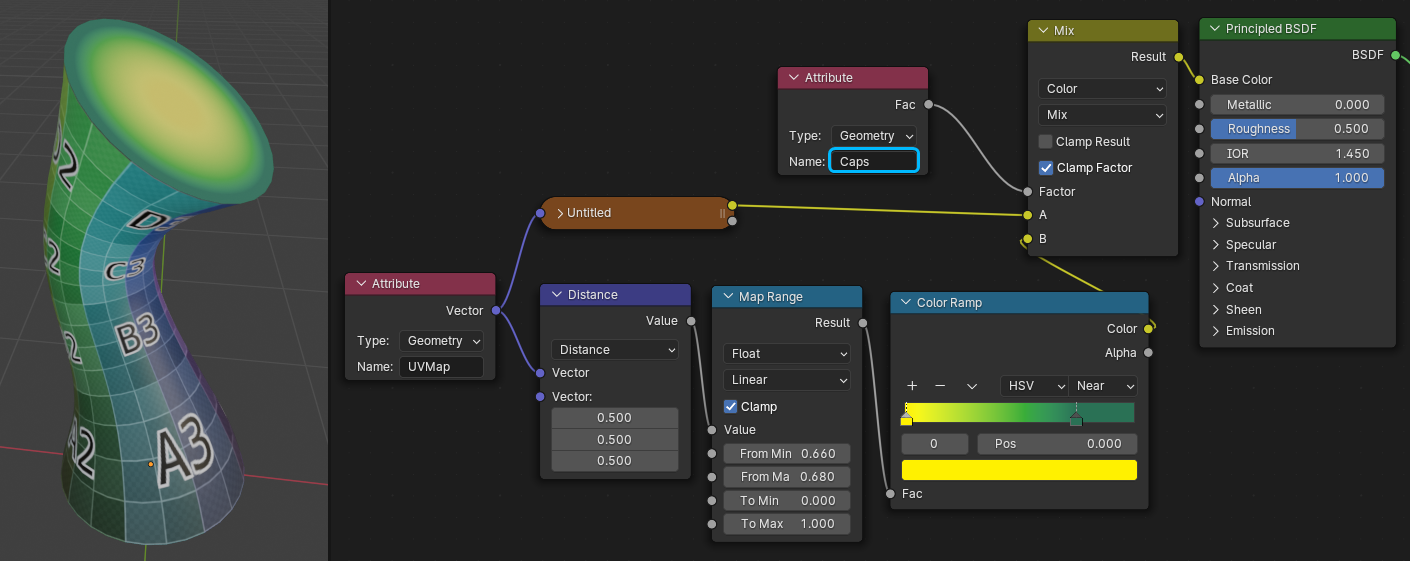
The basic usage remains the same as before. The difference is that in the material editor, you can use an attribute node to add the UV map. Simply type "UVMap" in the attribute node, as shown in the following image.
More Options
Expand "More," and you will discover additional hidden options.
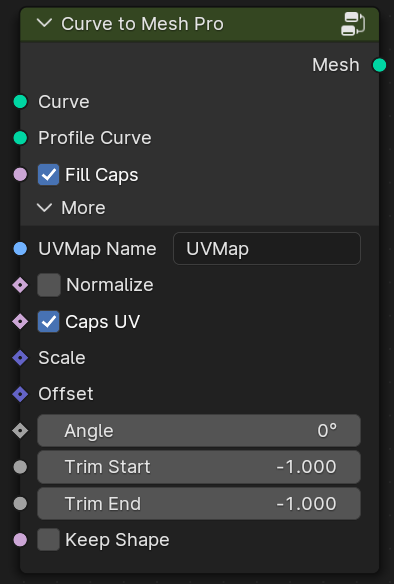
UVMap Name: Sets the name of the UV mapping; the default is UVMap.
Note that in the material editor, the name entered in the attribute node should match the UVMap Name specified here.
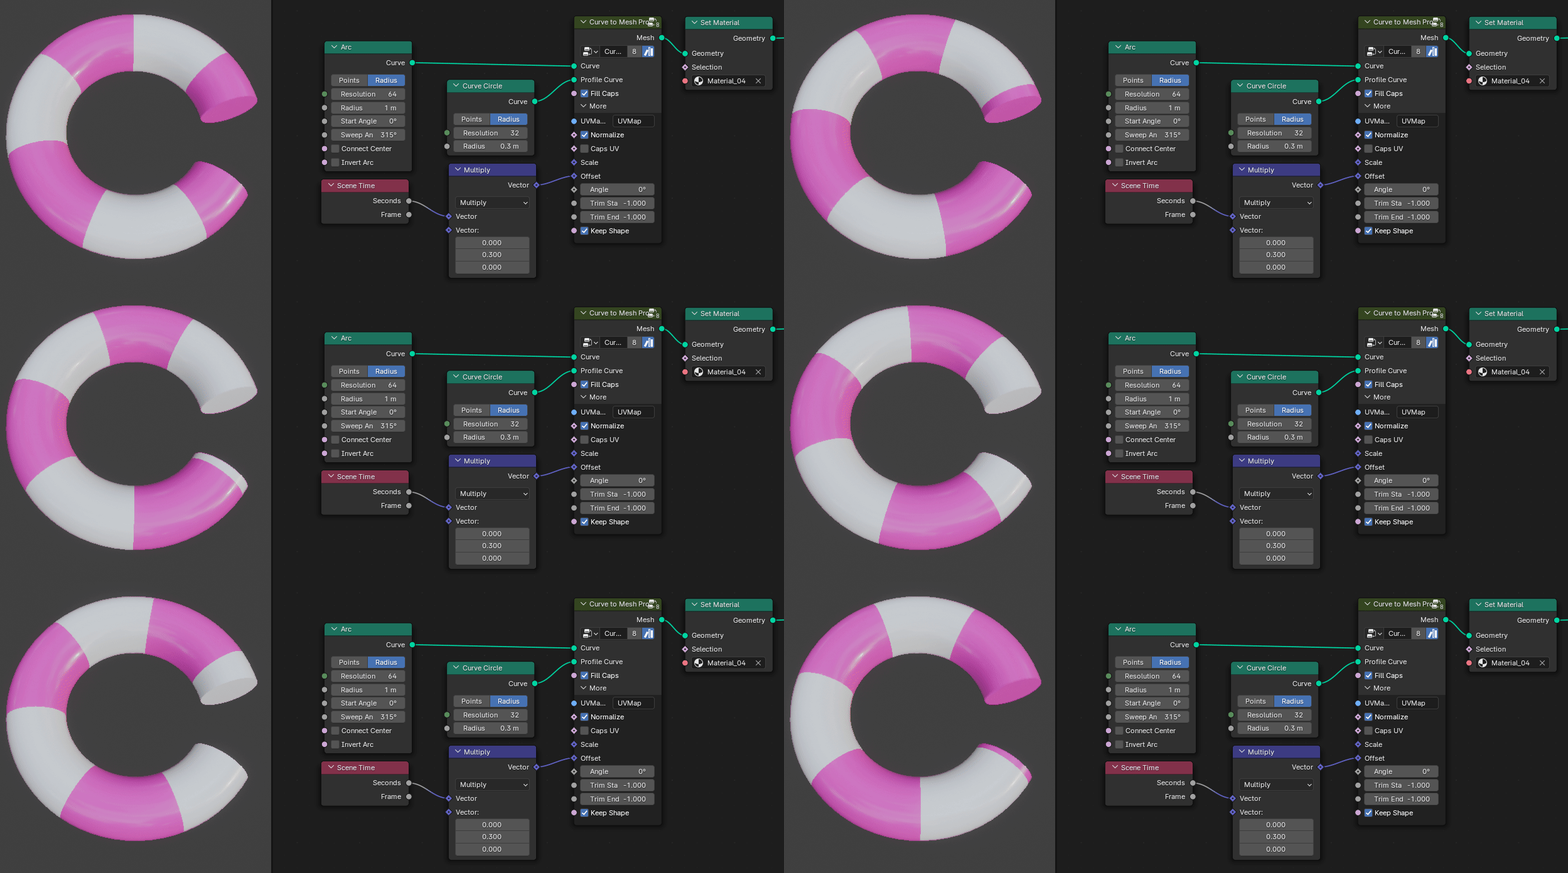
Normalize: This option will keep the UV mapping within the 0-1 range. It can be helpful if you want to use gradient colors
Caps UV: Enable the Caps UV. When disabled, it will use the UV values of the edge points. This can be helpful if you want to use solid colors.
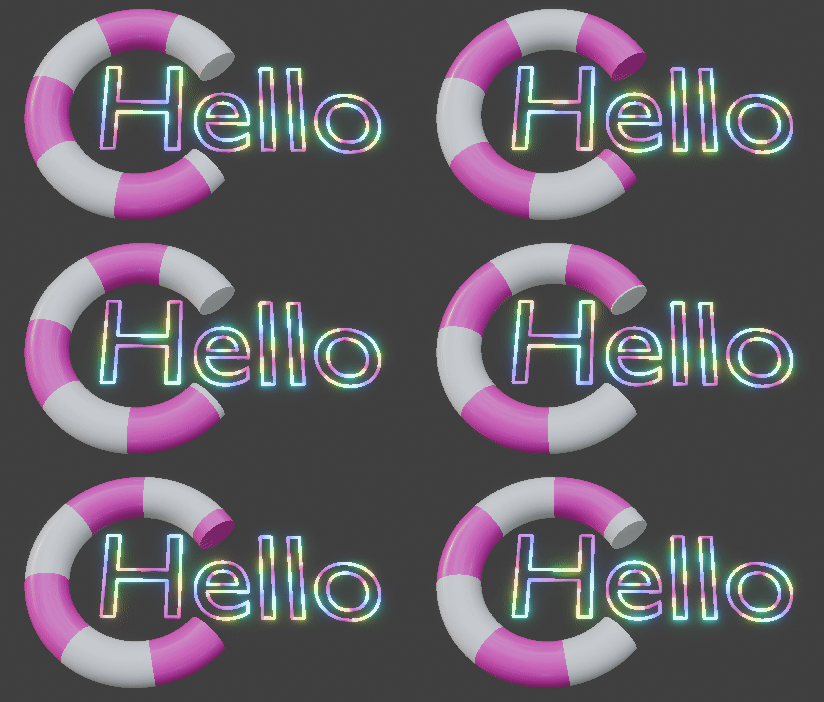
Or something material animation. You can directly open the .blend file to see these examples.
Scale and Offset are used to set the scaling and offset of the UV mapping, allowing you to adjust the size and position of the texture.
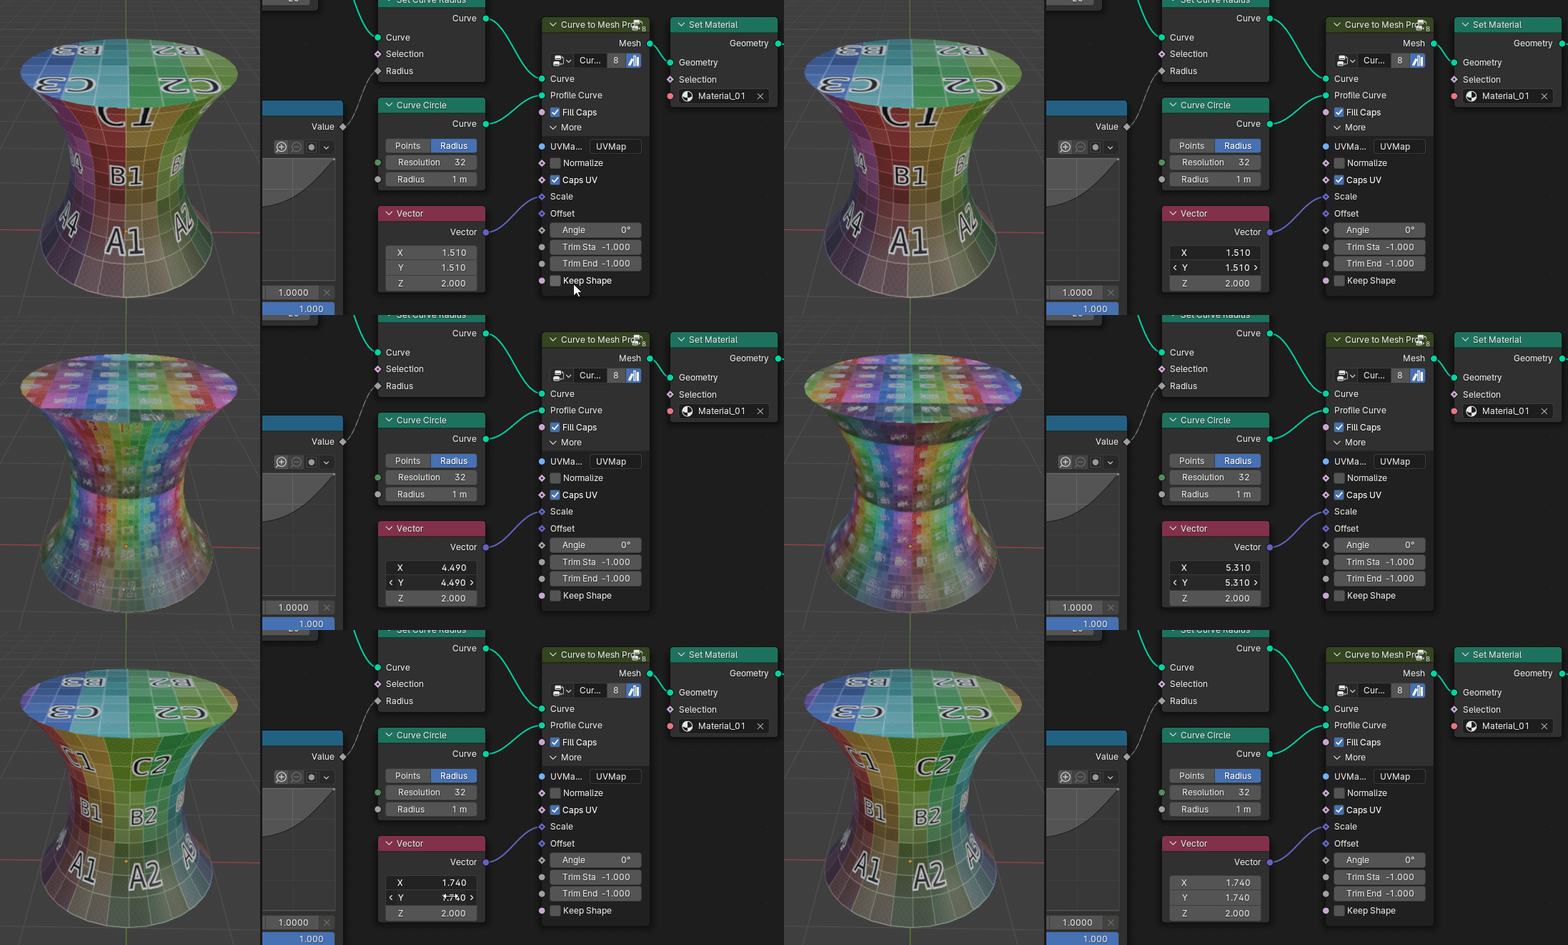
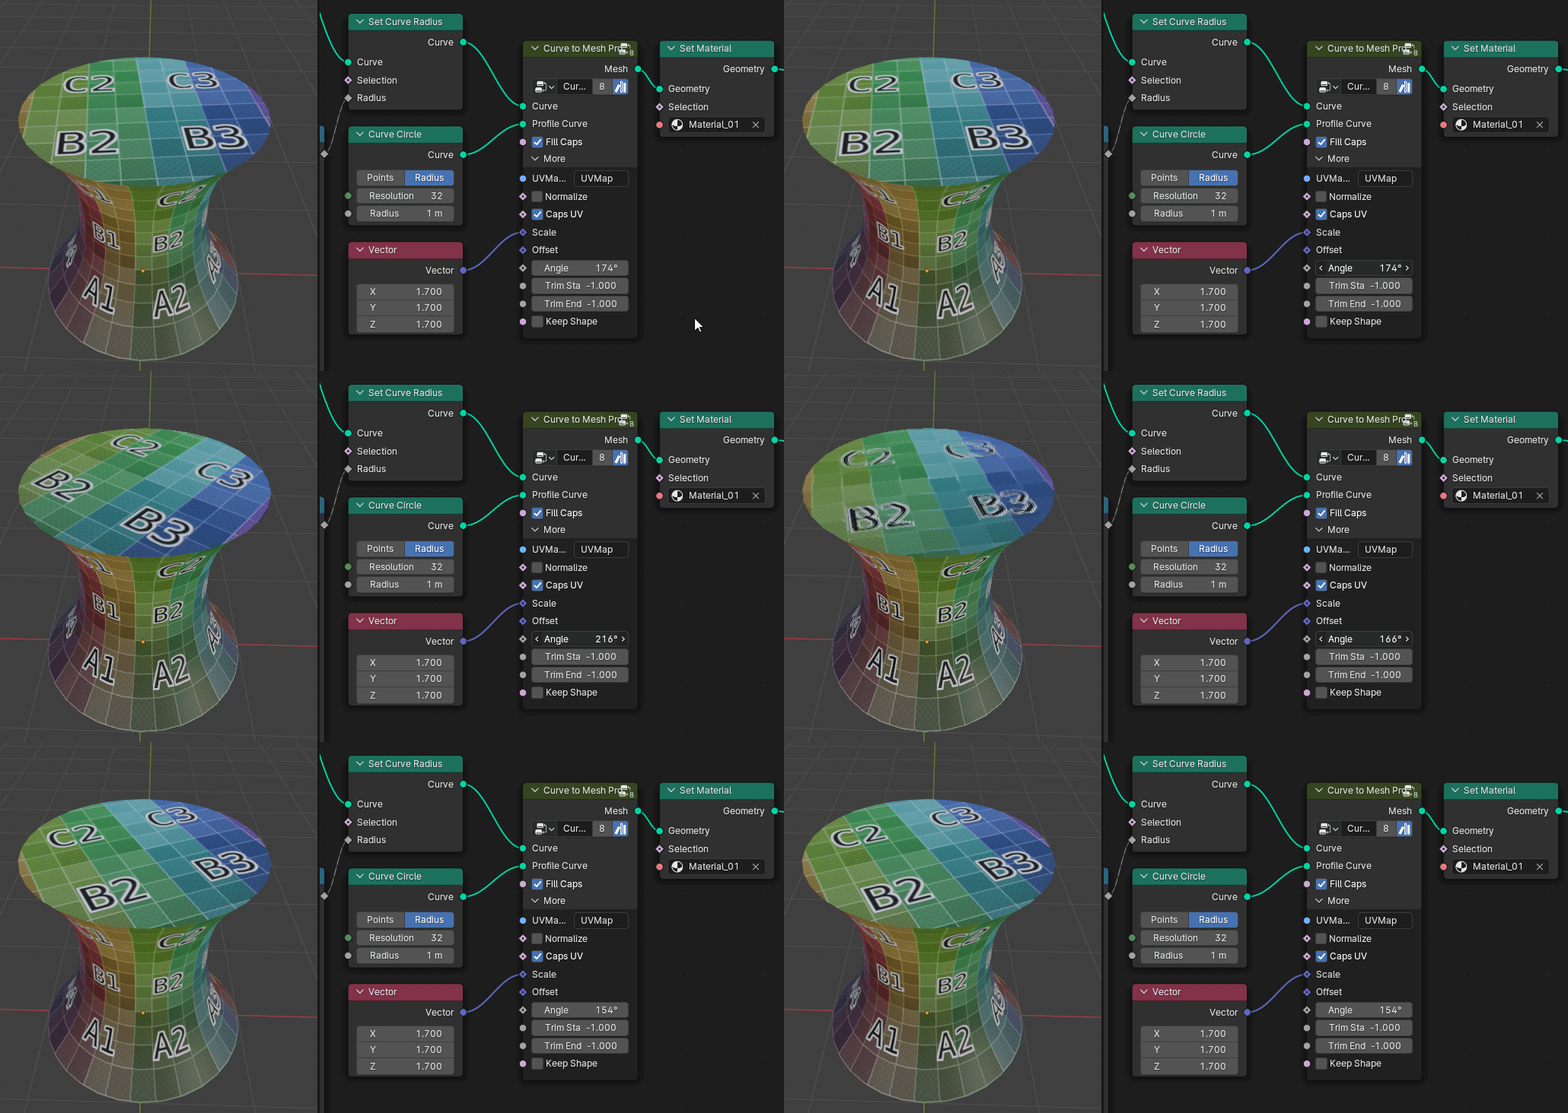
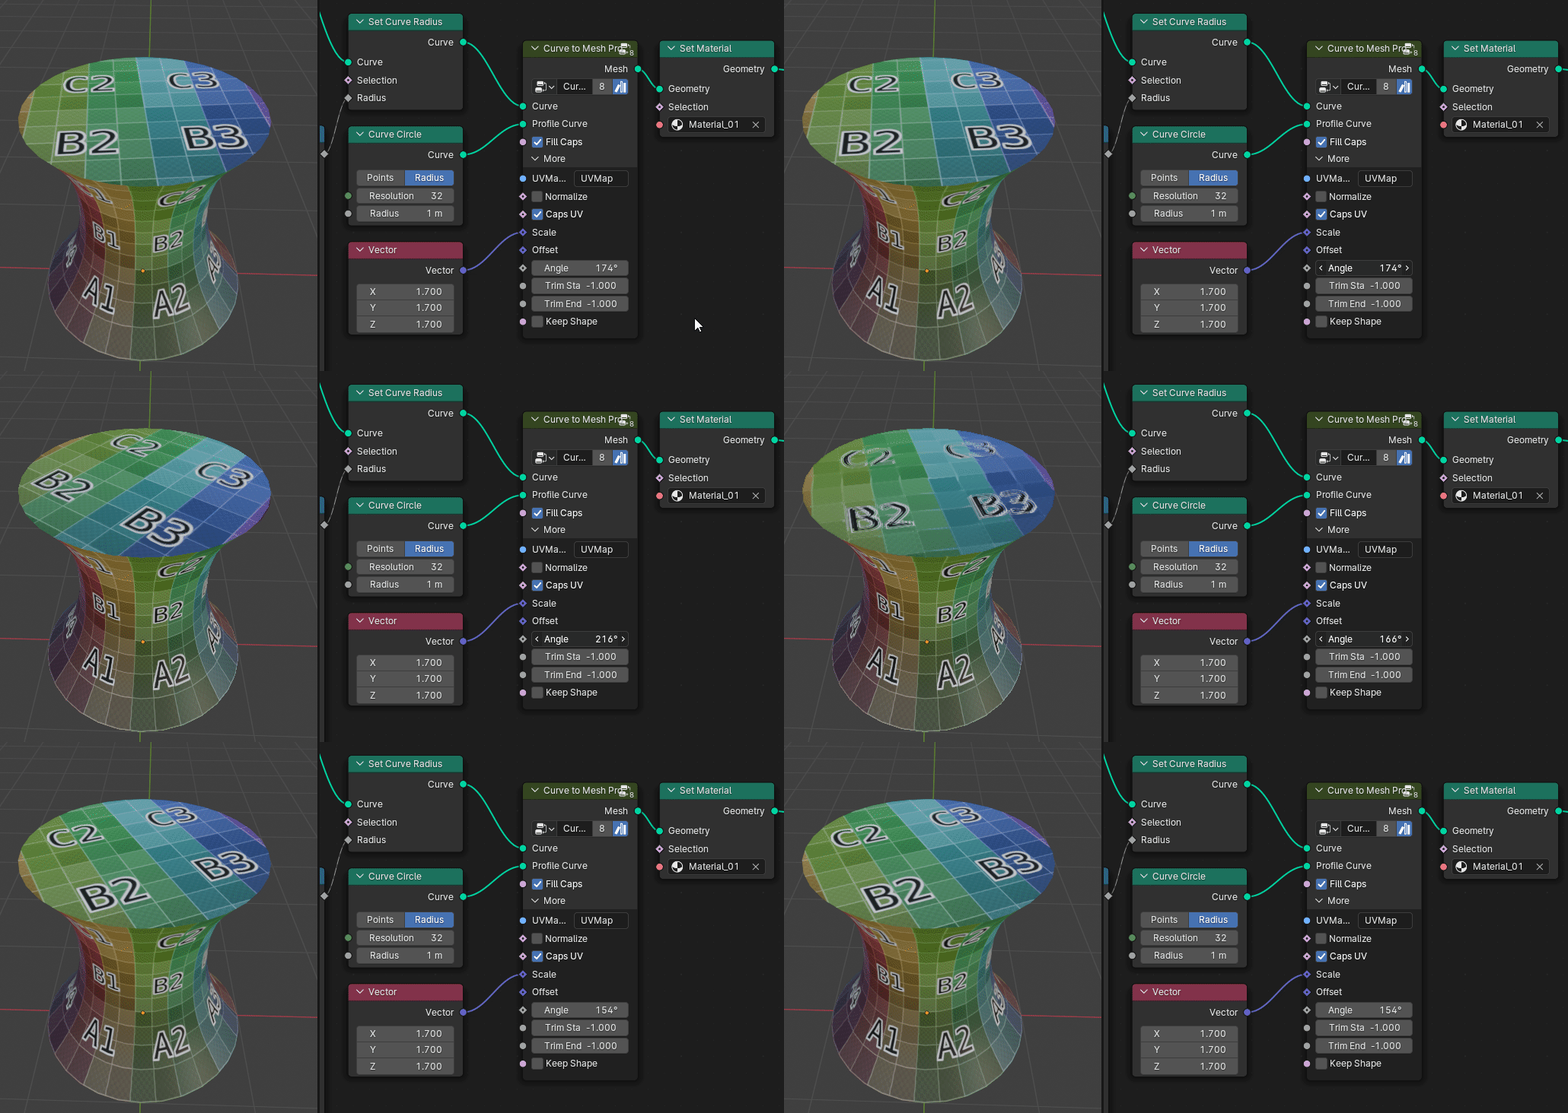
Angle: Used to set the rotation angle of Caps UV mapping.
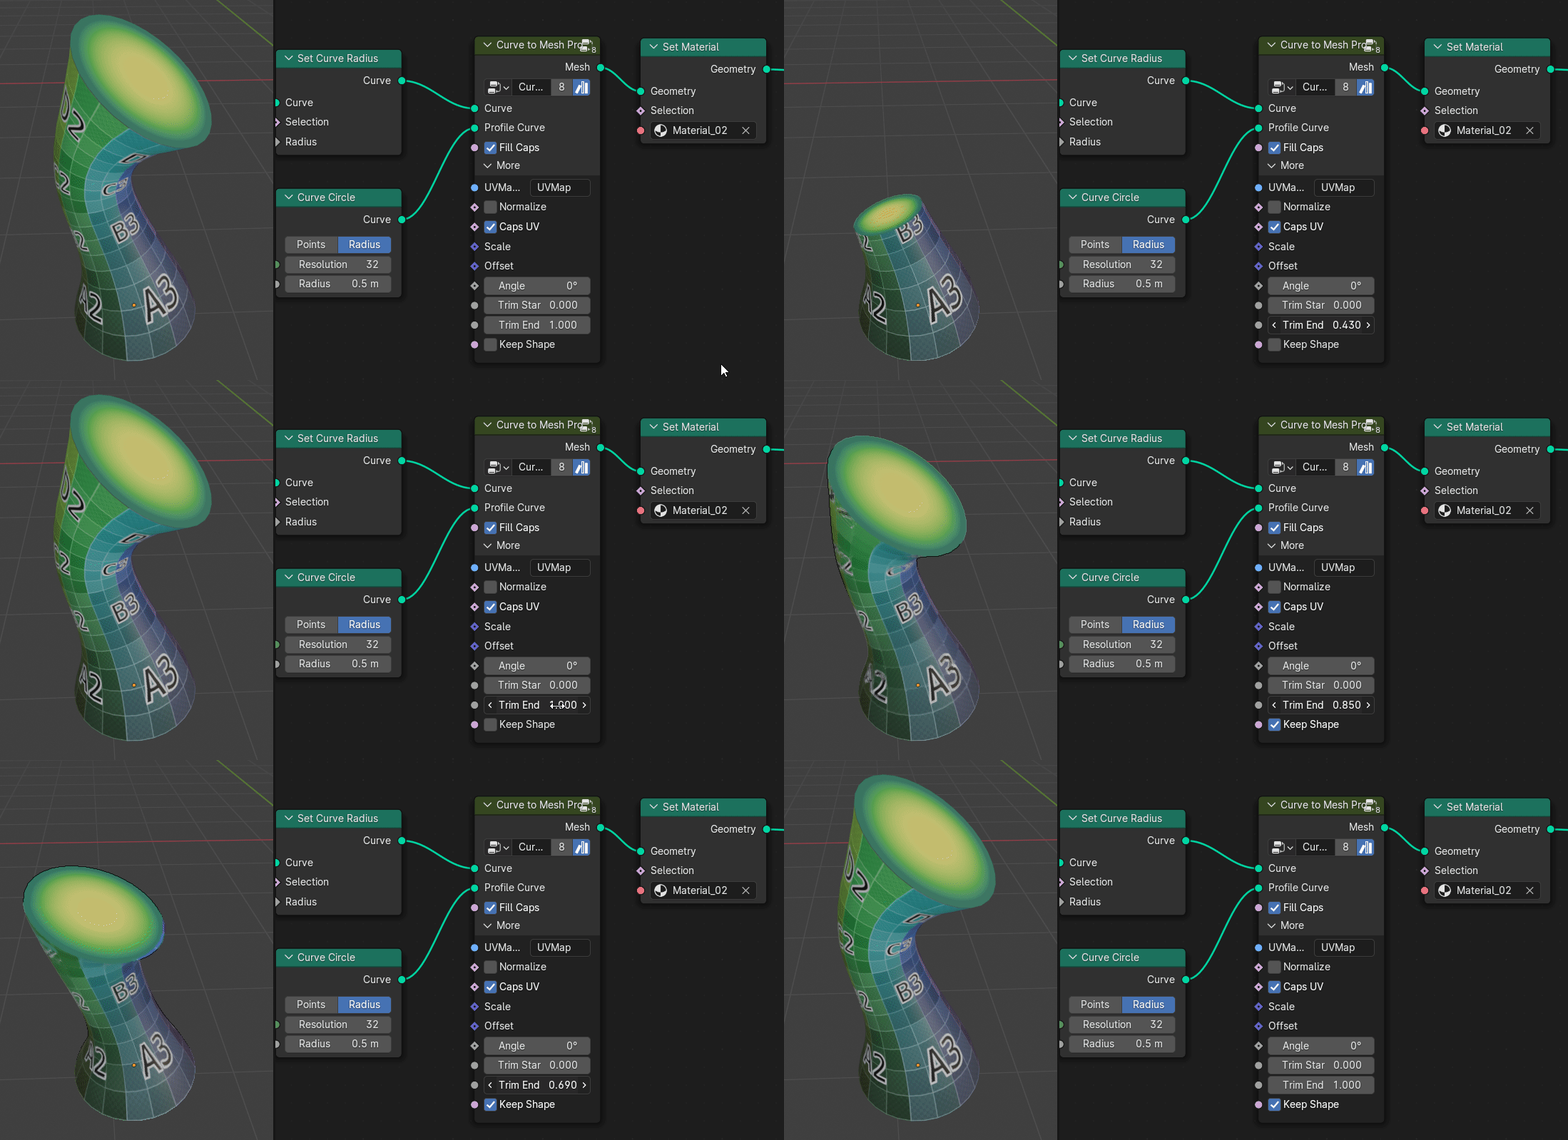
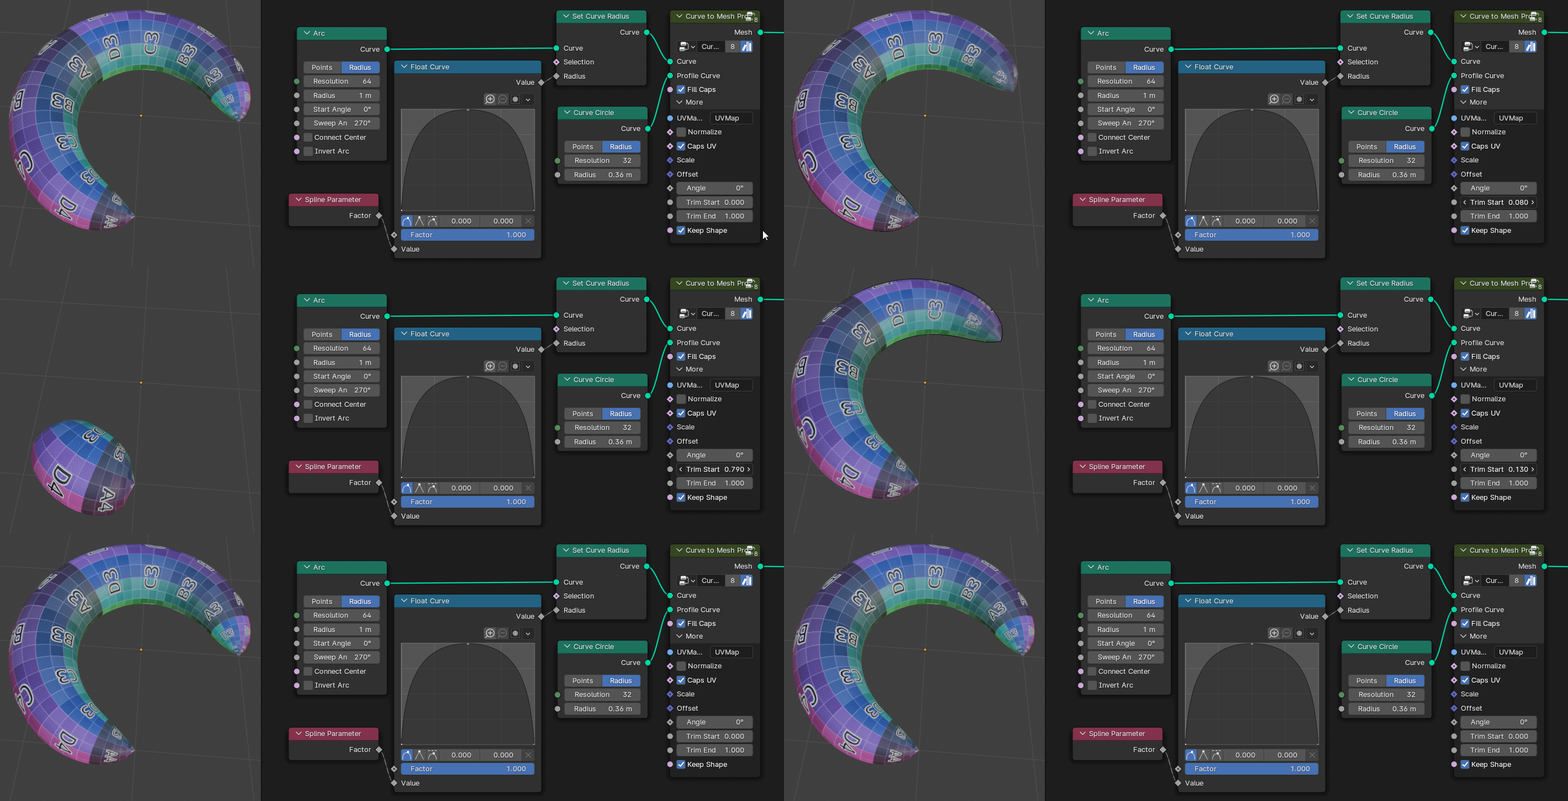
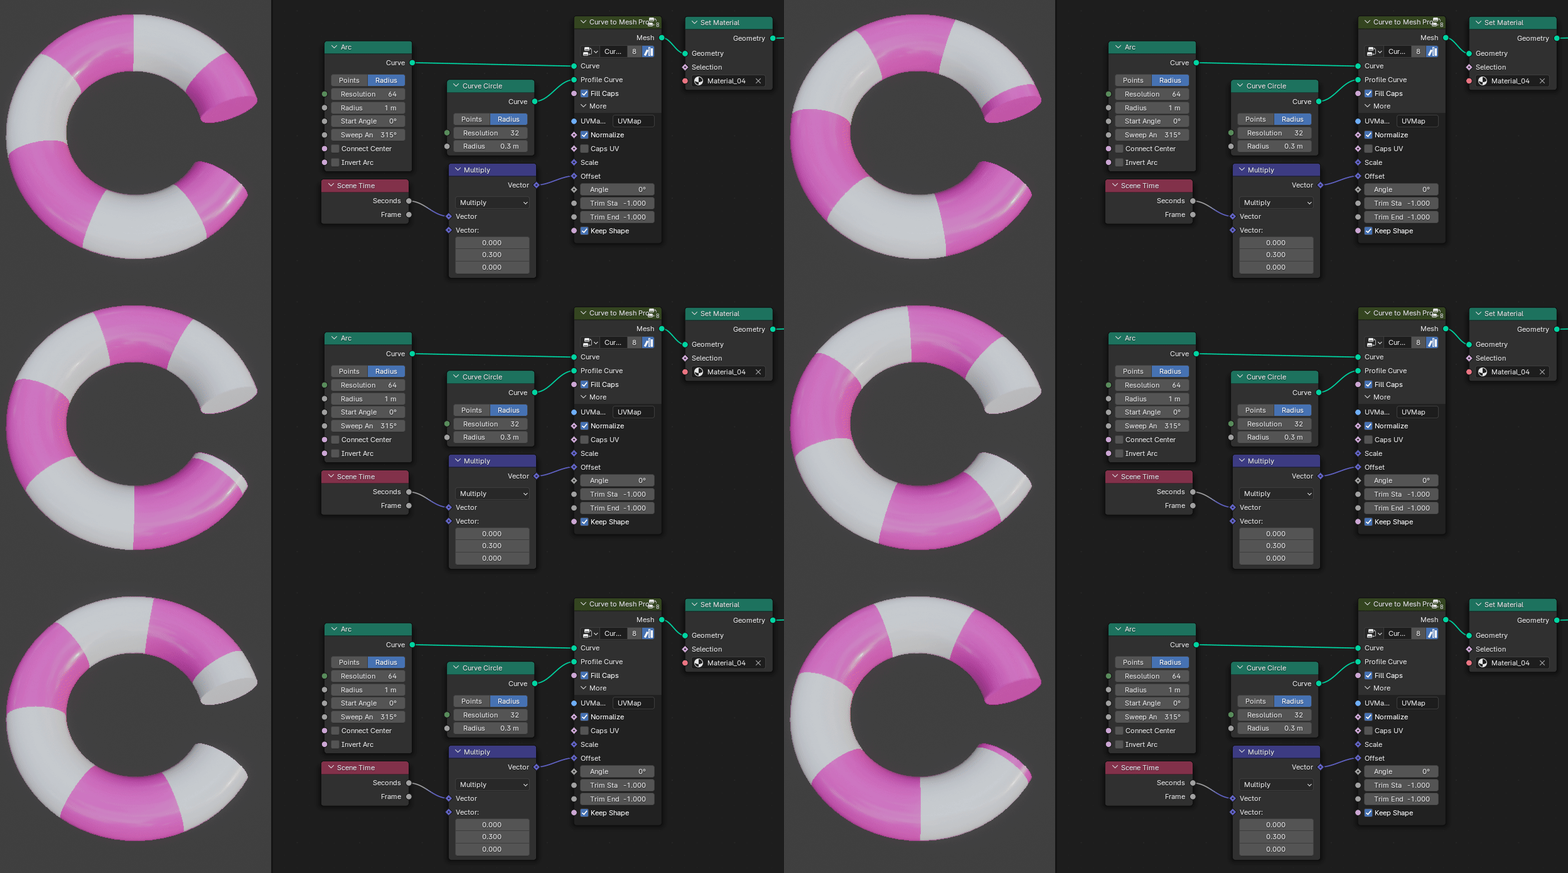
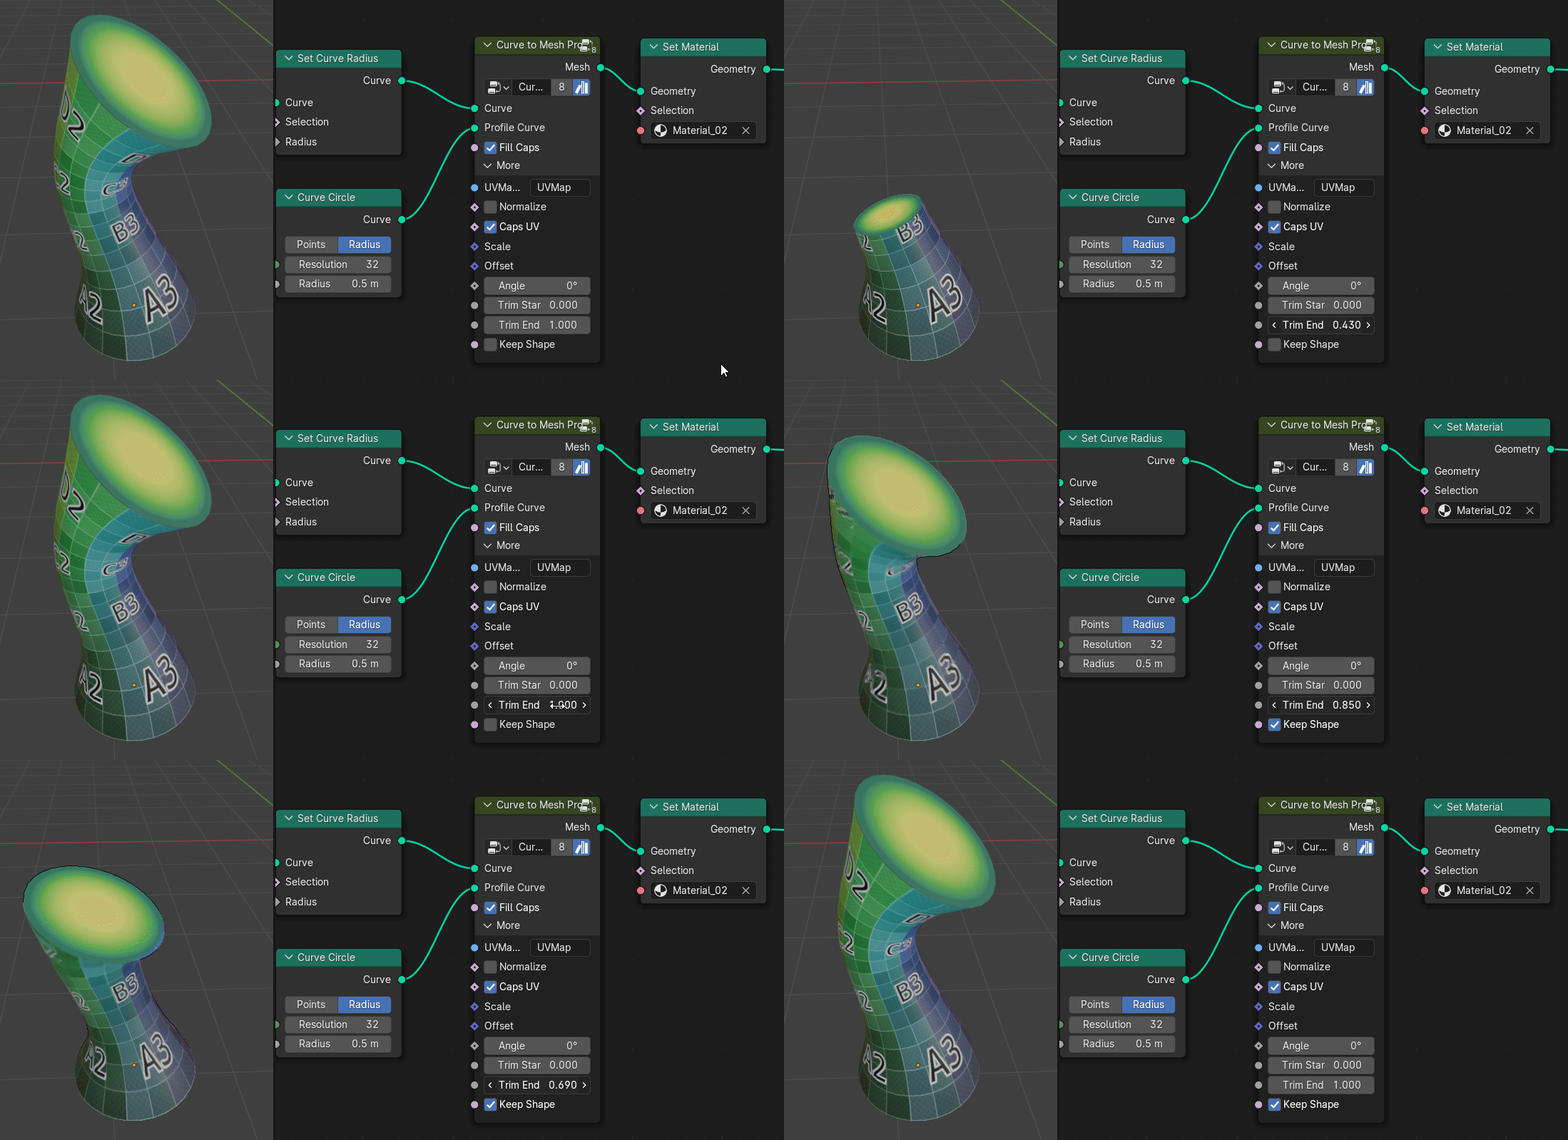
Trim Start and Trim End are used to trim the curve. When set to -1, it is in the disabled state.
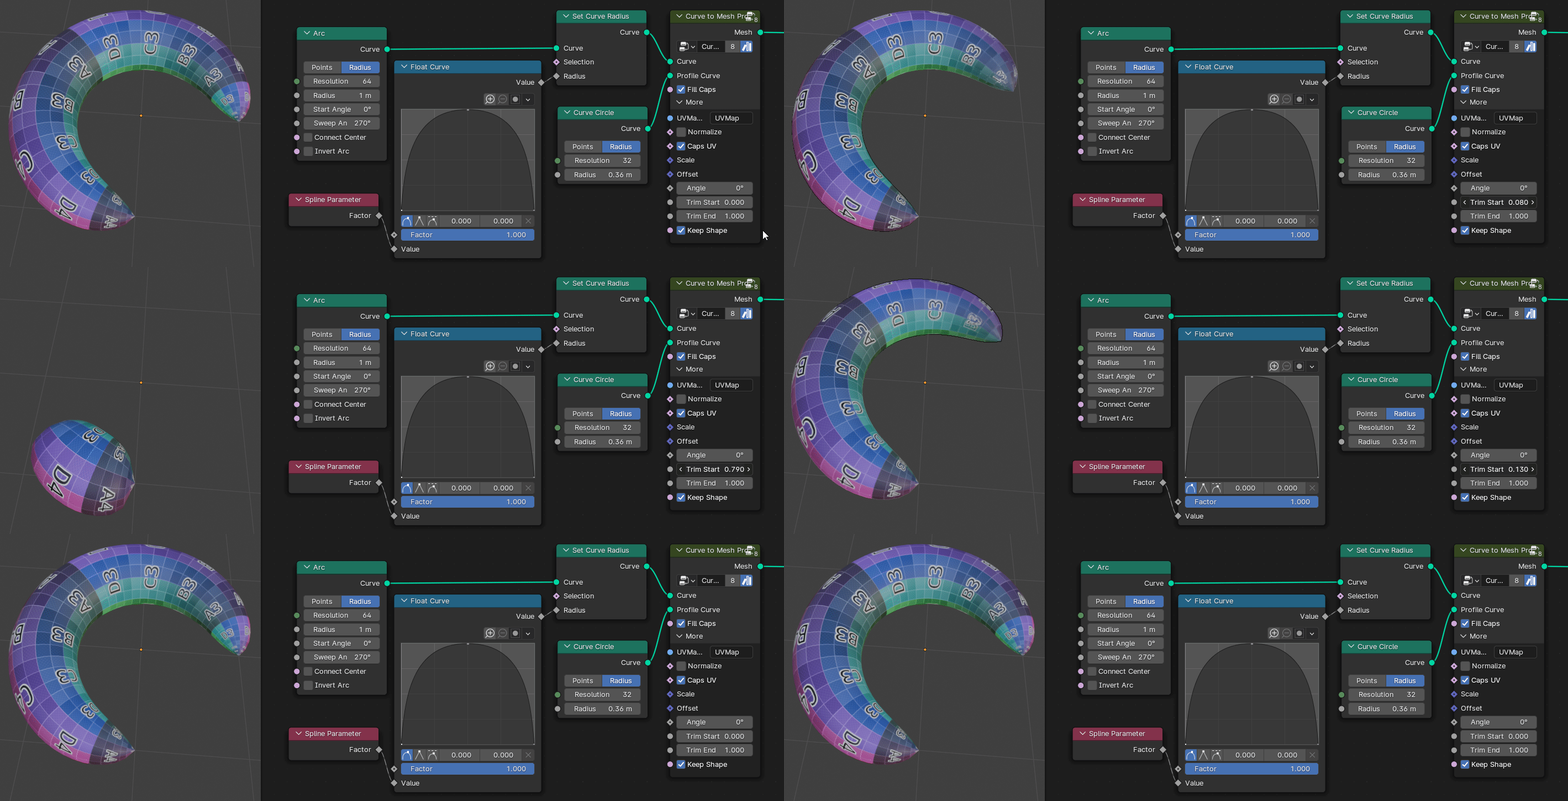
Keep Shape is used to maintain the shape unchanged during trimming, as shown in the image below.
Finally, you can type "Caps" in the attribute node to obtain the Caps mask. This allows you to set the UV mapping for Caps separately.
Get more blender addons or tutorials:
Discover more products like this
uniform radius normalize trim-curves uvmap average curvature animation winter24 bfcm24 keep-shape Curve to Mesh spring24 uvmaping Evenly distributed curve radius uvmaps summer24 seamless
