Advanced Studio Light Maps
Advanced Light Maps
Highend 3D Lighting
Lighting is one of the most important ingredients in order to create a product render that your client would call a success. No matter how good your 3d models are, no matter how beautiful and realistic your shaders are - if your lighting sucks your rendering will simply not be good.
Why do many 3D product renders look so boring?
The problem with most visualization images that you find online is that they don't pay much or any attention to lighting in general. A lot of artists to this day still use blank area lights or other native render light sources for product rendering and then they wonder why the results look so bad.
The reason is very simple. There is no 100% flat area light in real life. And even if it existed a professional product photographer would never - even in his worst nightmares - choose such a light source for his product photography. He will always look for something with beautiful dynamics - that is what makes his photos great. And you won't believe how much time he actually spends on setting up the lights properly. This is an art itself and most 3D-artists just don't pay attention to that. I encourage you, spending extra time for creating awesome light set ups, after you have gone all the way through modeling and shading.
Good for you - these light maps will save you.
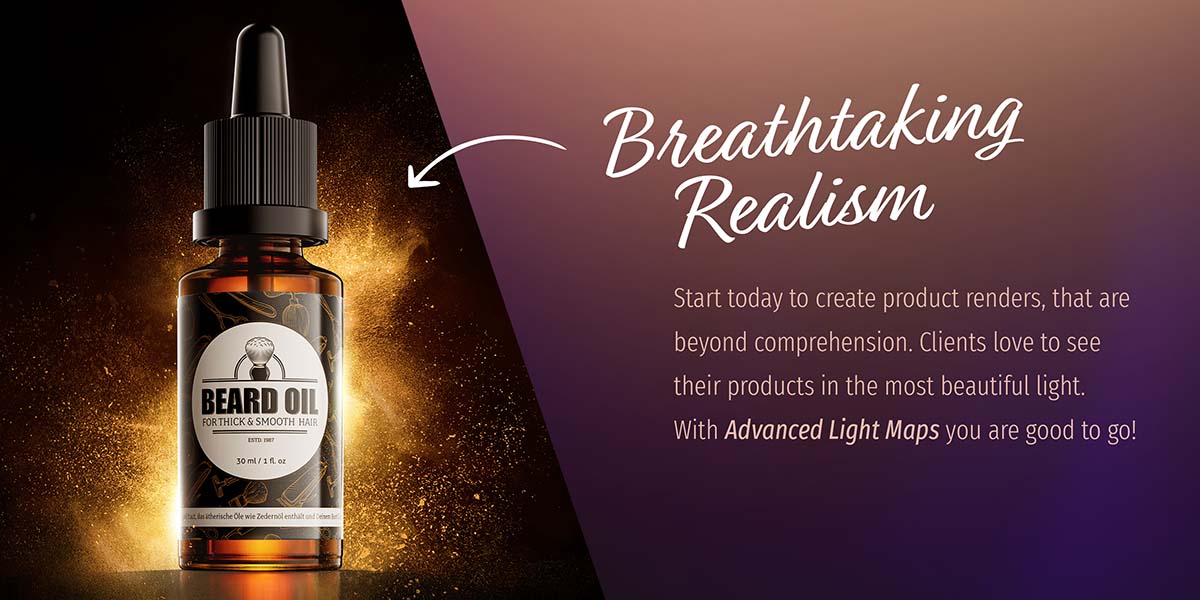
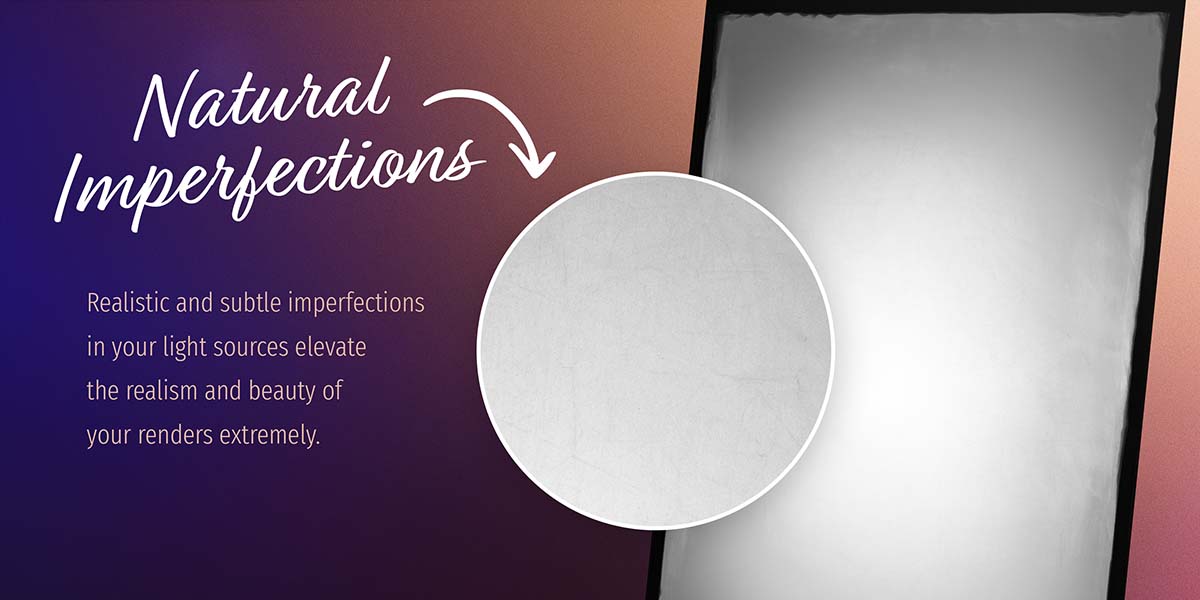
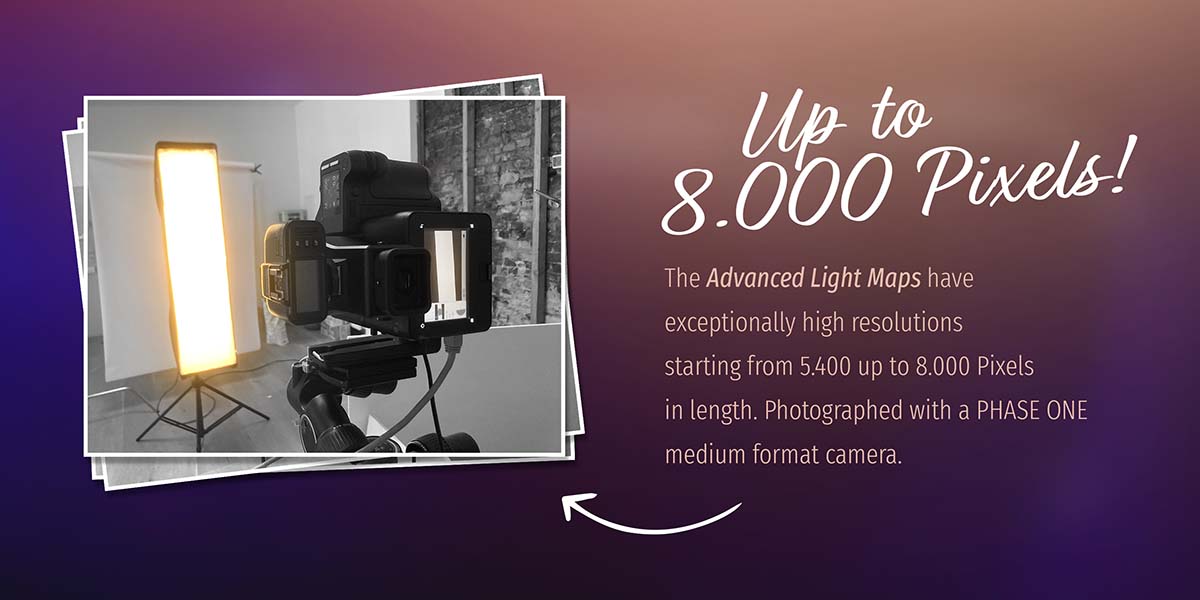
Advanced Light Maps will help you to create stunning product renderings in no time. They are handcrafted and carefully designed light maps, photographed in a real photo studio in a real environment with a big medium format camera. They come with big resolutions and perfect imperfections, that will reflect on your shiny products naturally. You are getting amazing dynamic light sources in 32-Bit that look good on any object. This is what professional product photographers would use in their workflows.
Breakthrough
Why using light maps is my personal breakthrough
Coming from a photography and retouching background I attended dozens of product photo shoots in different studios. I always asked the photographer about his light setups.
» Why is he using this big diffusor?
» How is he achieving that dynamic gradient on the metal?
» What is this honeycomb in front of the light doing?
» Where does the glow inside that glass bottle come from?
All these questions and their answers led me to a lot of knowledge in this area and I was amazed how photographers work with theirs studio lights.
Applying photography rules to 3D Rendering
Years later I tipped my toe into 3D rendering and I was blown away. So many possibilities and so much to learn. Since I started early there was not much educational videos and tutorials out there on how to render a product beautifully. So I naturally came up with all this knowledge that I gathered over the years from my photo shoots. I applied these techniques in the 3D realm and I got mind blowing results. When I started working for clients they where amazed by how great these renders would look. Some would say:
» It's unbelievable how realistic these renders appear.
» Wow, this looks incredible.
One of my favorite clients said:
» We have given this project to 5 different studios, but your results where the most beautiful by far!
How can that be?
The ugly truth
After these unexpected and appreciating feedbacks I asked myself: How can it be that these results seem to be so unusual? I did my research. And I was shocked on how ugly most of all 3d renders and visualizations look on the internet. And I found out the reason very quickly. Is it the model itself? In most cases not. Is it the surfaces and shaders? Yes sometimes but that is not the main issue. It is the lighting.
It occurs to me that most 3d artists and studios don't have an artistic mindset when it comes to lighting. They are awesome in modeling, shading, animating complex scenes and all that stuff. But when it comes to the important subject of lighting it is as if there are running out of time and trying to close the project as quick as possible. So they are quickly putting up some area lights and push the render button.
Ugly ...
So I guess I'm lucky to have had attended some shoots and learned a thing or two. Today I'm offering my personal light set to you. May they enrich and beautify your products as they did to me. :-)
___
How to add it to your scene?
Simply use a mesh plane and add an emission material onto that plane. Then import the exr-file and plug the light texture into your emission shader. Done.
You'll get
✔ 12 Premium light sources
✔ High resolutions - starting from 5.400 up to 8.000 Pixels in length
✔ Natural Imperfections enhancing your product renderings hugely
✔ Works with all common render engines (.exr)
Thank you!
Discover more products like this
winter24 texture bfcm24 3d-light product visualisation 3d-lighting backlight spring24 product summer24
